
Instructions
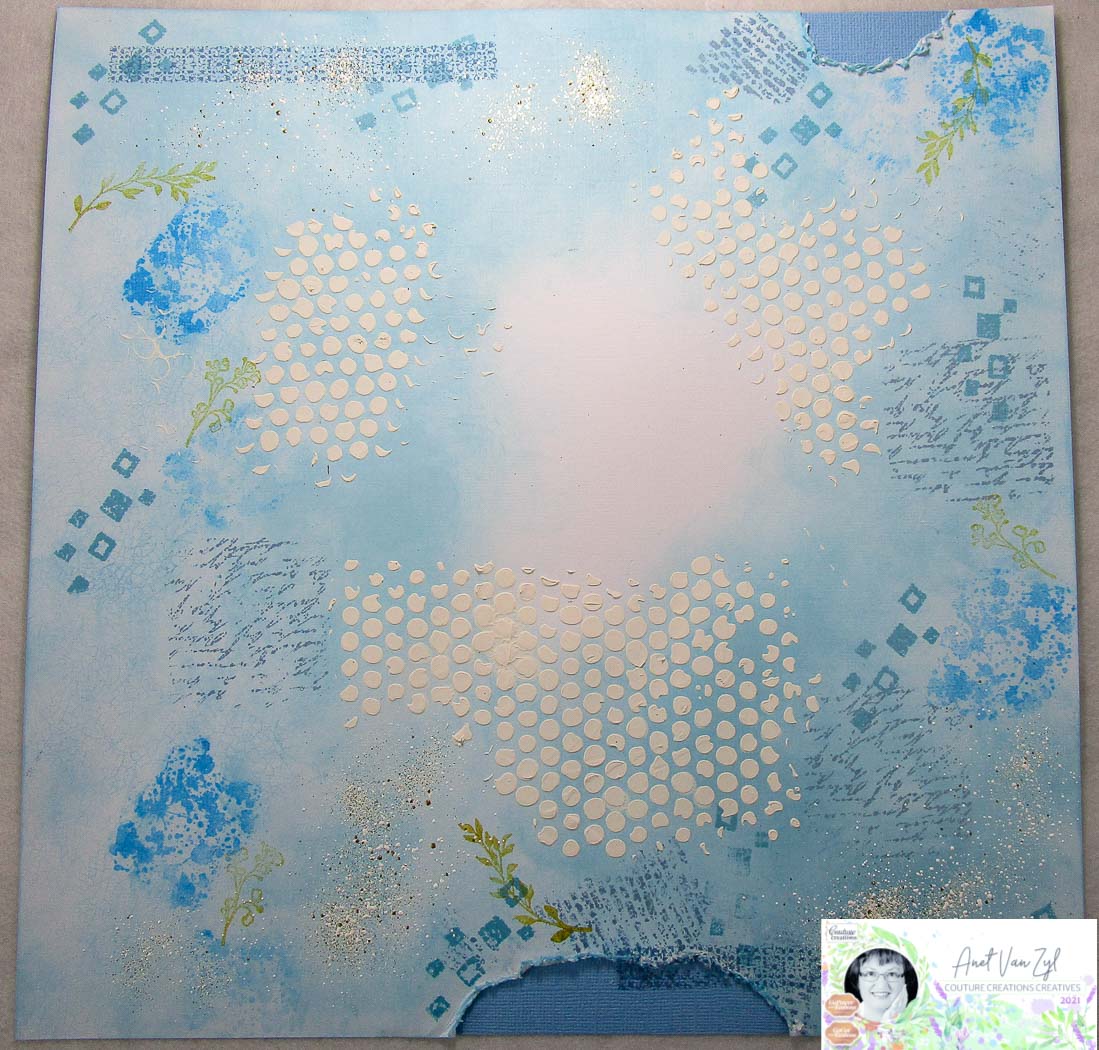
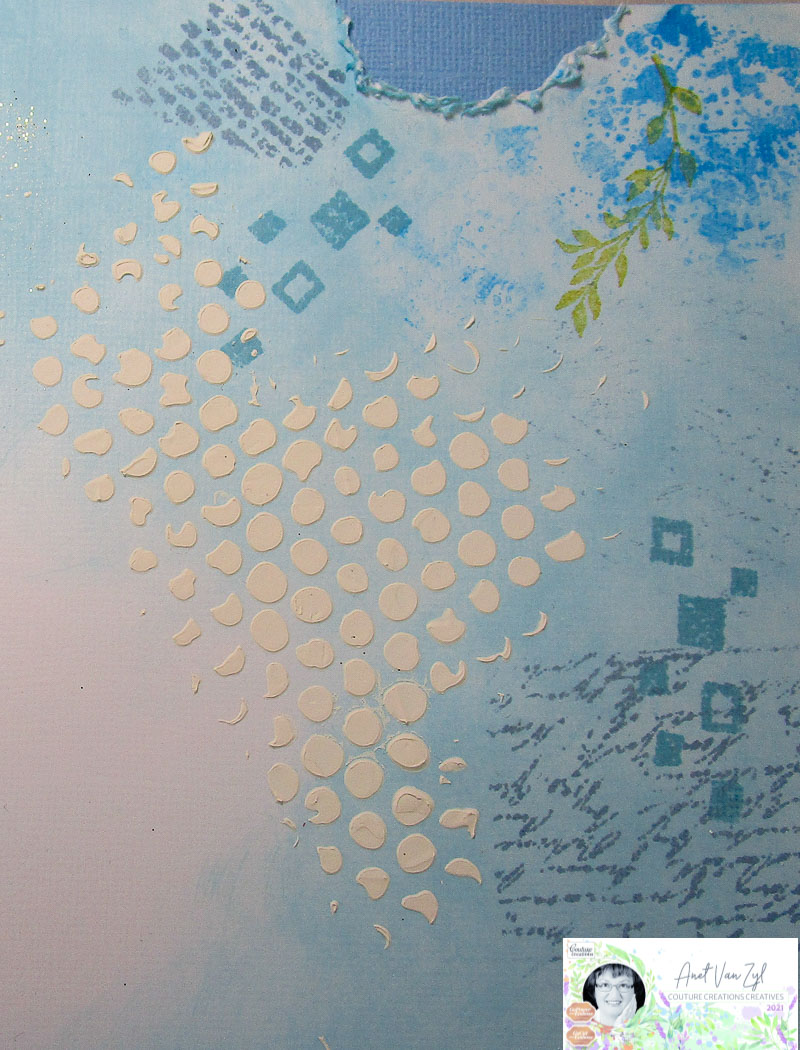
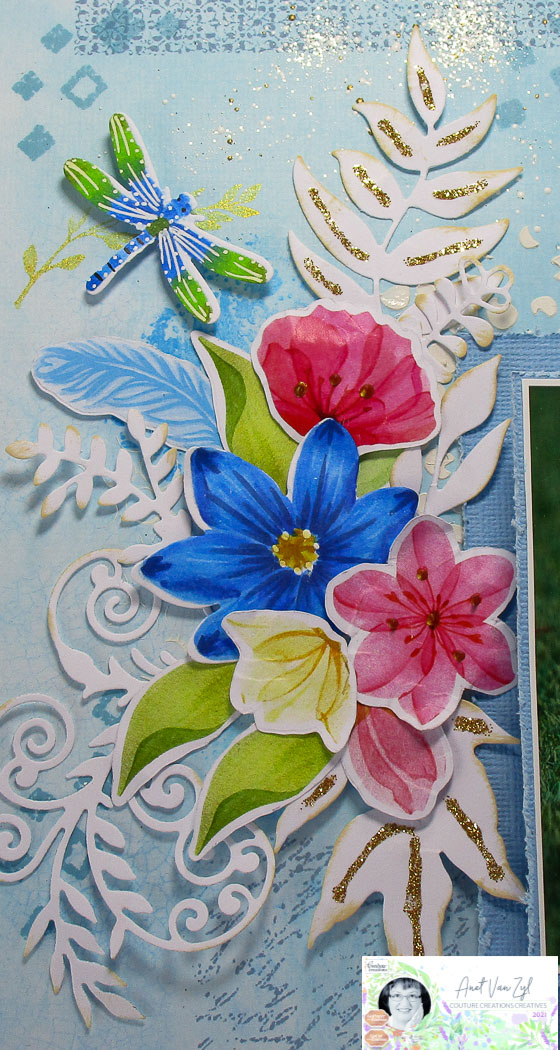
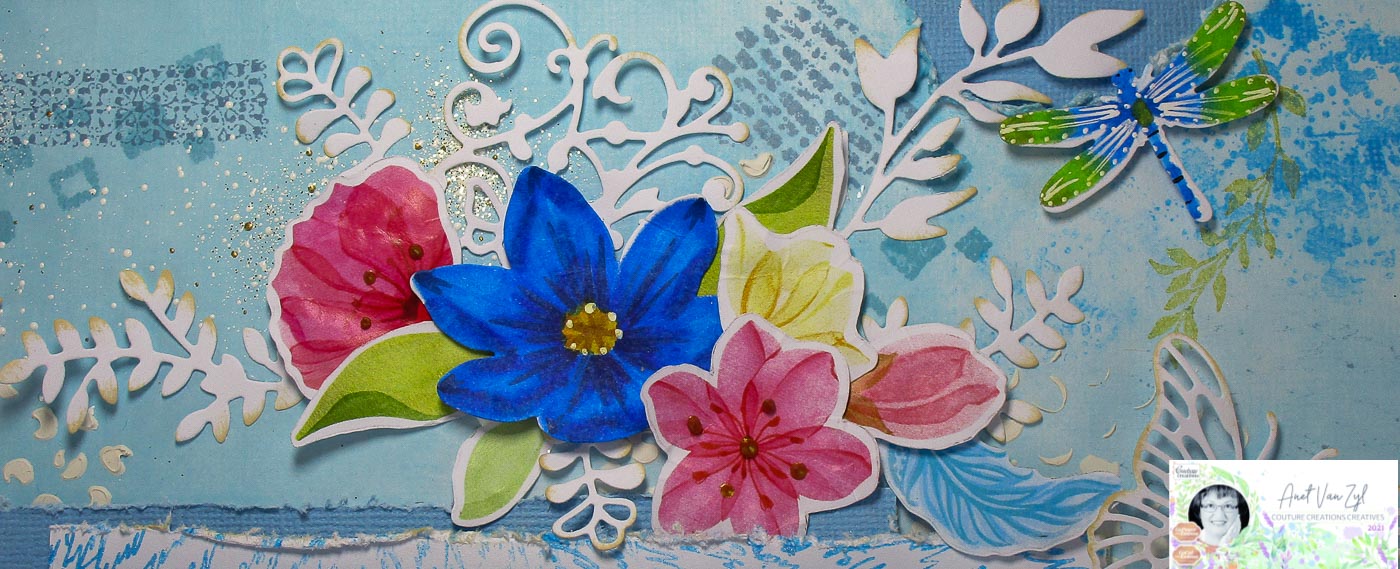
I started with the Snow White Cardstock and teared small portions of the cardstock at the top and bottom and added Blue Diamond Cardstock behind it. My background cardstock was textured with gesso and a stencil.
Once dried I added some stamping with the Blooming Friendship Backgrounds and Border Stamps using Light Blue Dye Ink and Mid Blue Pigment Ink. I also stamped the You Go Girl Portrait Stamp, Blooming Friendship Friendly Script, Backgrounds and Border Stamps using Gold Pigment Ink and blue dye ink. For the rest of the background I used blue dye ink.
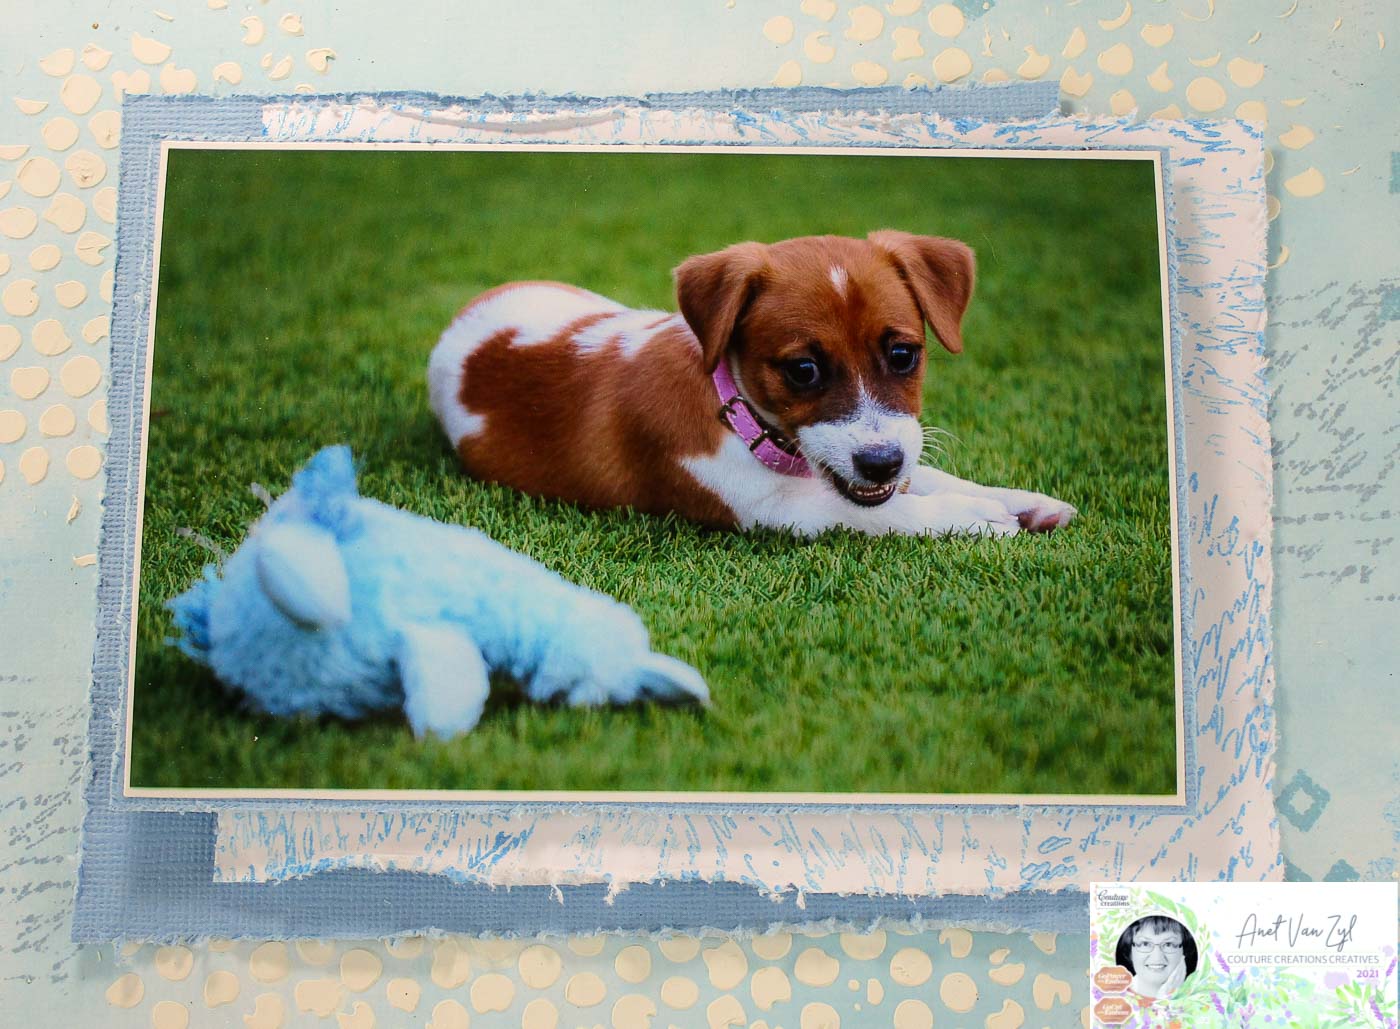
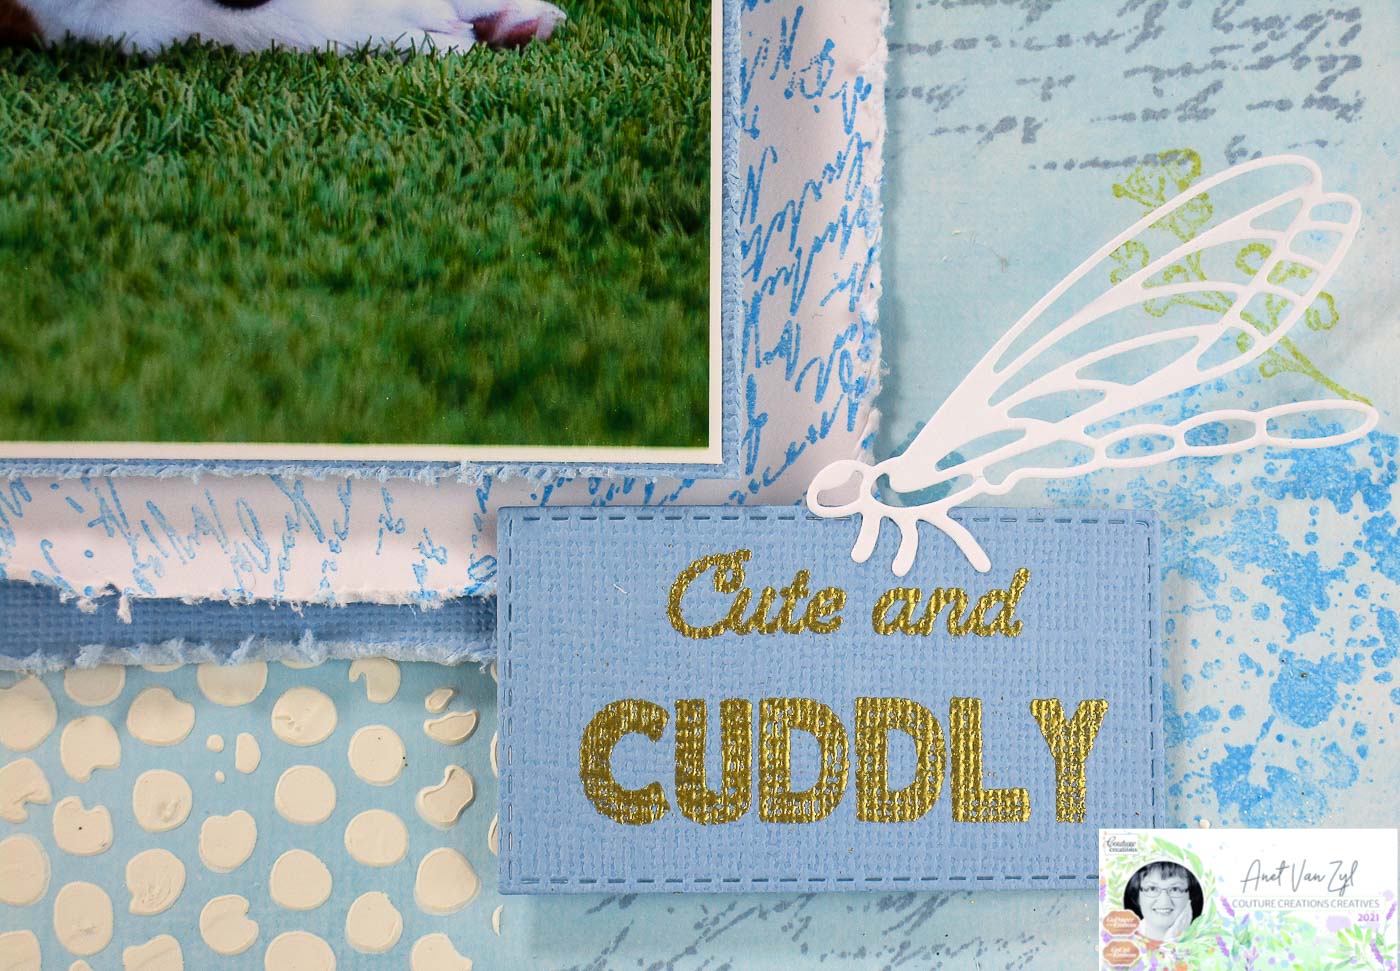
I layered Blue Diamond and Snow White Cardstock behind the photo and also stamped the white cardstock with the Blooming Friendship Friendly Script using Mid Blue Pigment Ink. I adhered the layered photo onto the background cardstock using Liquid Scrap Spots.
For the title I die-cut Blue Diamond Cardstock with a stitched rectangle die, stamped with the Cute and Cuddly Sentiment Stamp and heat emboss.
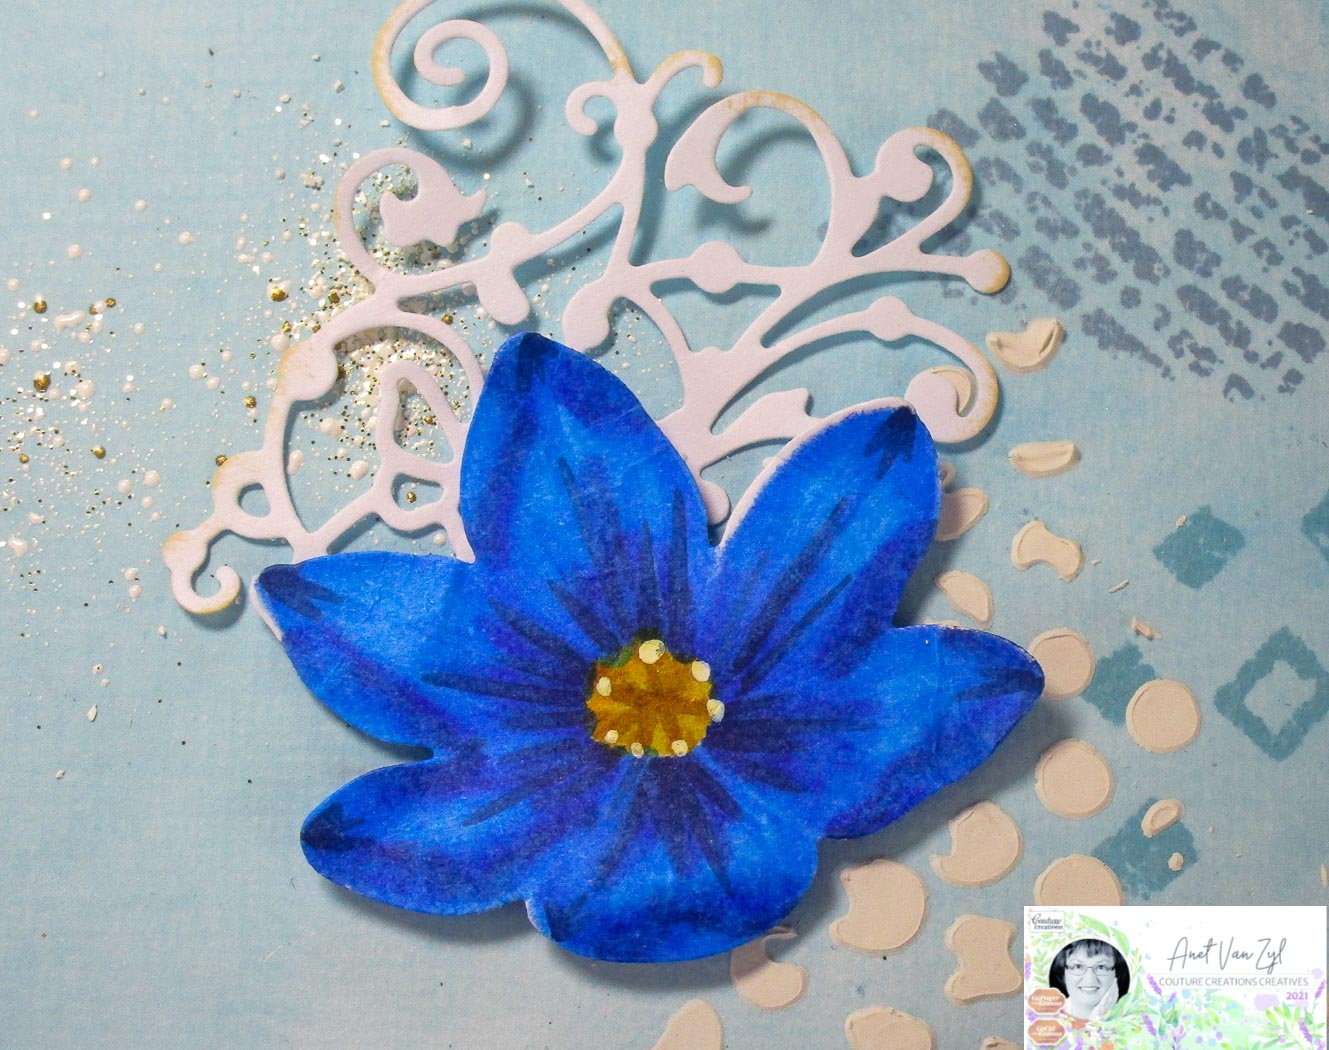
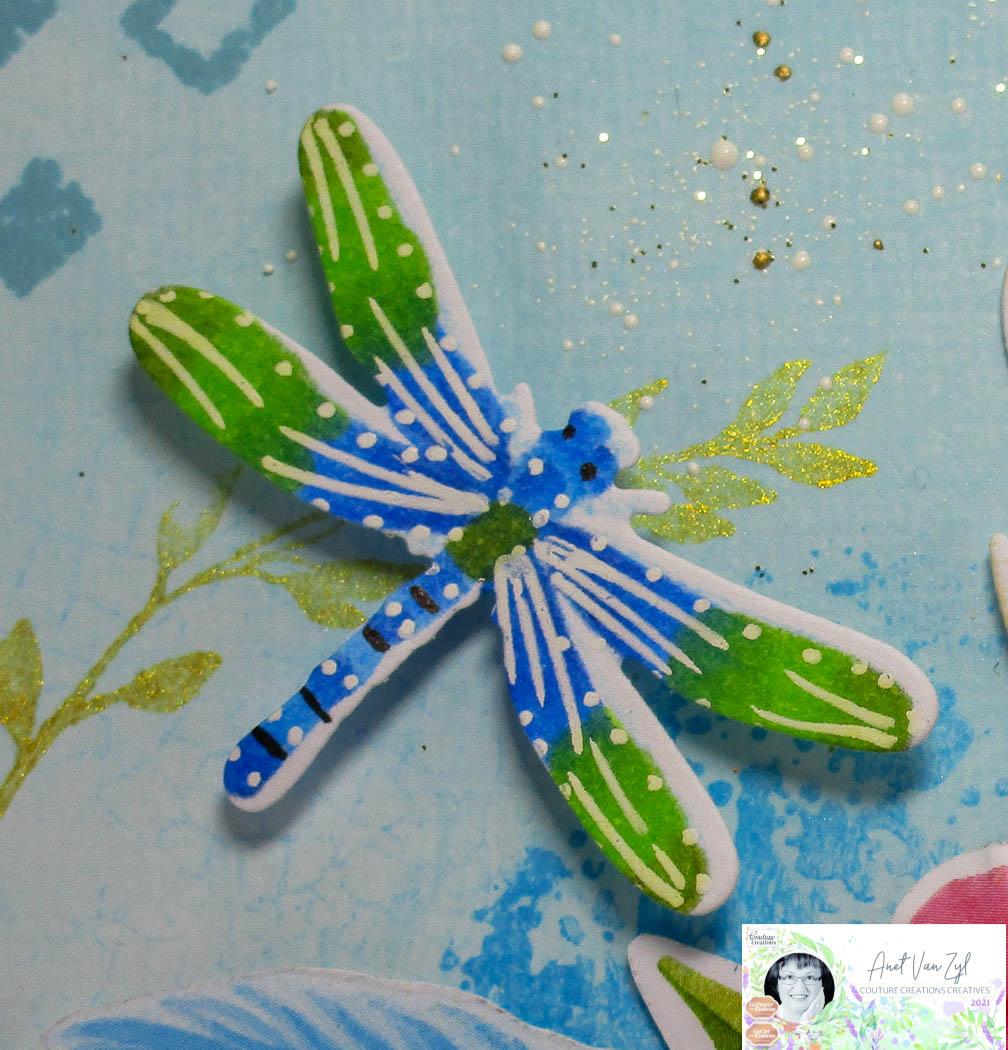
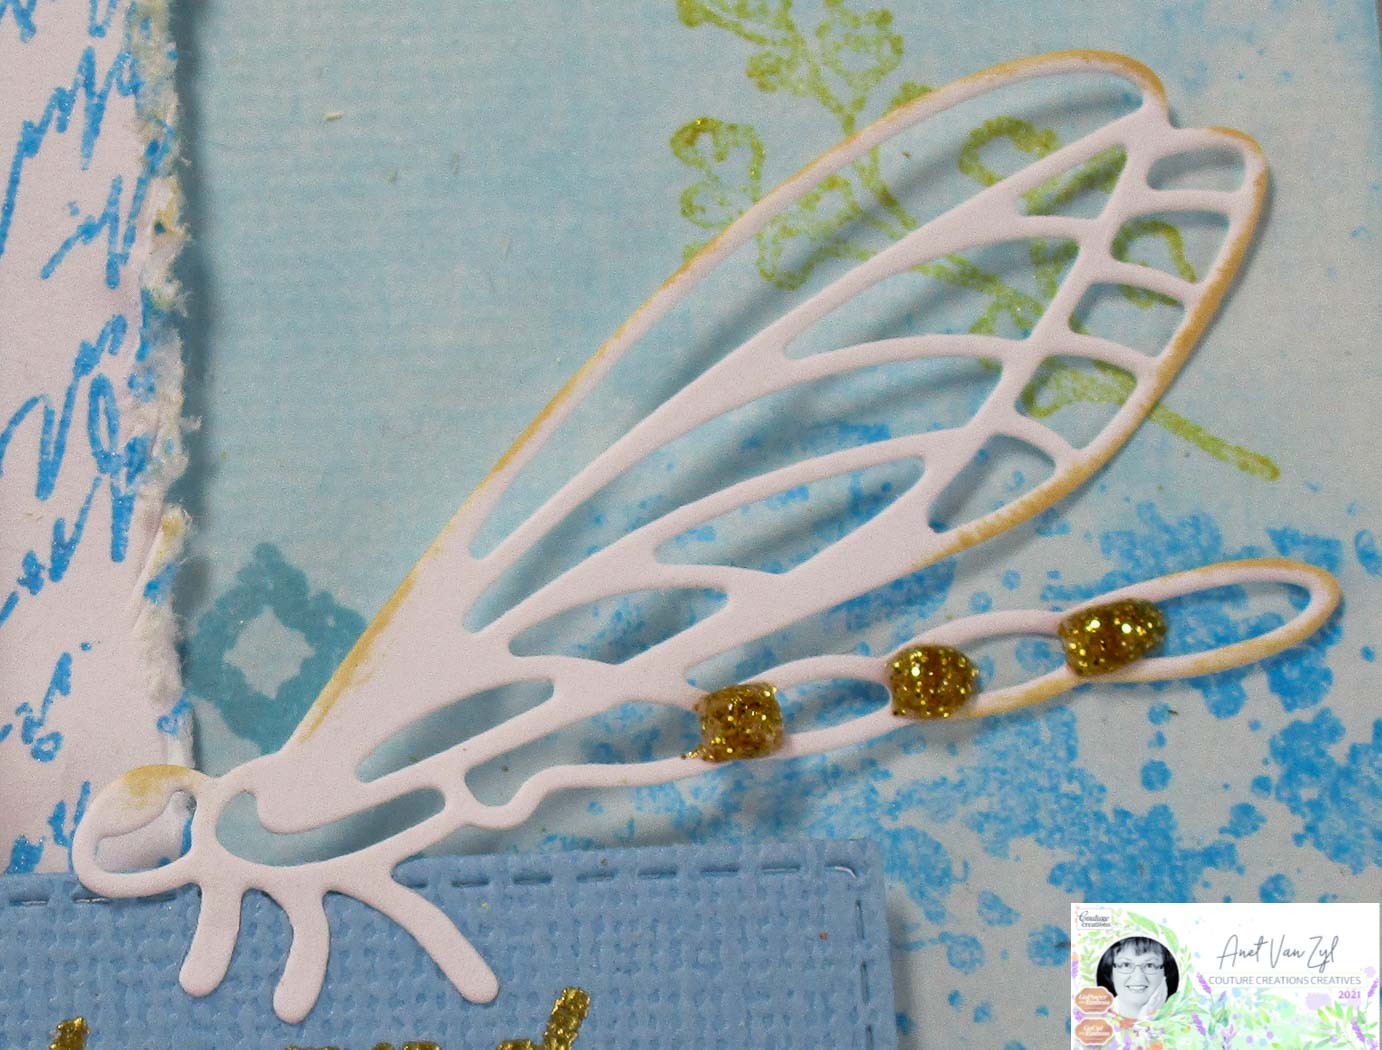
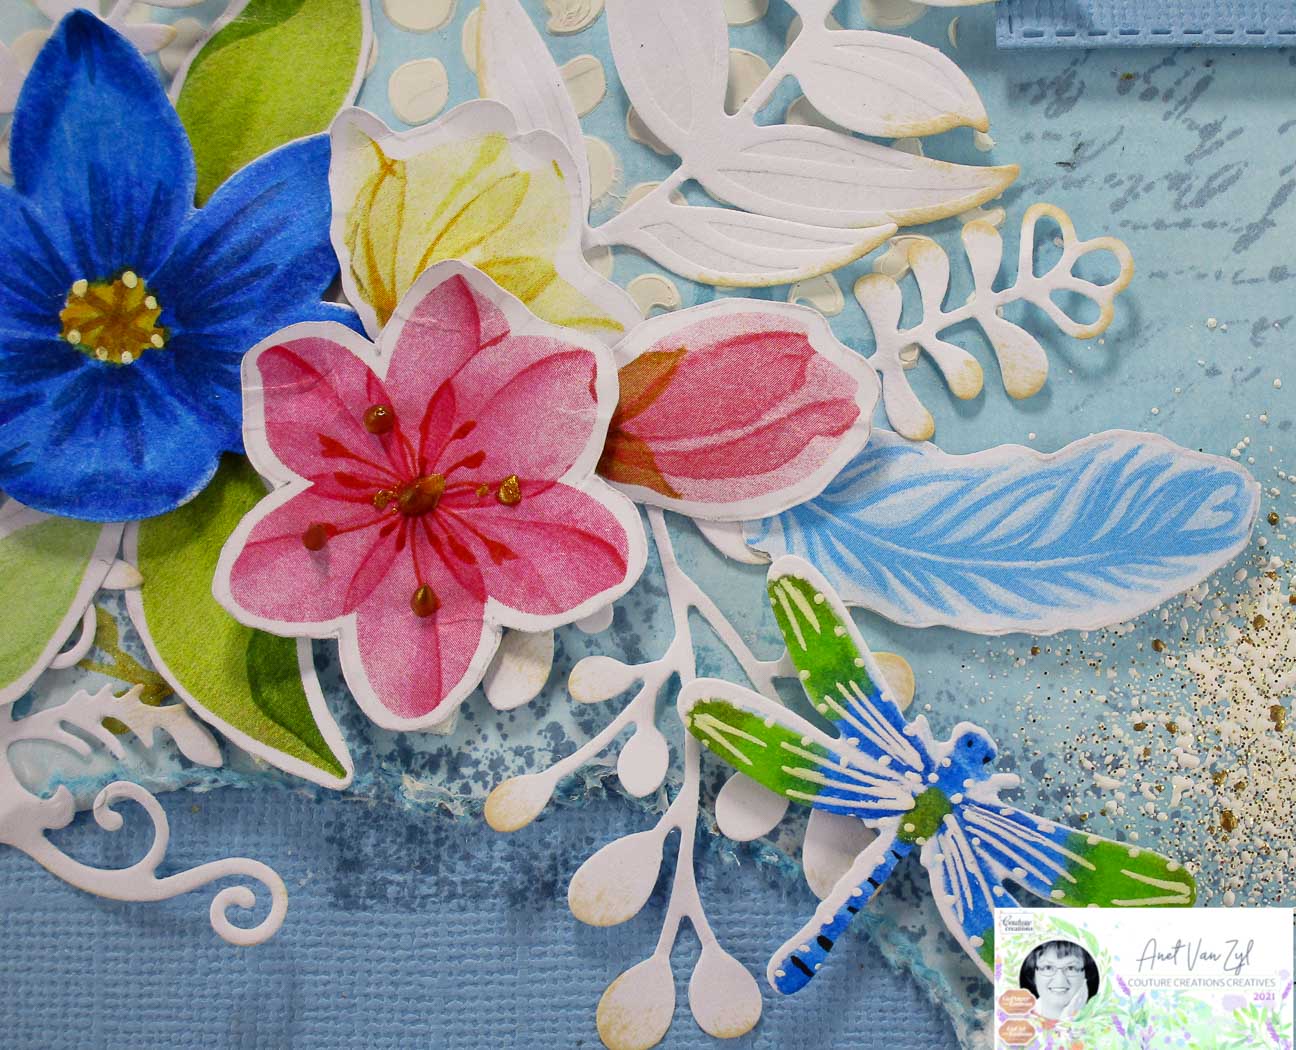
I stamped the Couture Creations Blending Card with the You Go Girl Captivating Flower and Layered Dragonfly Stamps using Light Blue Dye Ink and colour it with the Couture Creations Twin Tip Alcohol Ink Markers. I then die-cut it with the You Go Girl Captivating Flower and Layered Dragonfly Dies. Follow my video below for tips on how to colour with the twin tip alcohol ink markers.
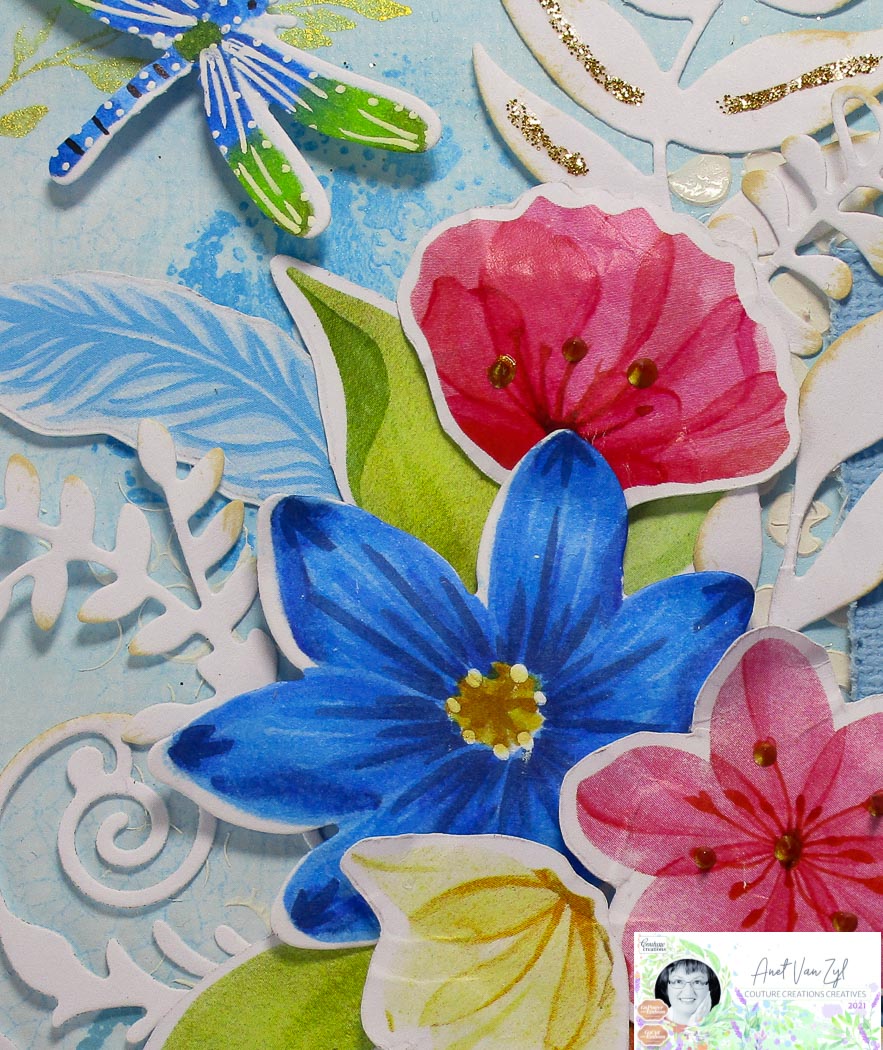
Following on from this I started adding flowers and leaves using the You Go Girl Ephemera.
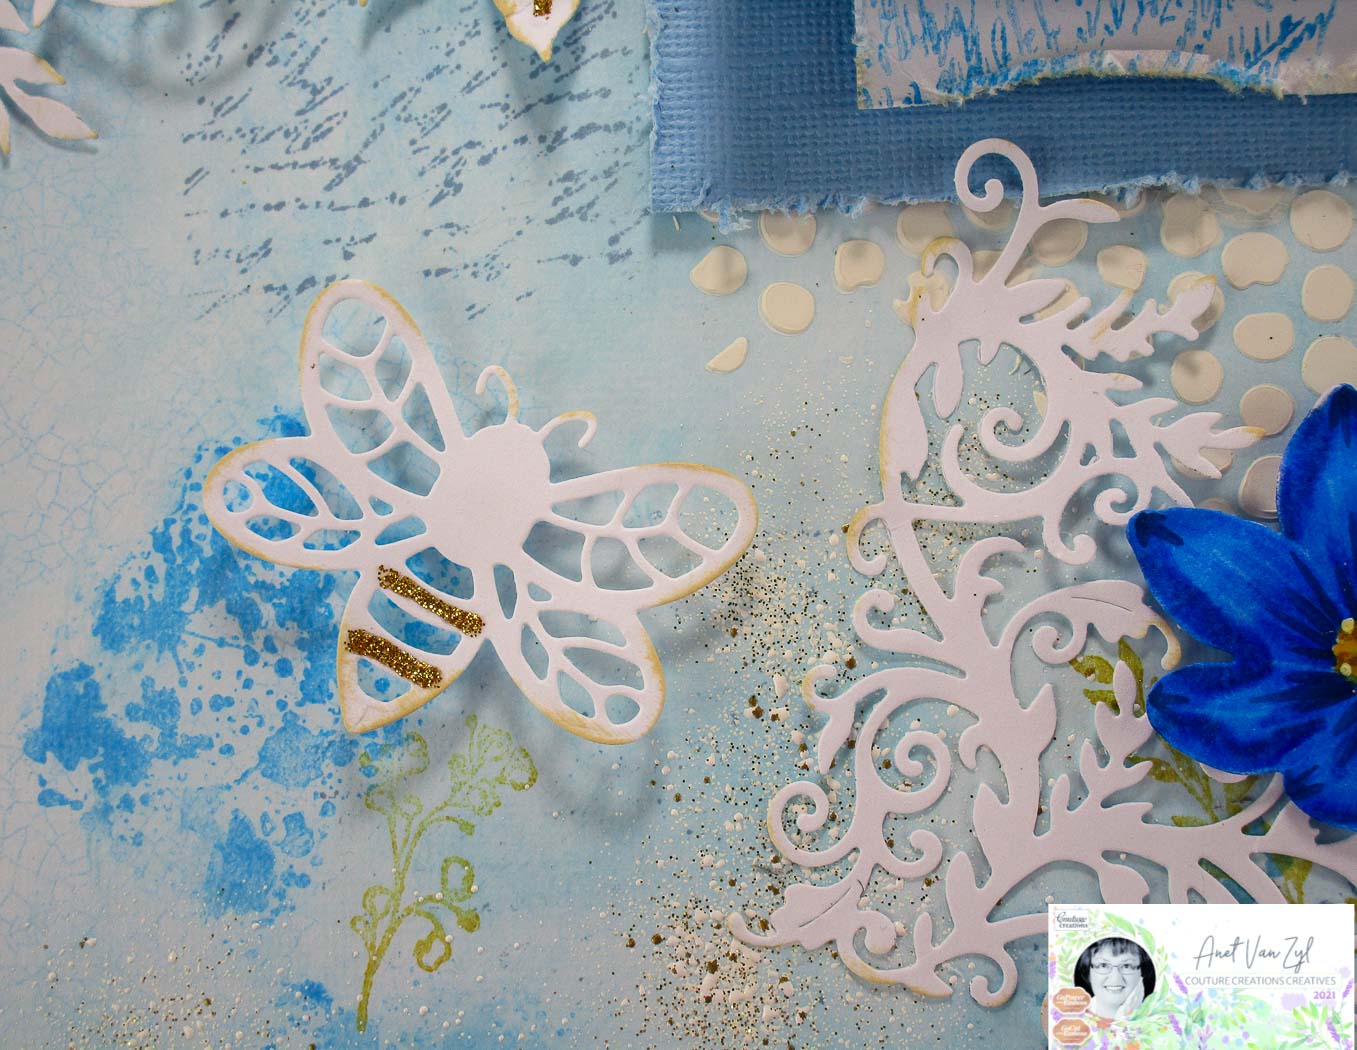
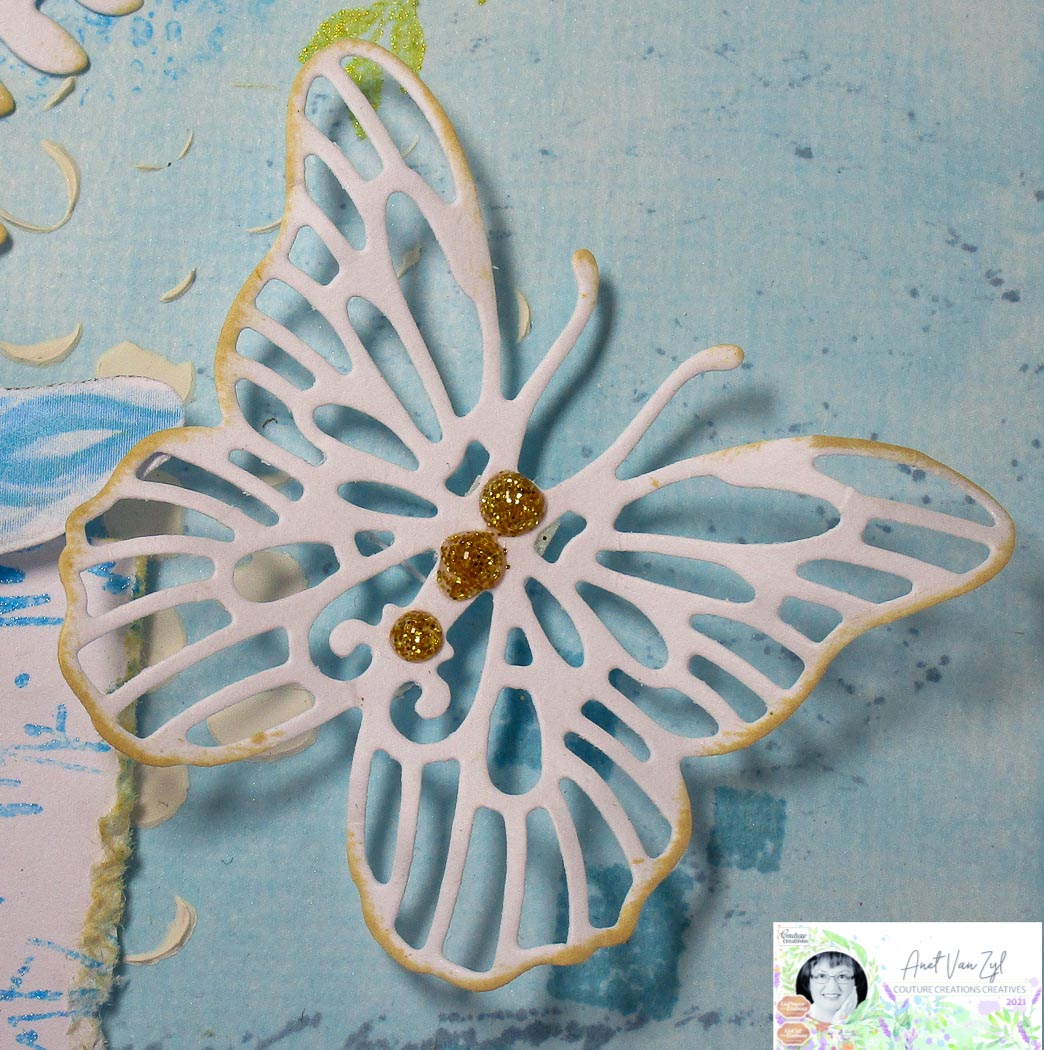
To finish off my layout I die-cut white cardstock with the following dies: You Go Girl Bumblebee, Filigree Butterfly and Light Dragonfly Dies, Le Petit Jardin Evening Branch, Morning Flourish Decorative and Midday Corner Decoration, Butterfly Garden Butterfly Corner, Peaceful Peonies Cornered Leaves and Tall Branches, My Secret Love Open Branch and Reaching Fern and Blooming Friendship Friendly Branches.
Twin Tip Alcohol Ink Marker Colours
Captivating Flower: 188, 216, 234, 232
Centre of Flower: 7565, 134, 106 and White Gel Pen
Dragonfly: 2925, 2727, 279, 377, 2288, 006 and White Gel Pen
how I created my Scrapbook Layout.
Happy Crafting! Anet