Welcome to my next project for Couture Creations using the ‘Blooming Friendship’ Collection. I thought I would do a layout this time. As part of this project I wanted to challenge myself and see how many ways I could use the flower die & stamps. So here goes…

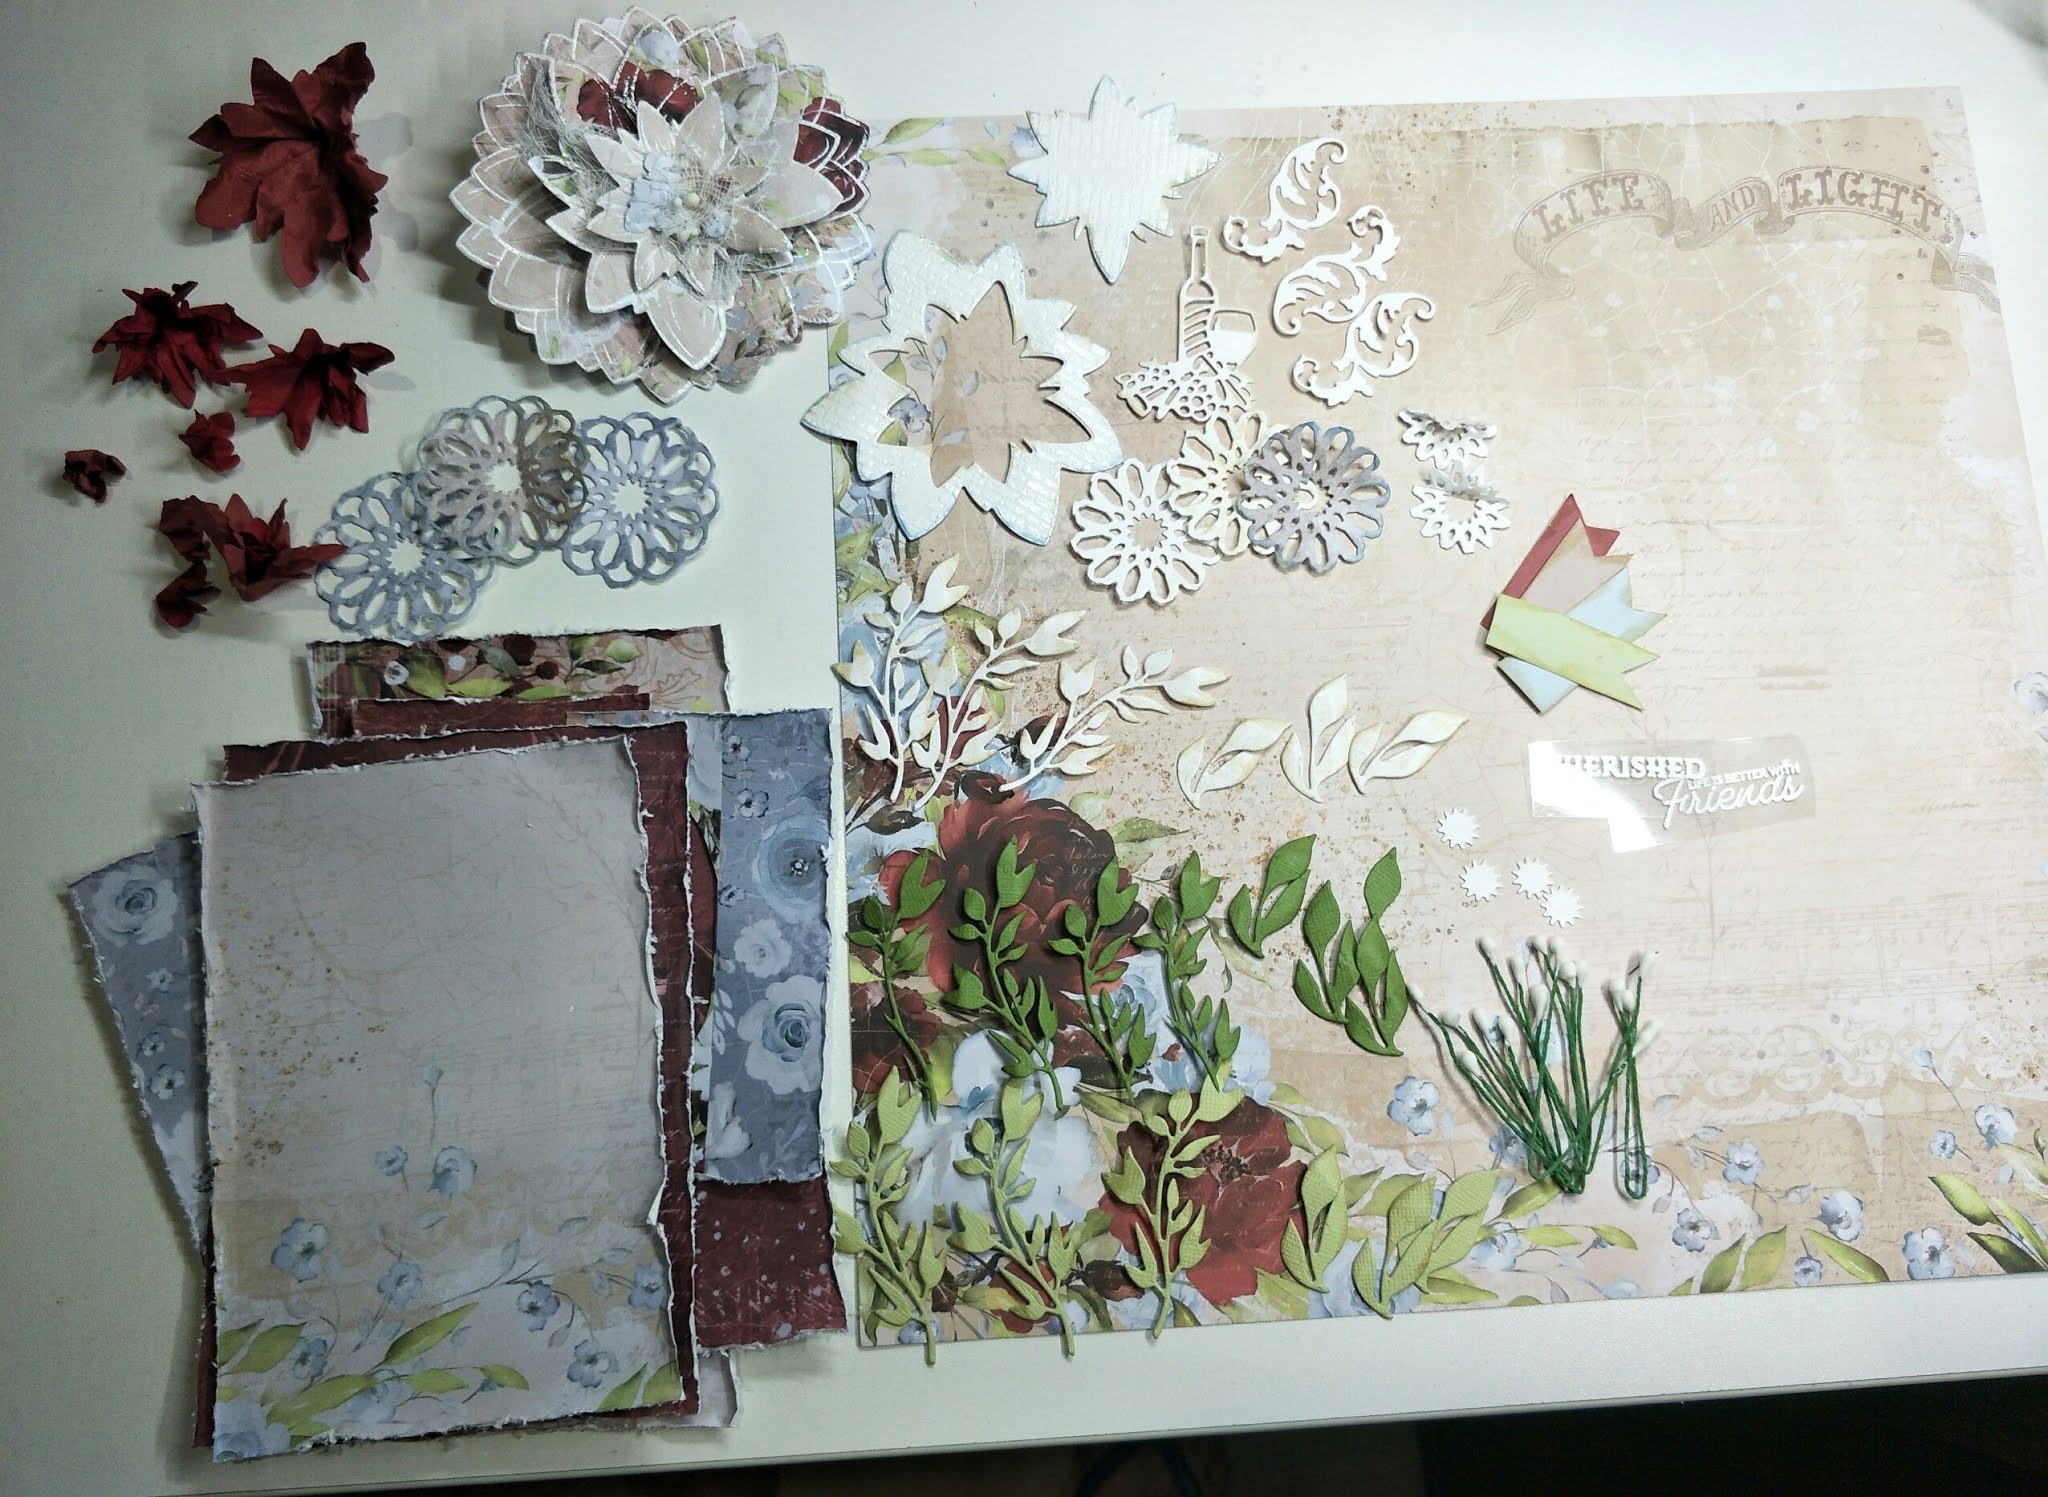


First I gathered together all of my components.
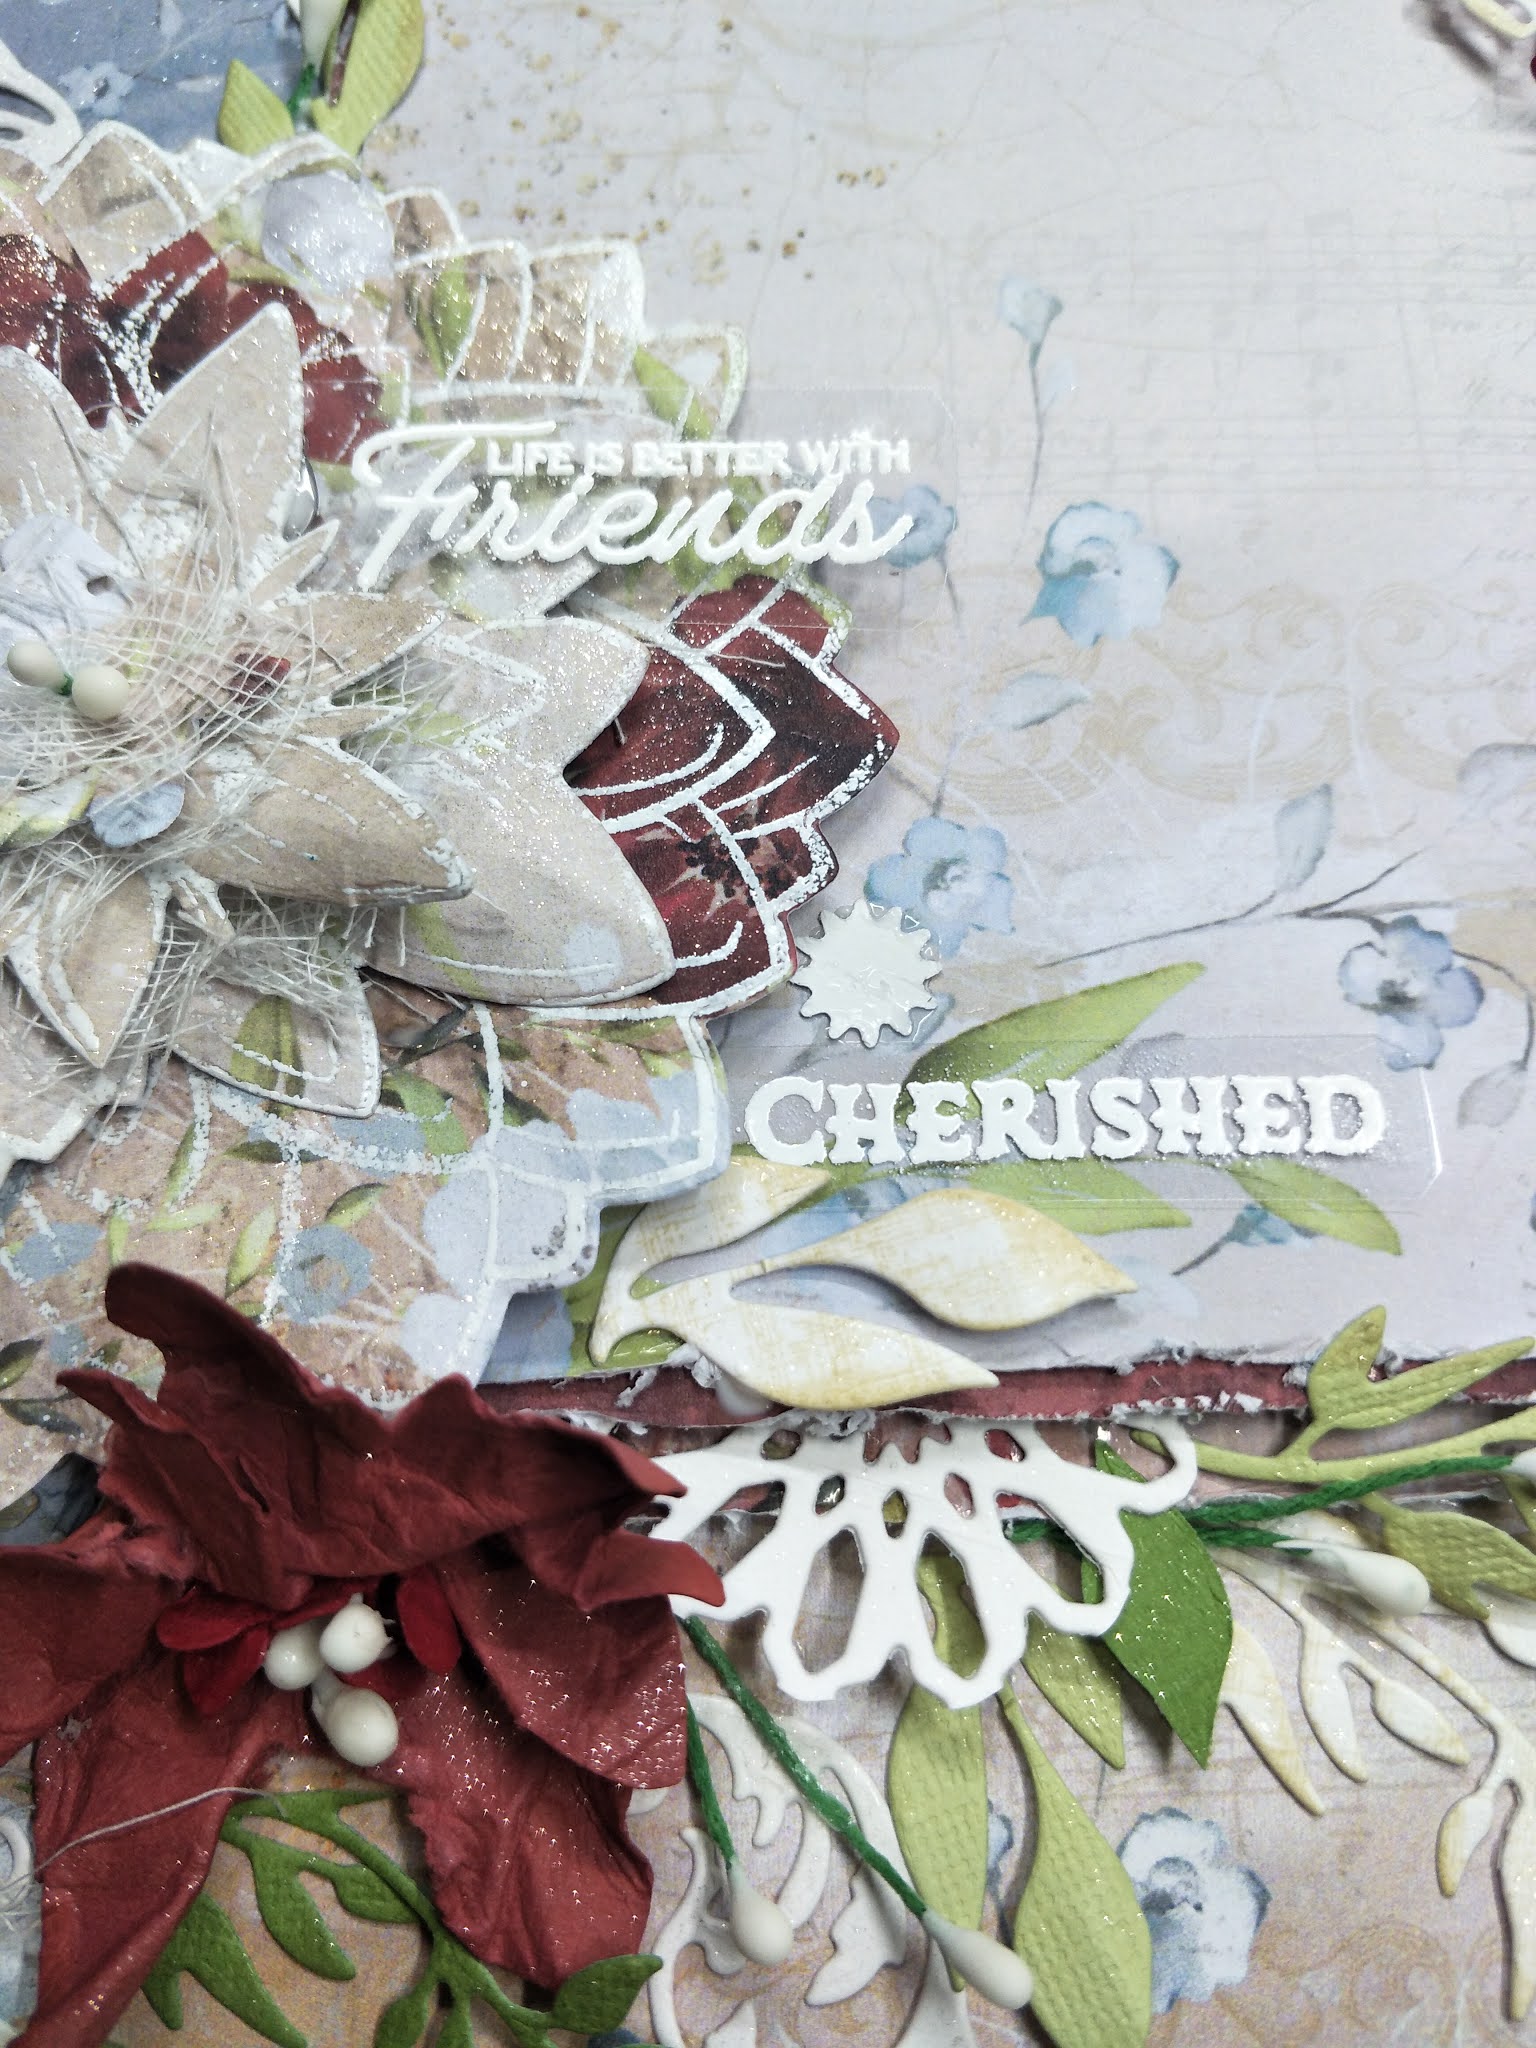
I started the project with embossing. The sentiments were embossed on heat-resistant acetate (the heat from the heating tool will warp normal acetate) and the brickwork stamp was embossed on white cardstock.
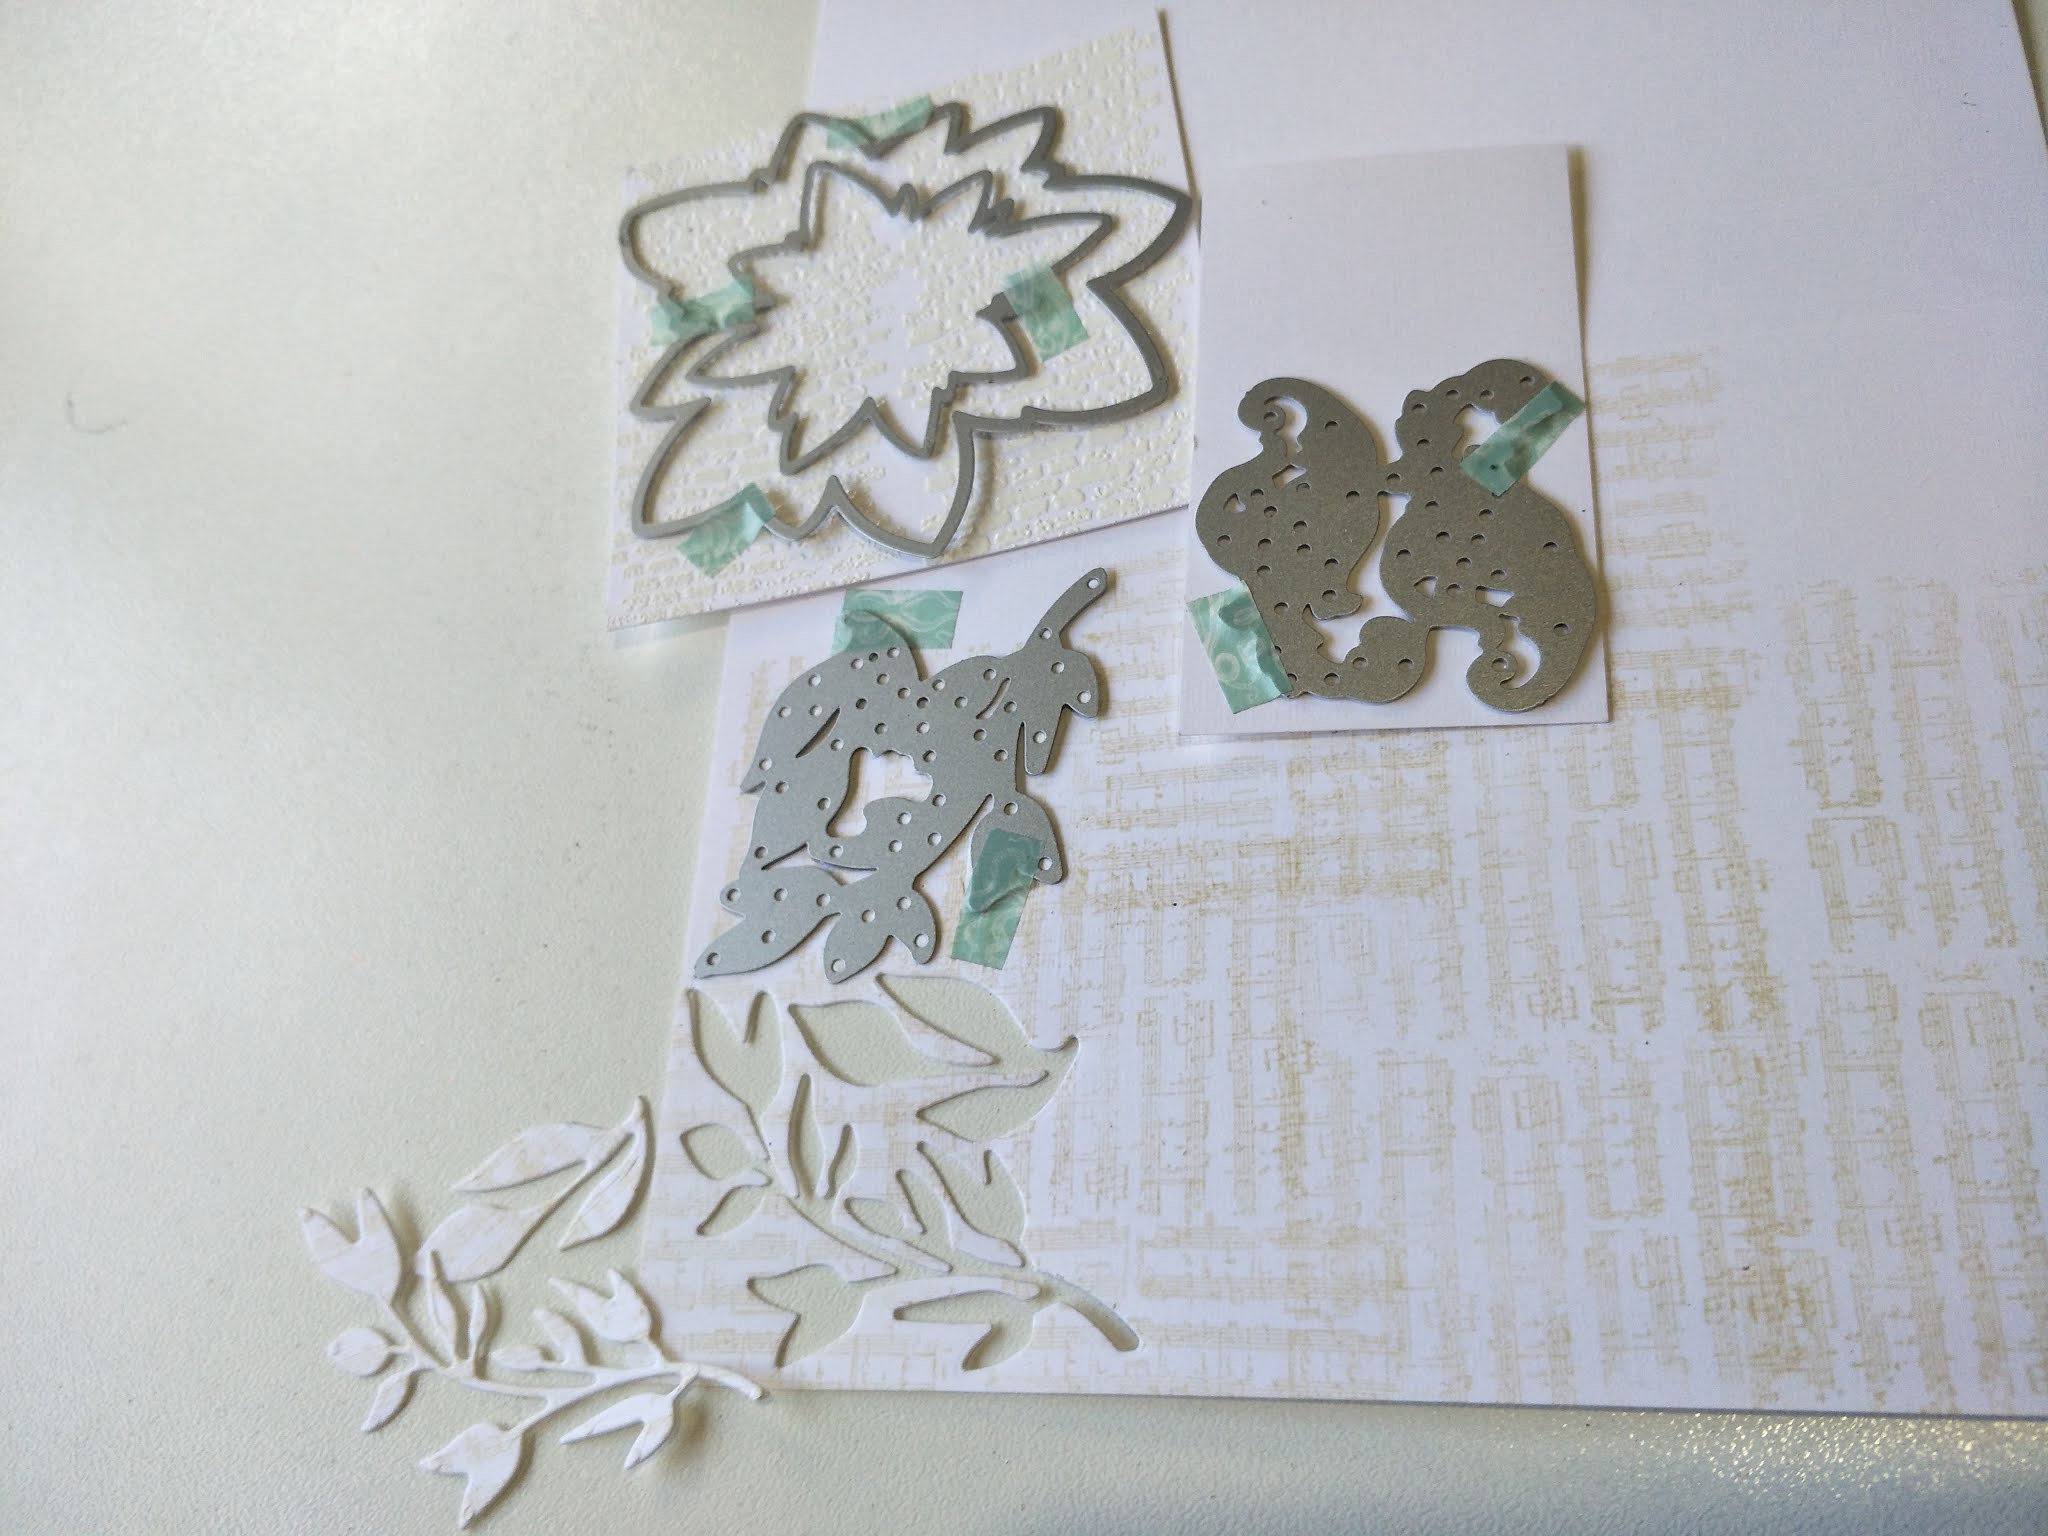
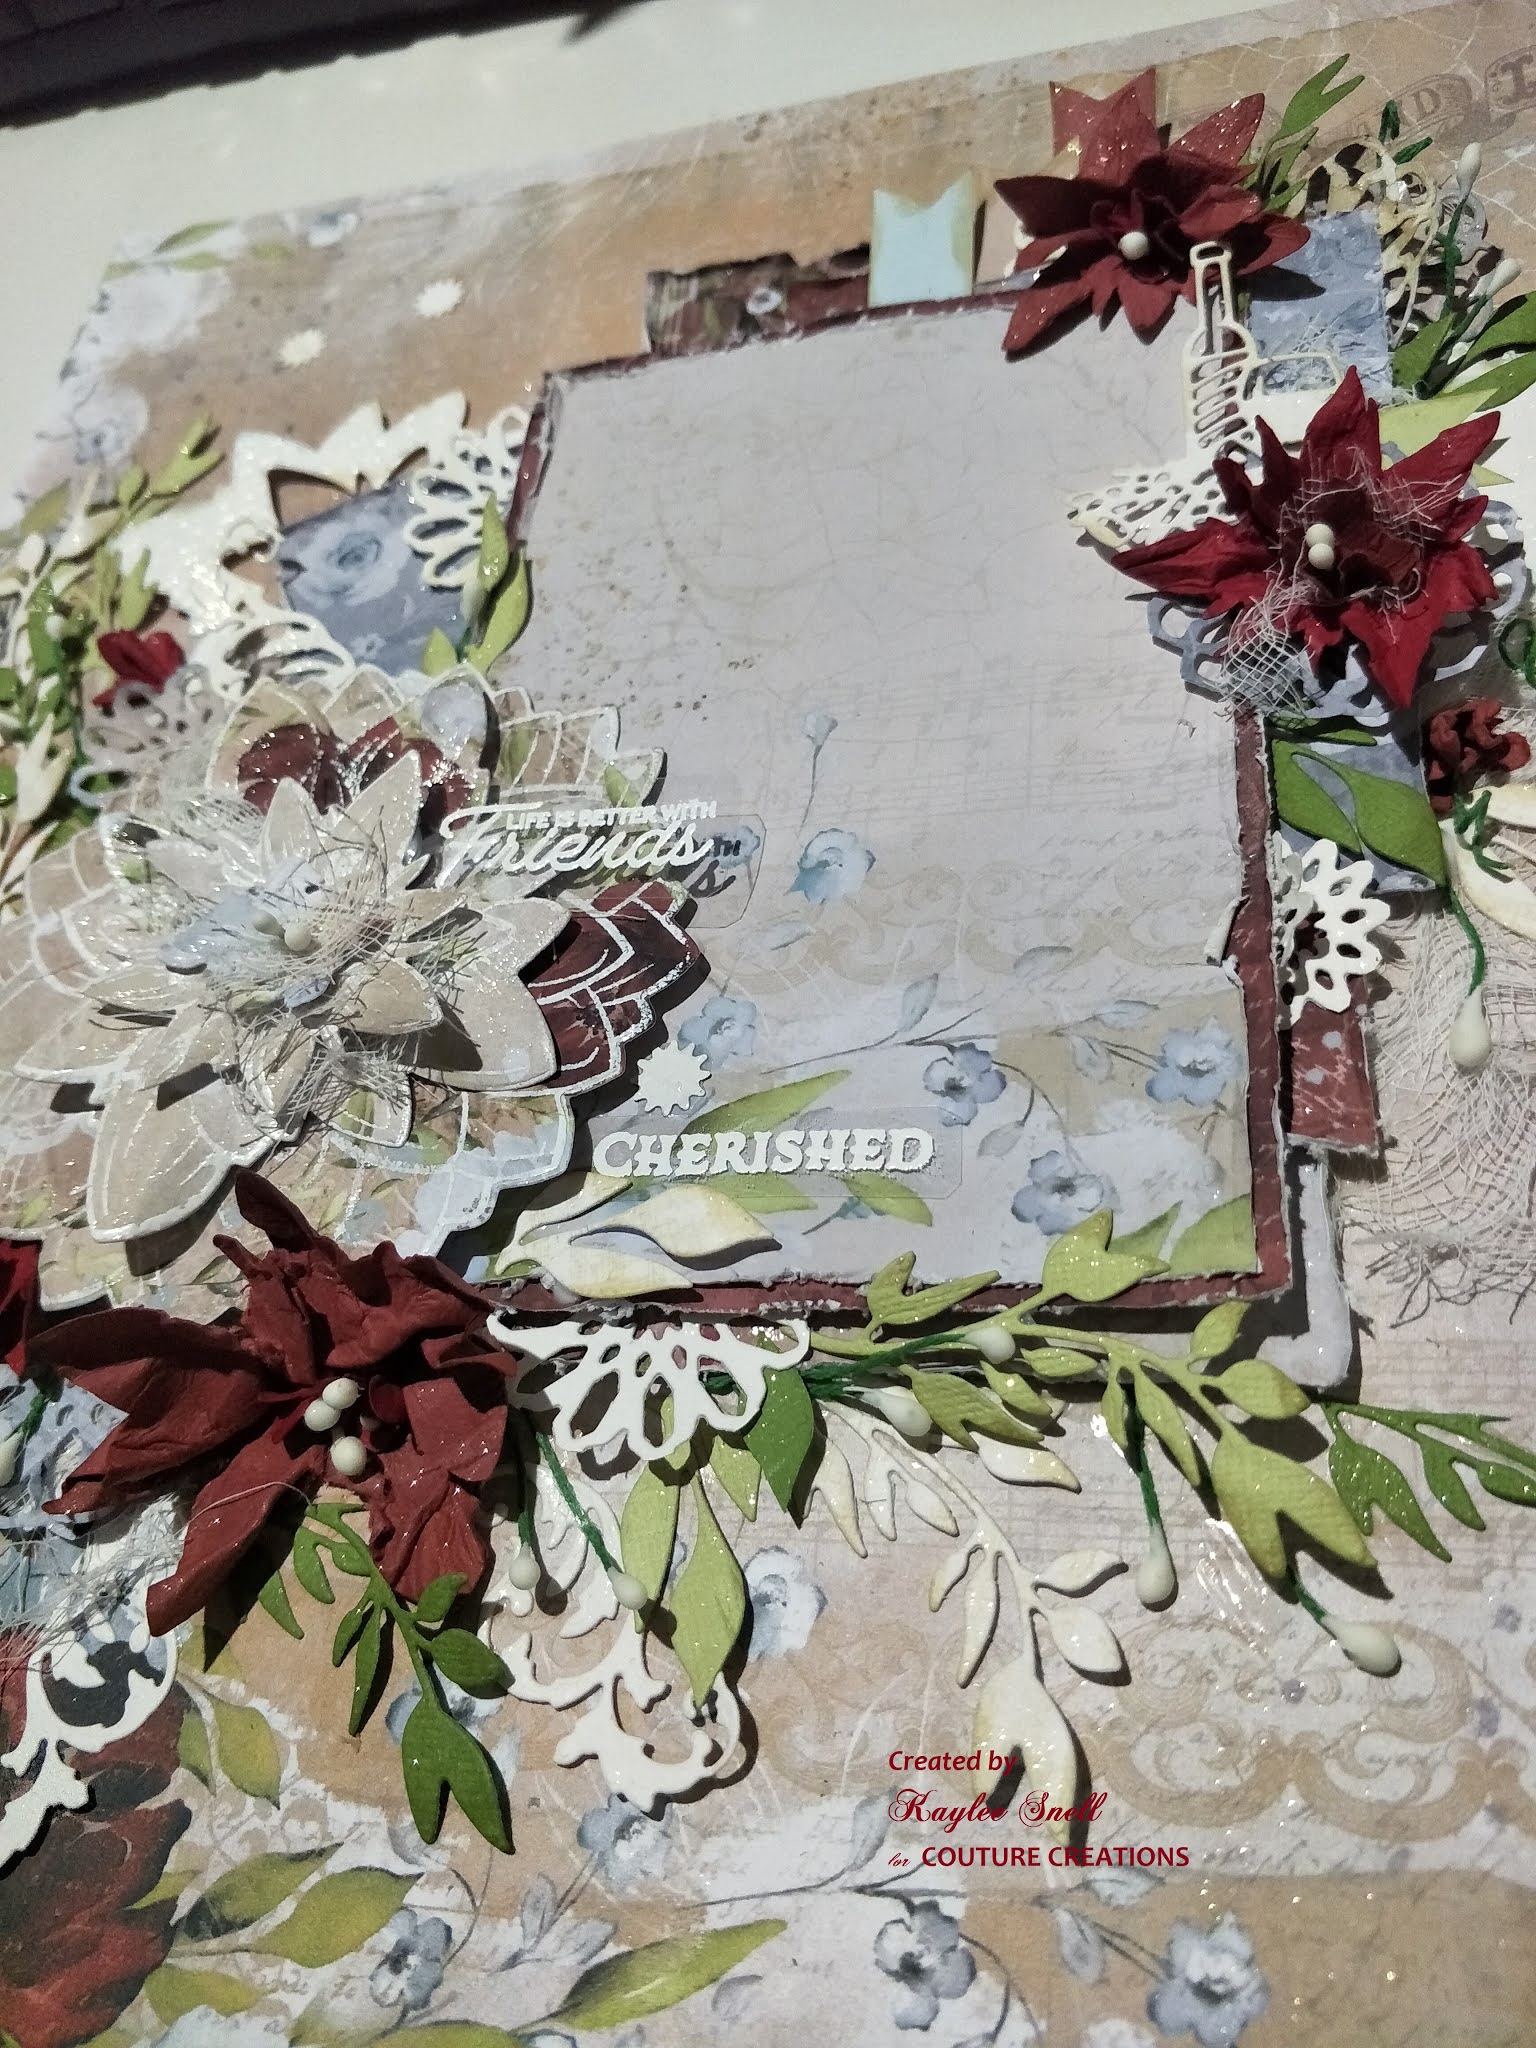
I stamped the music stamp onto white card before die-cutting out some leaves. I wanted a ‘frame’ so I used the 2 middle dies from the large flower set to create it. I thought the embossed brickwork gave the frame more character. The middle also came in useful (never throw anything away until you are finished)
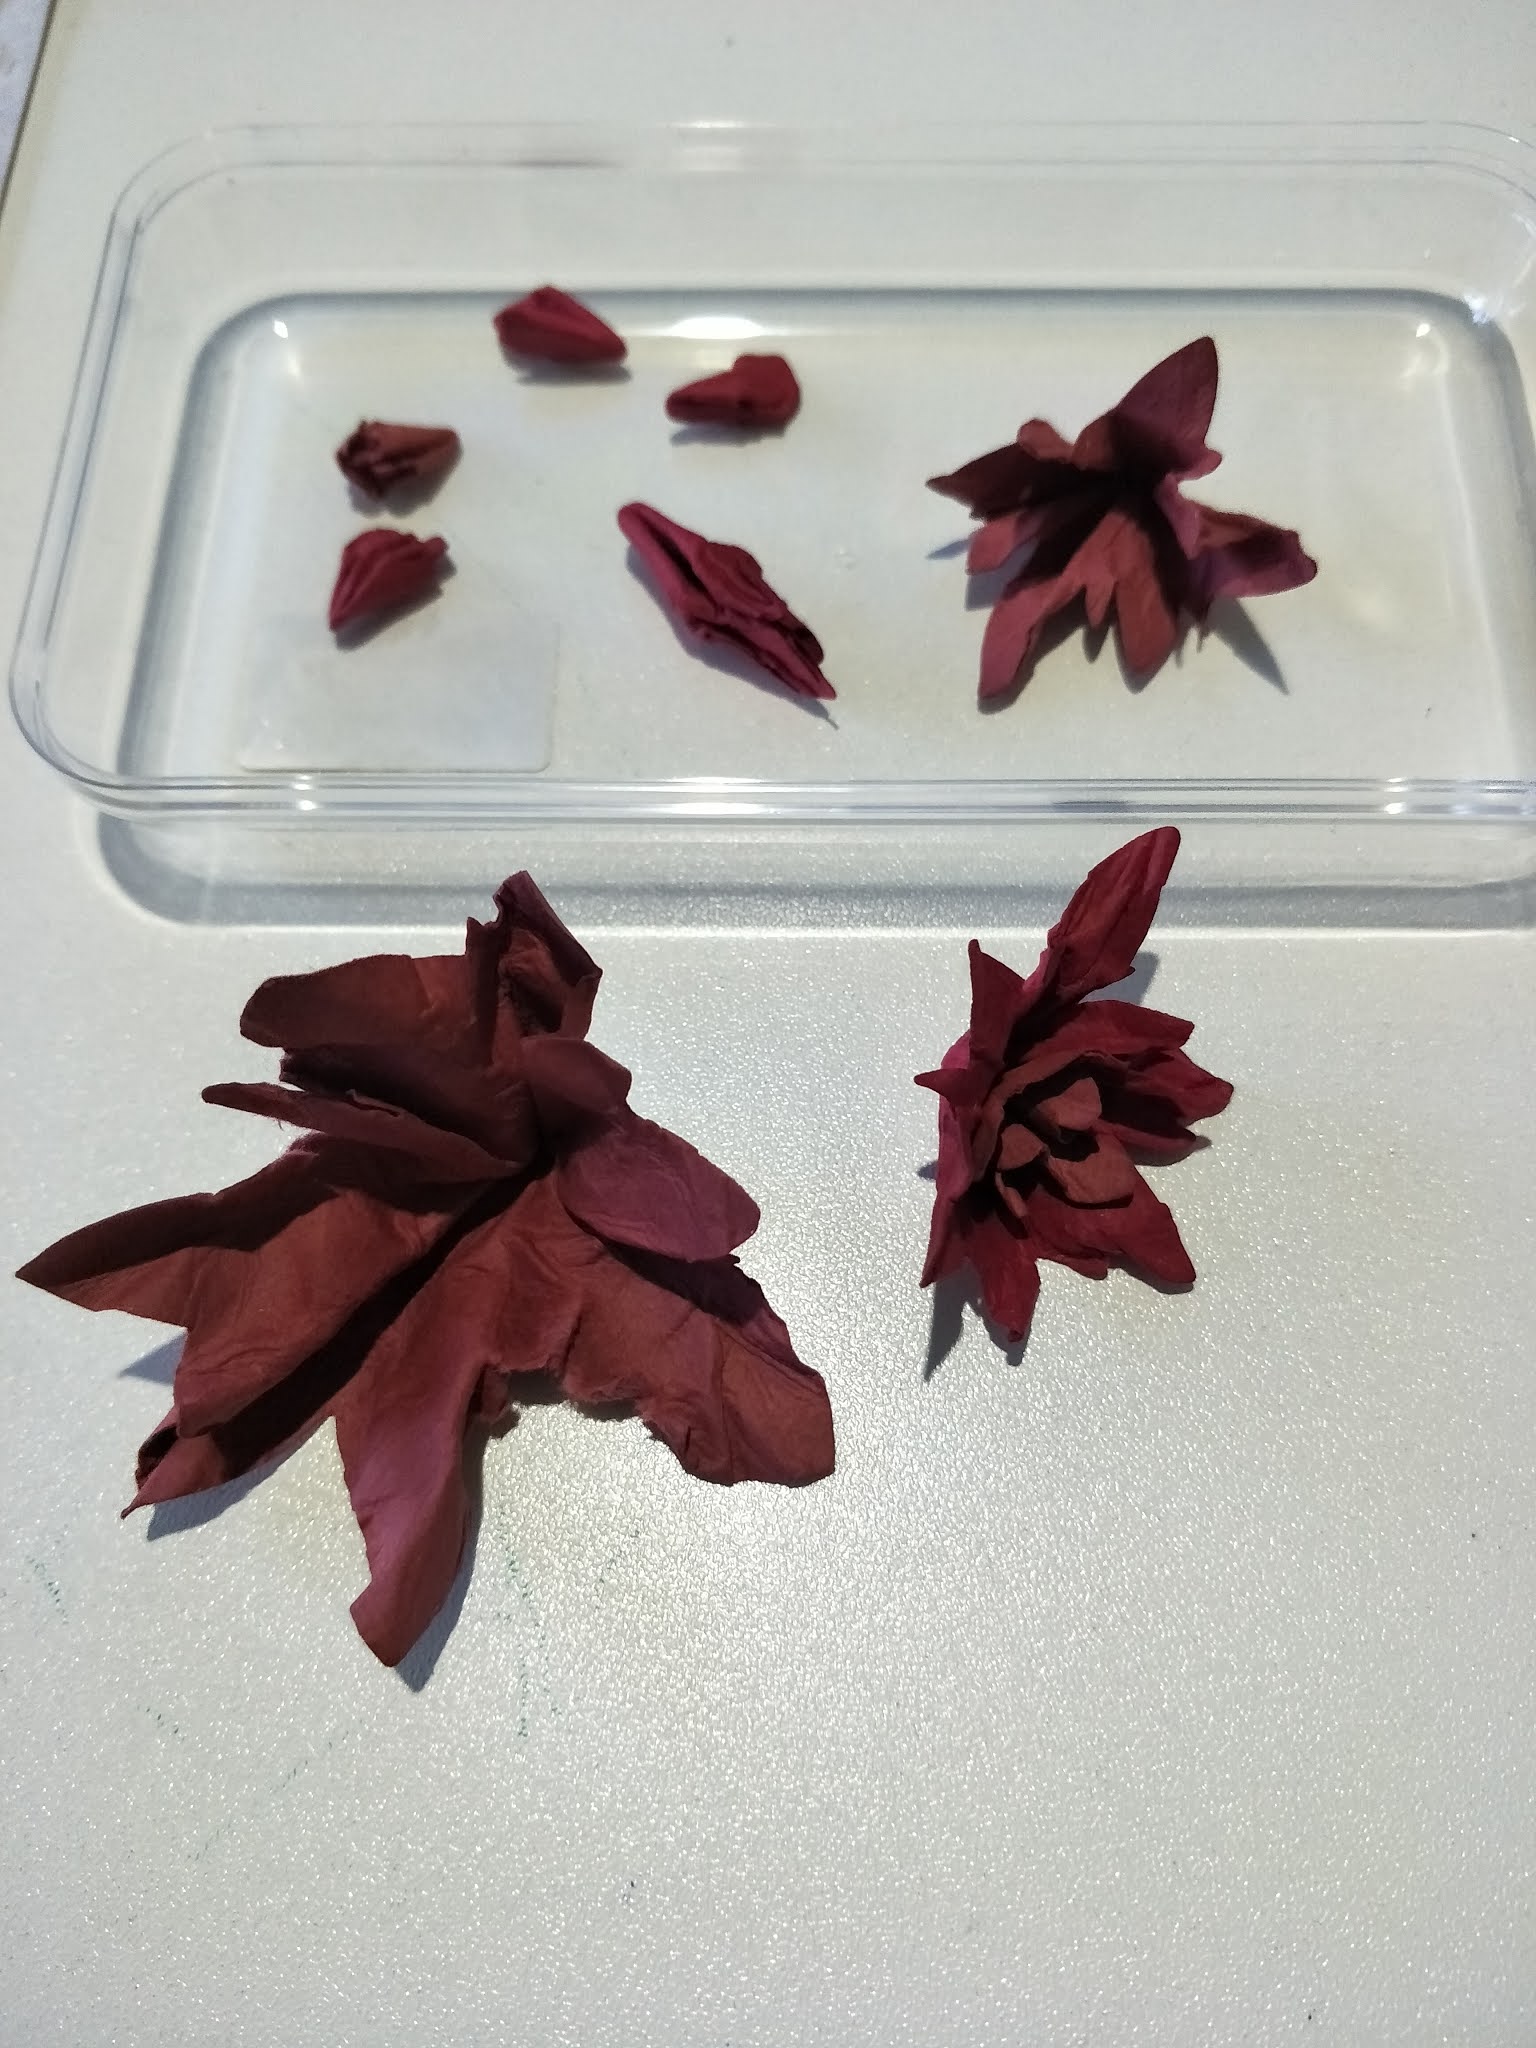
Next was to see if I could make a 3D flower from these dies. I chose 2 red coloured cardstock and cut 1 of the large die and 3 of each of the 2 smaller dies.
I quickly dipped each piece into water before folding and scrunching them into a shape.
I put them in the sun for a bit to dry and then carefully unravelled each piece to see a new flower. I chose one of each colour and glued a smaller flower to the centre of 3 of the larger flowers and added a stamen or two as well.
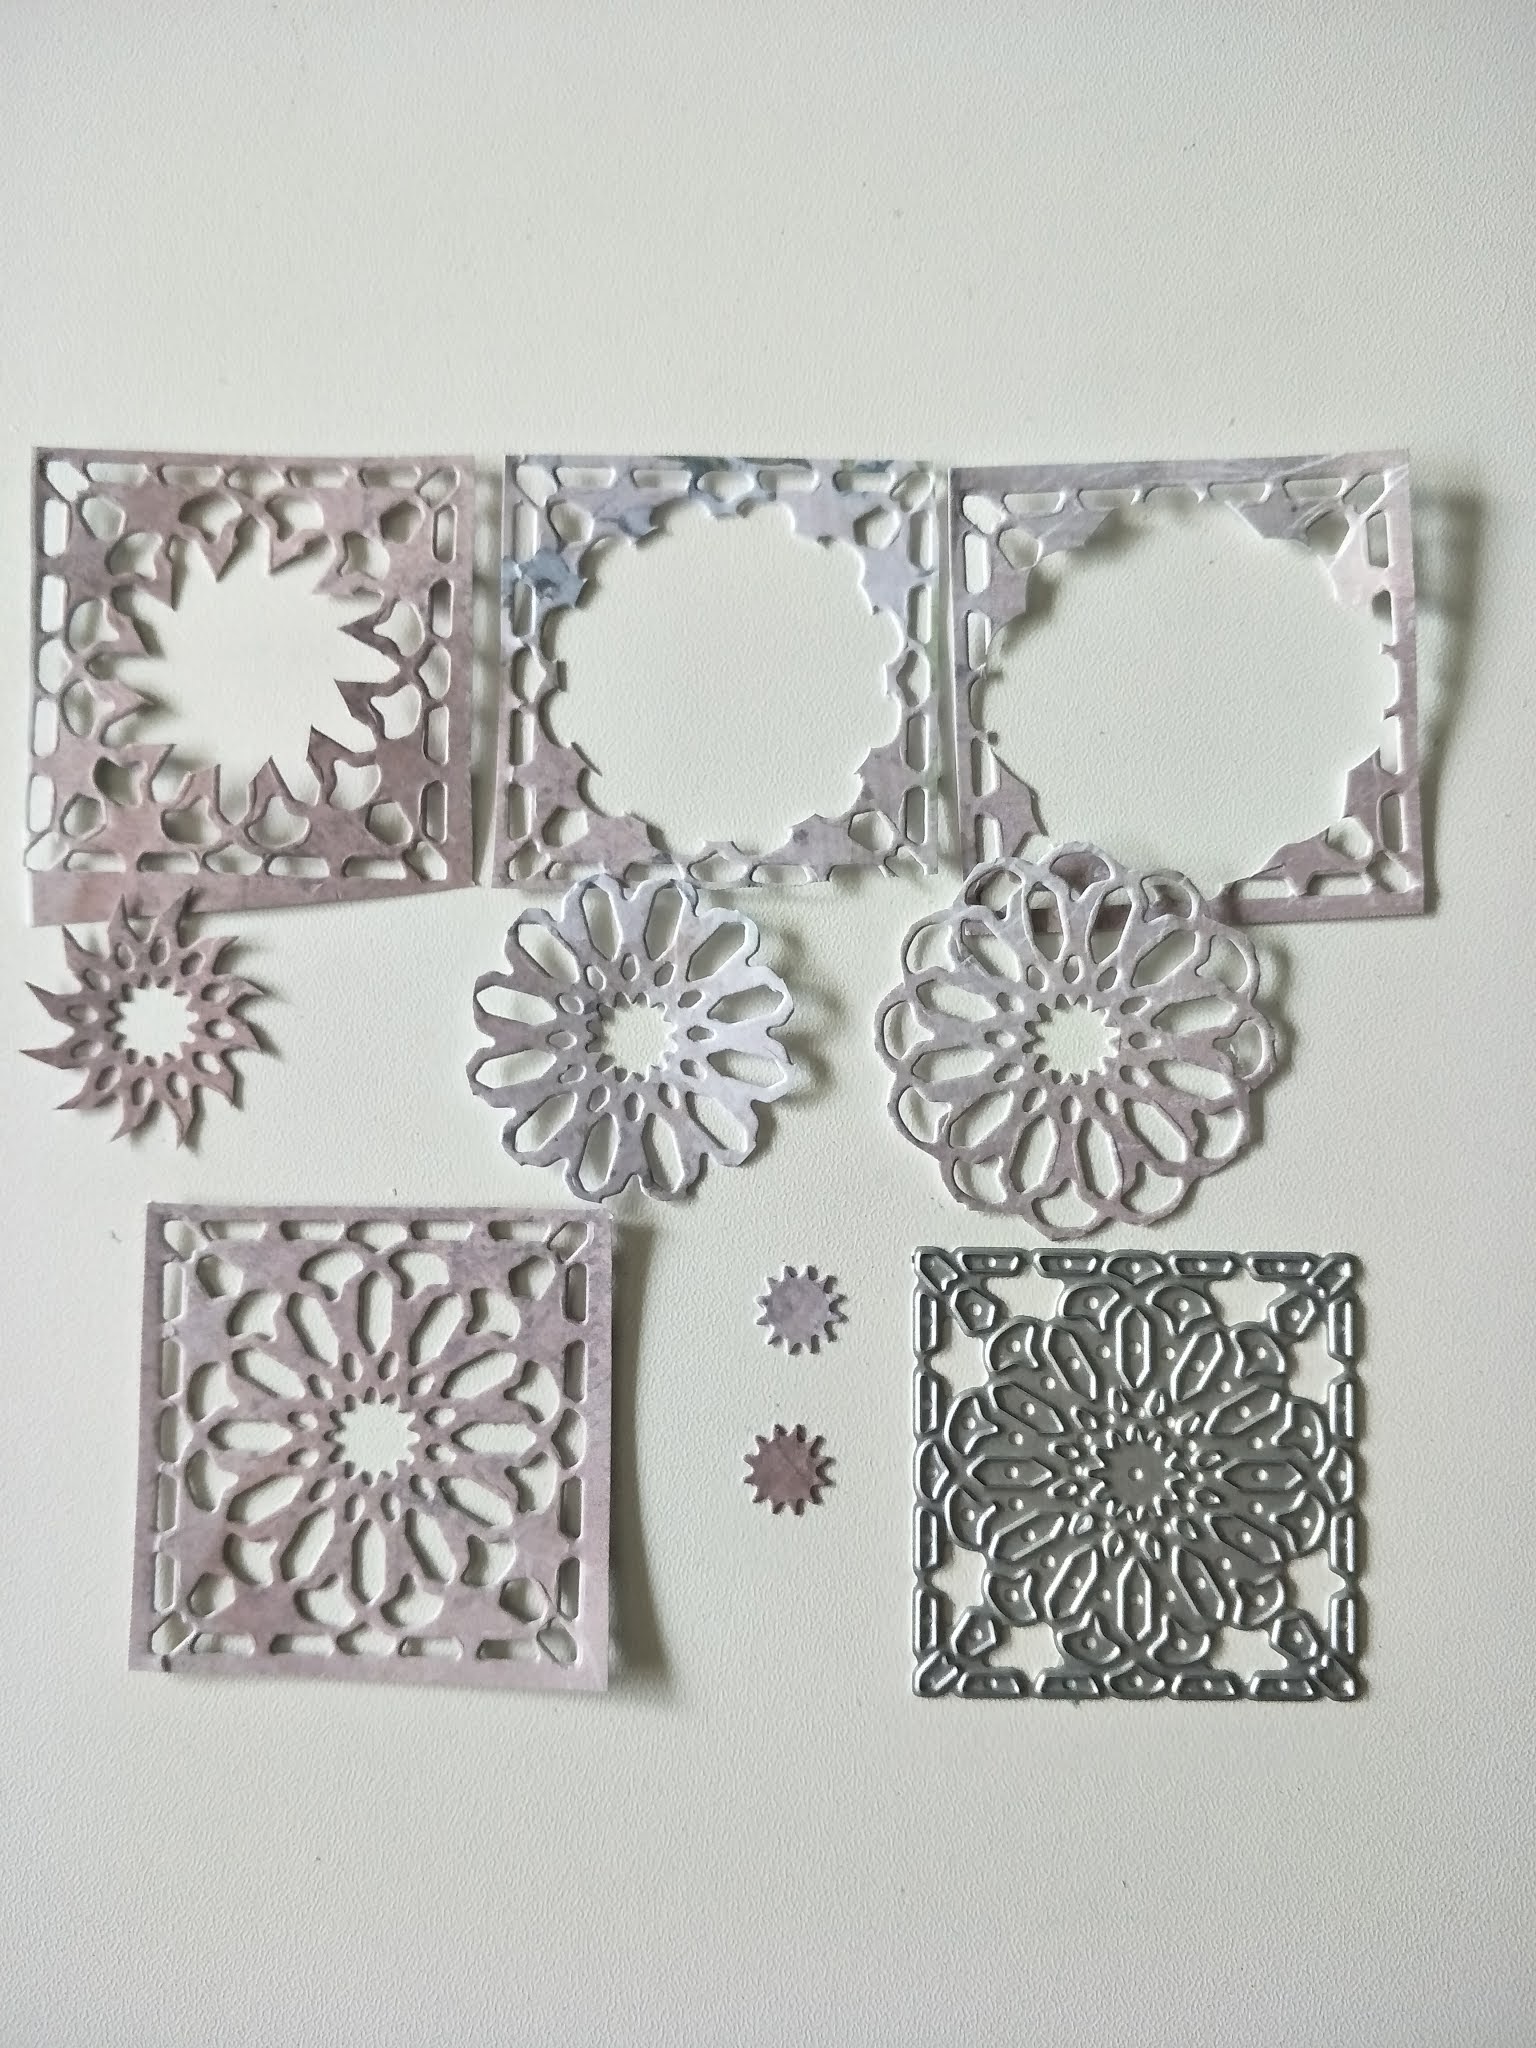
This was a surprise die. It is a mosaic tile but I found I could get 4 different sized flowers from it.
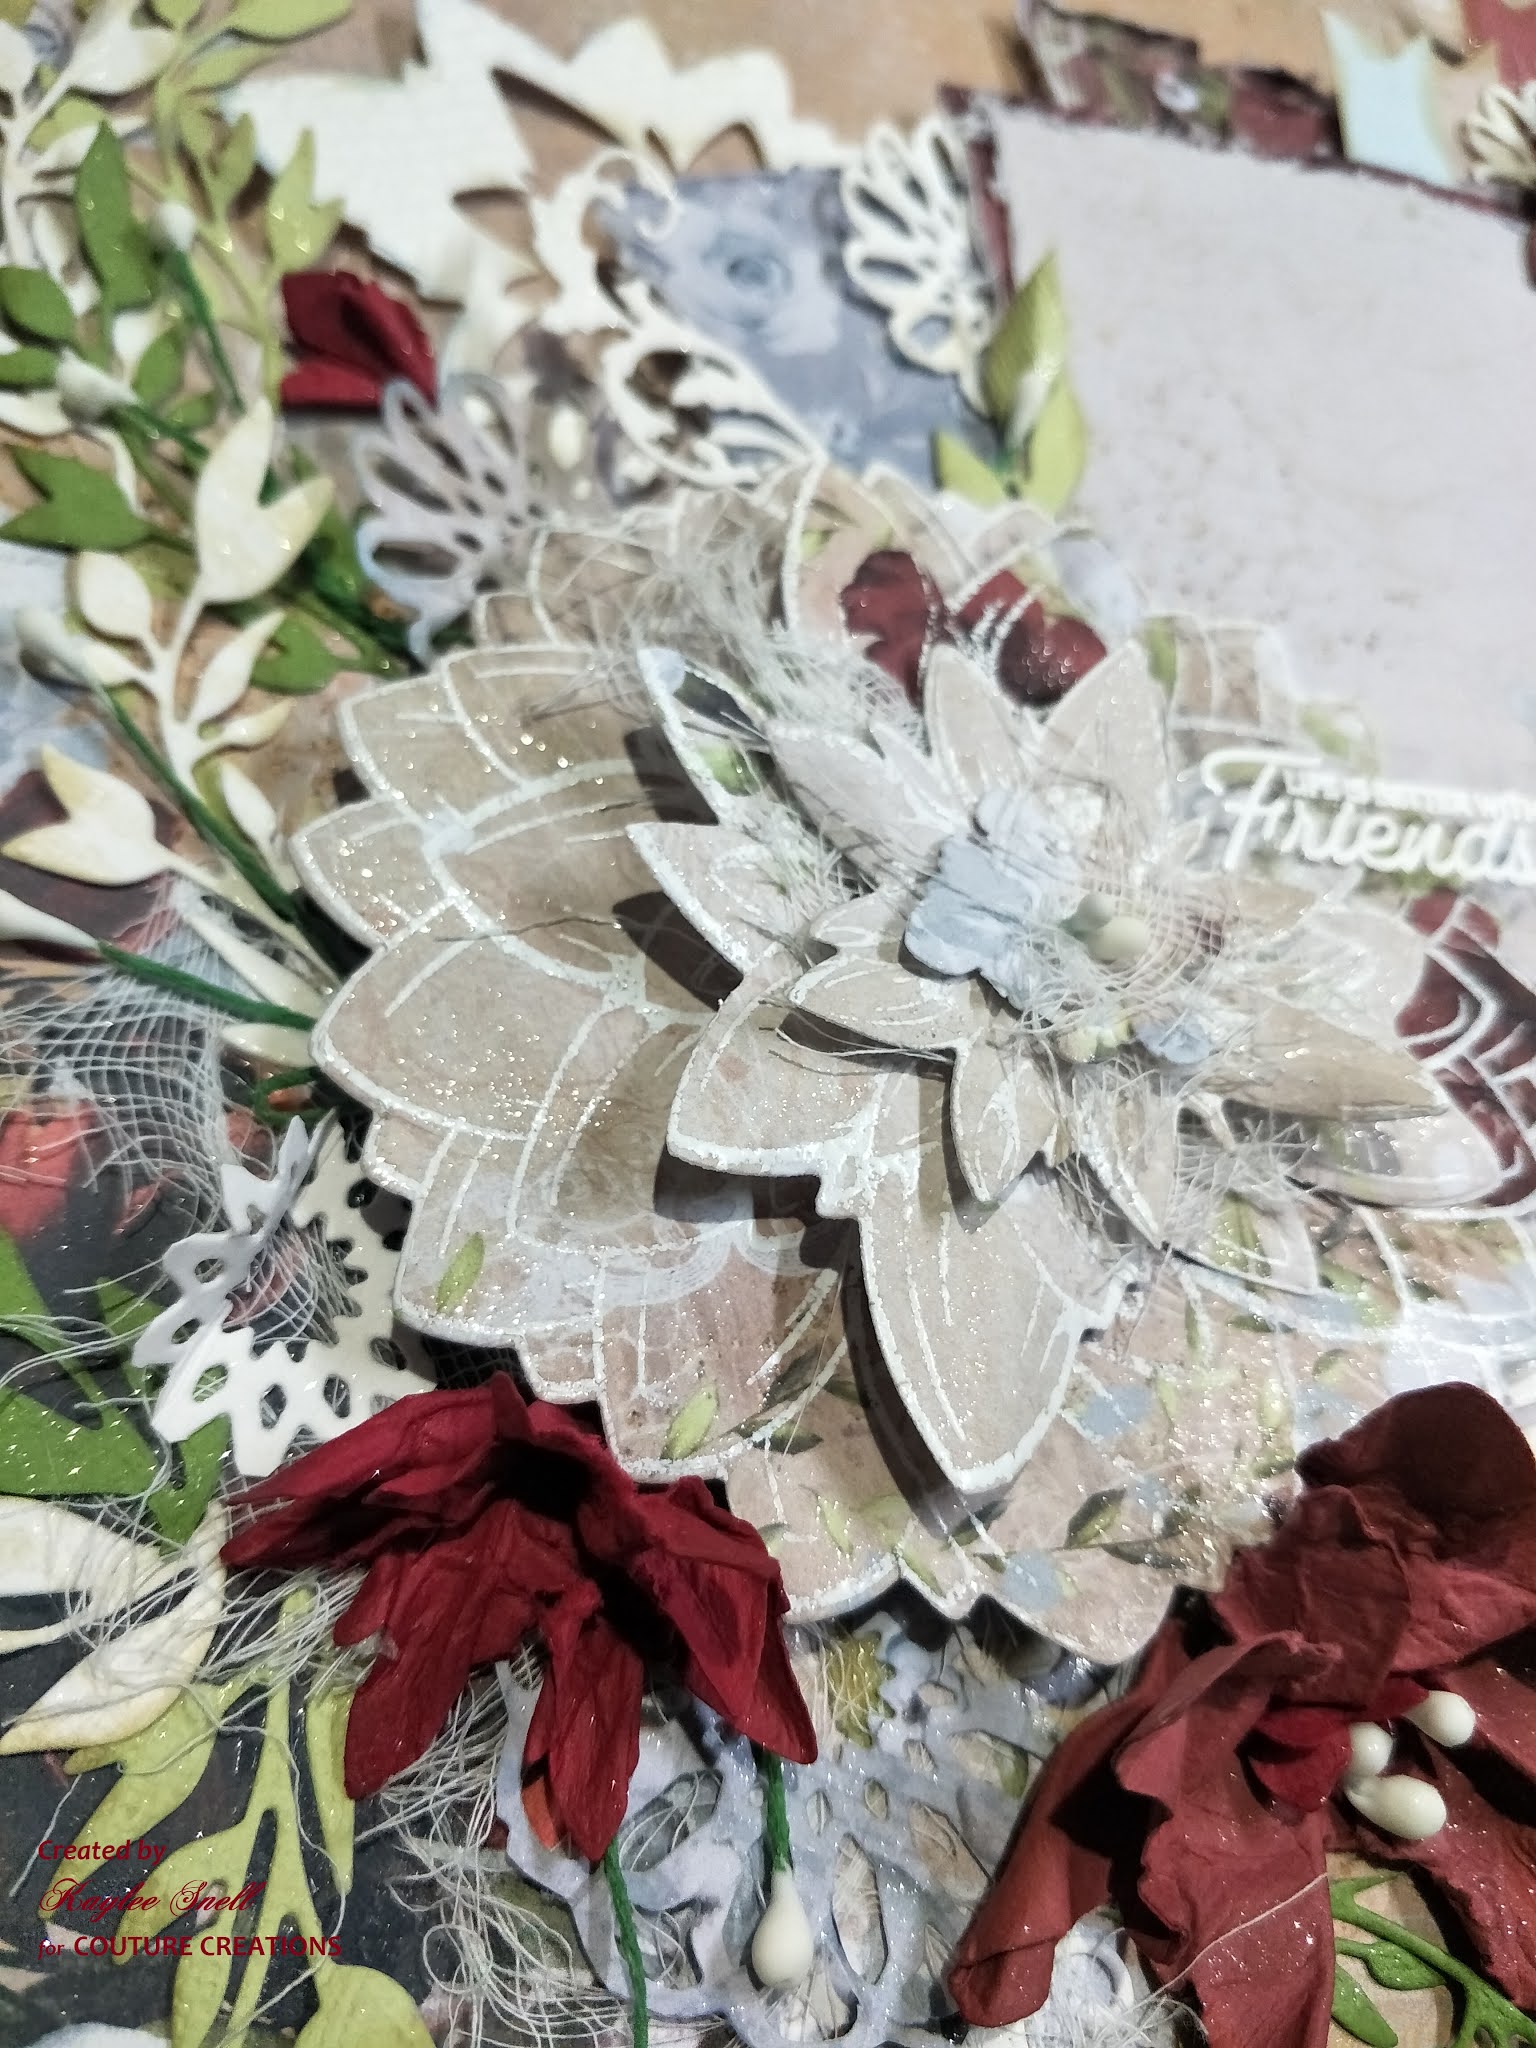
I solved the problem I was having with aligning the dies to the stamp. First I placed each die over the acetate image. I drew a mark on the top of the acetate sheet and then on top of each of the dies. I then coloured in each of the areas with alcohol markers. Once I got that sorted, I stamped and embossed the image 4 times, then die-cut them out.
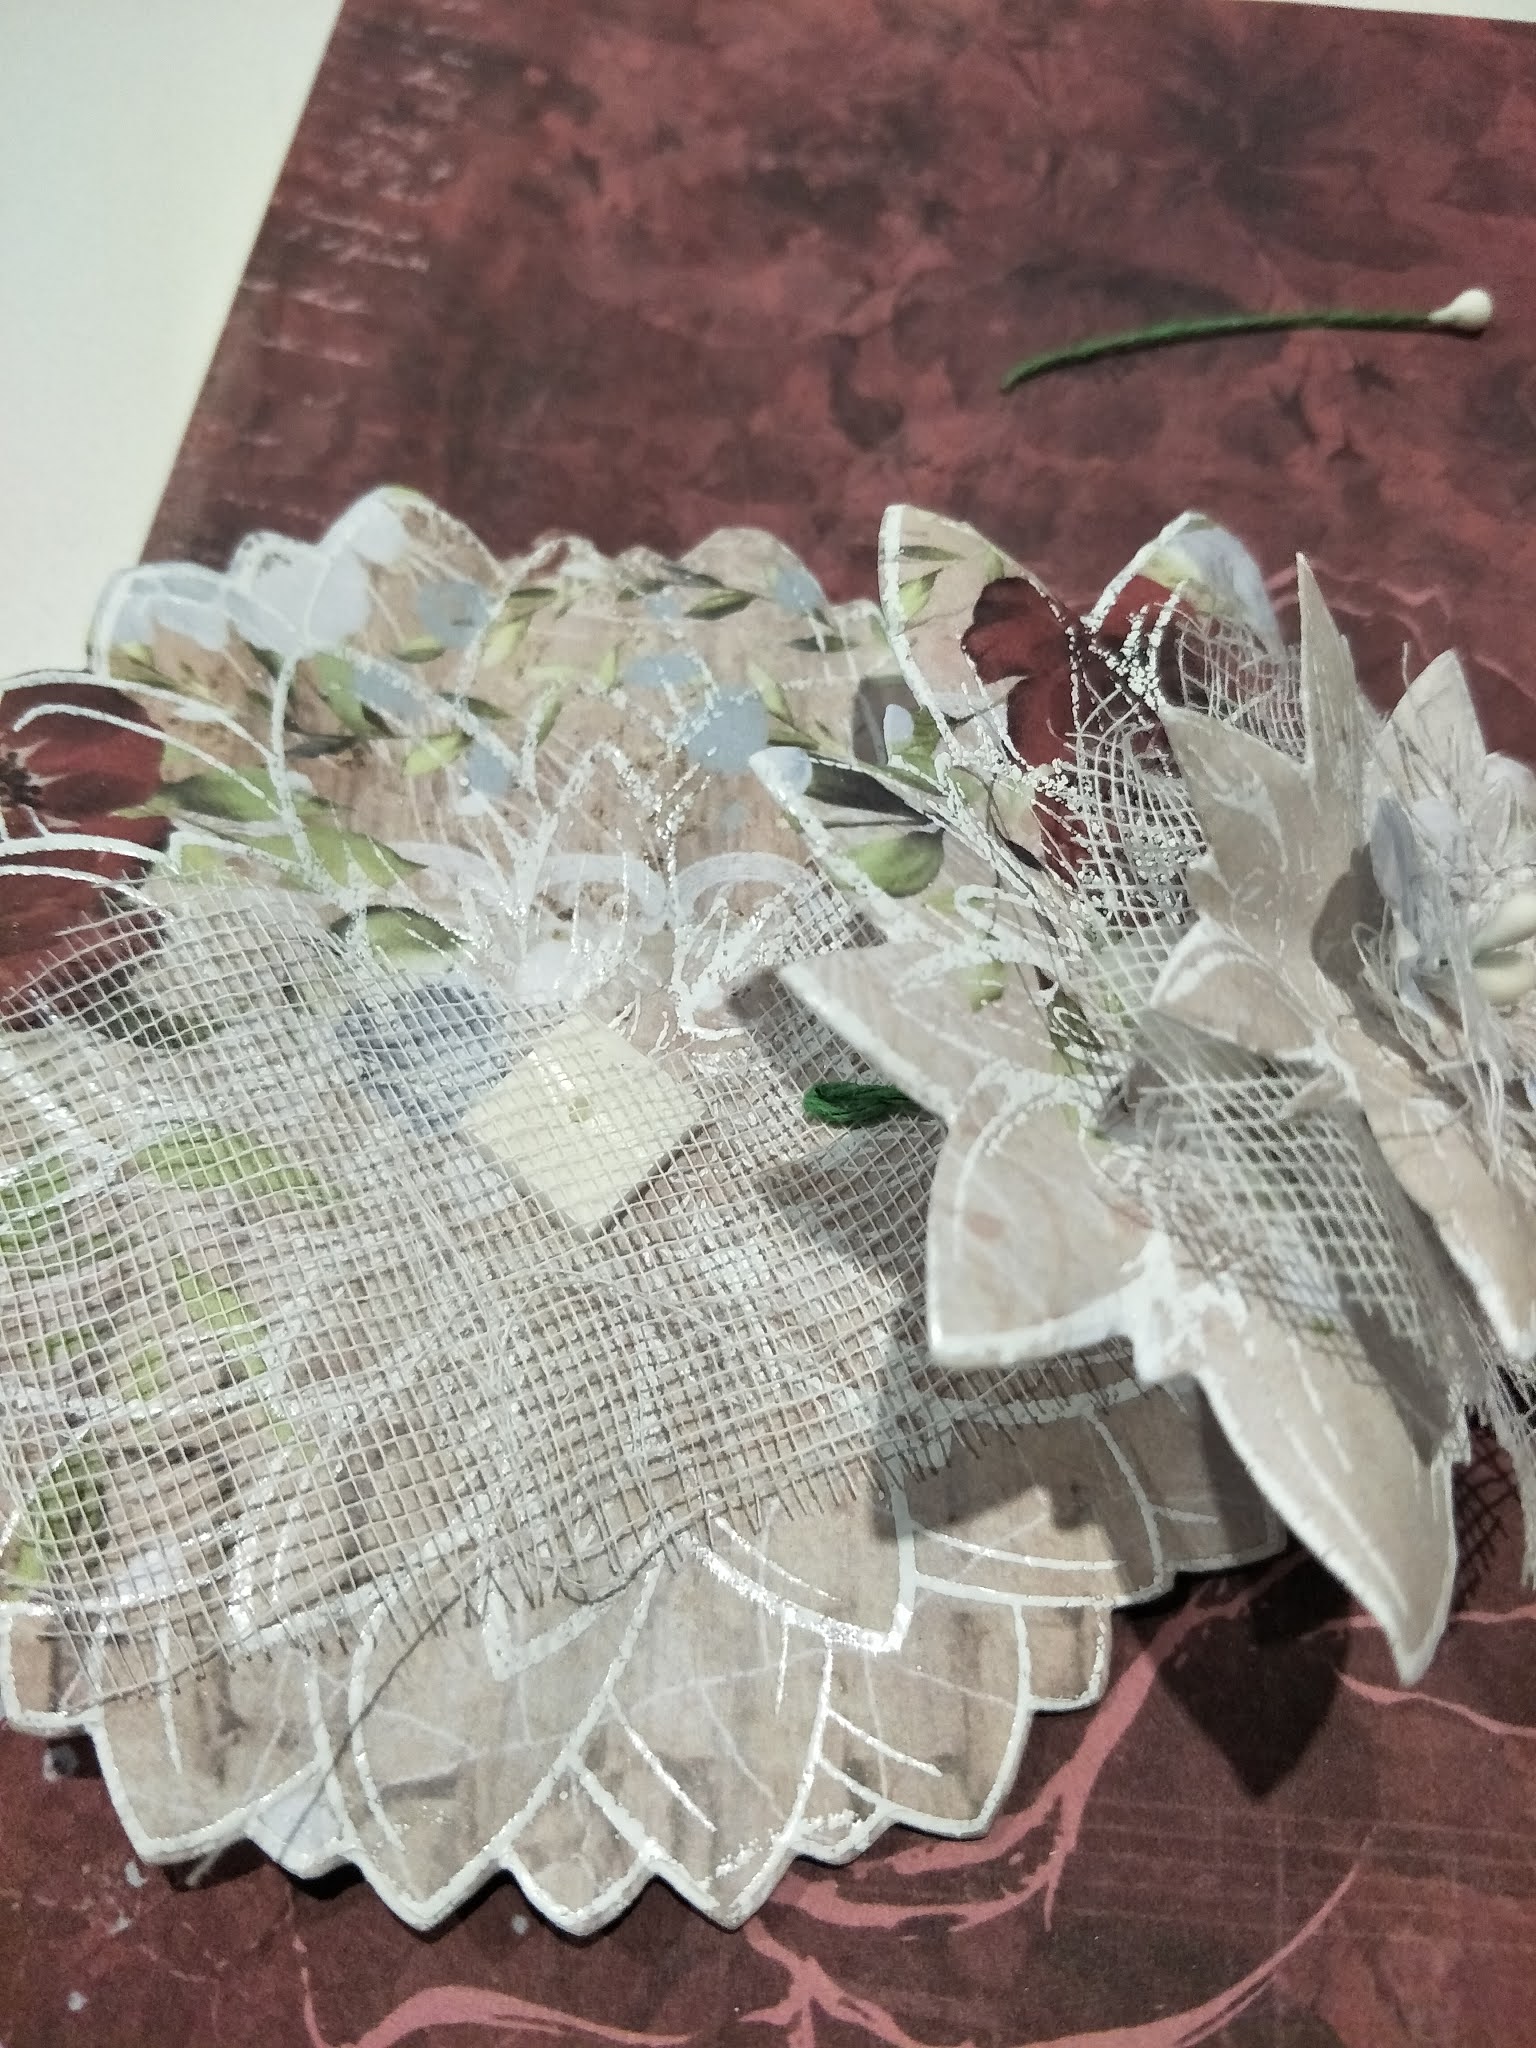
I carefully rolled the underside of each die-cut with the ball tool to give them some dimension. Between each layer I added a double-sided foam square and muslin and secured them all together with a few stamens and glue.
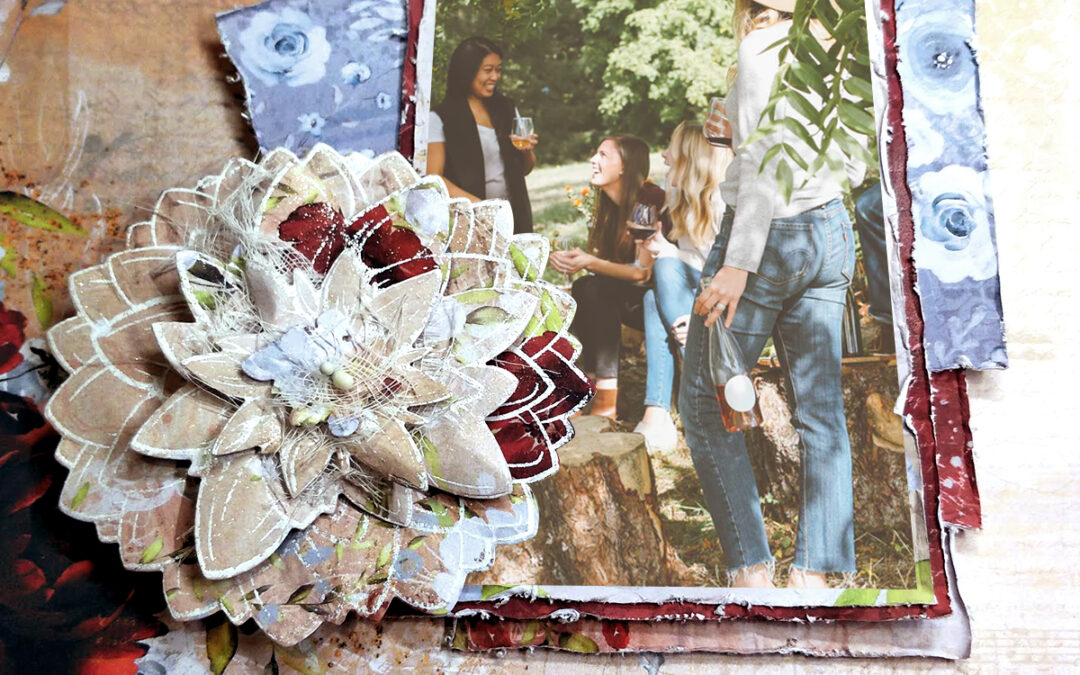
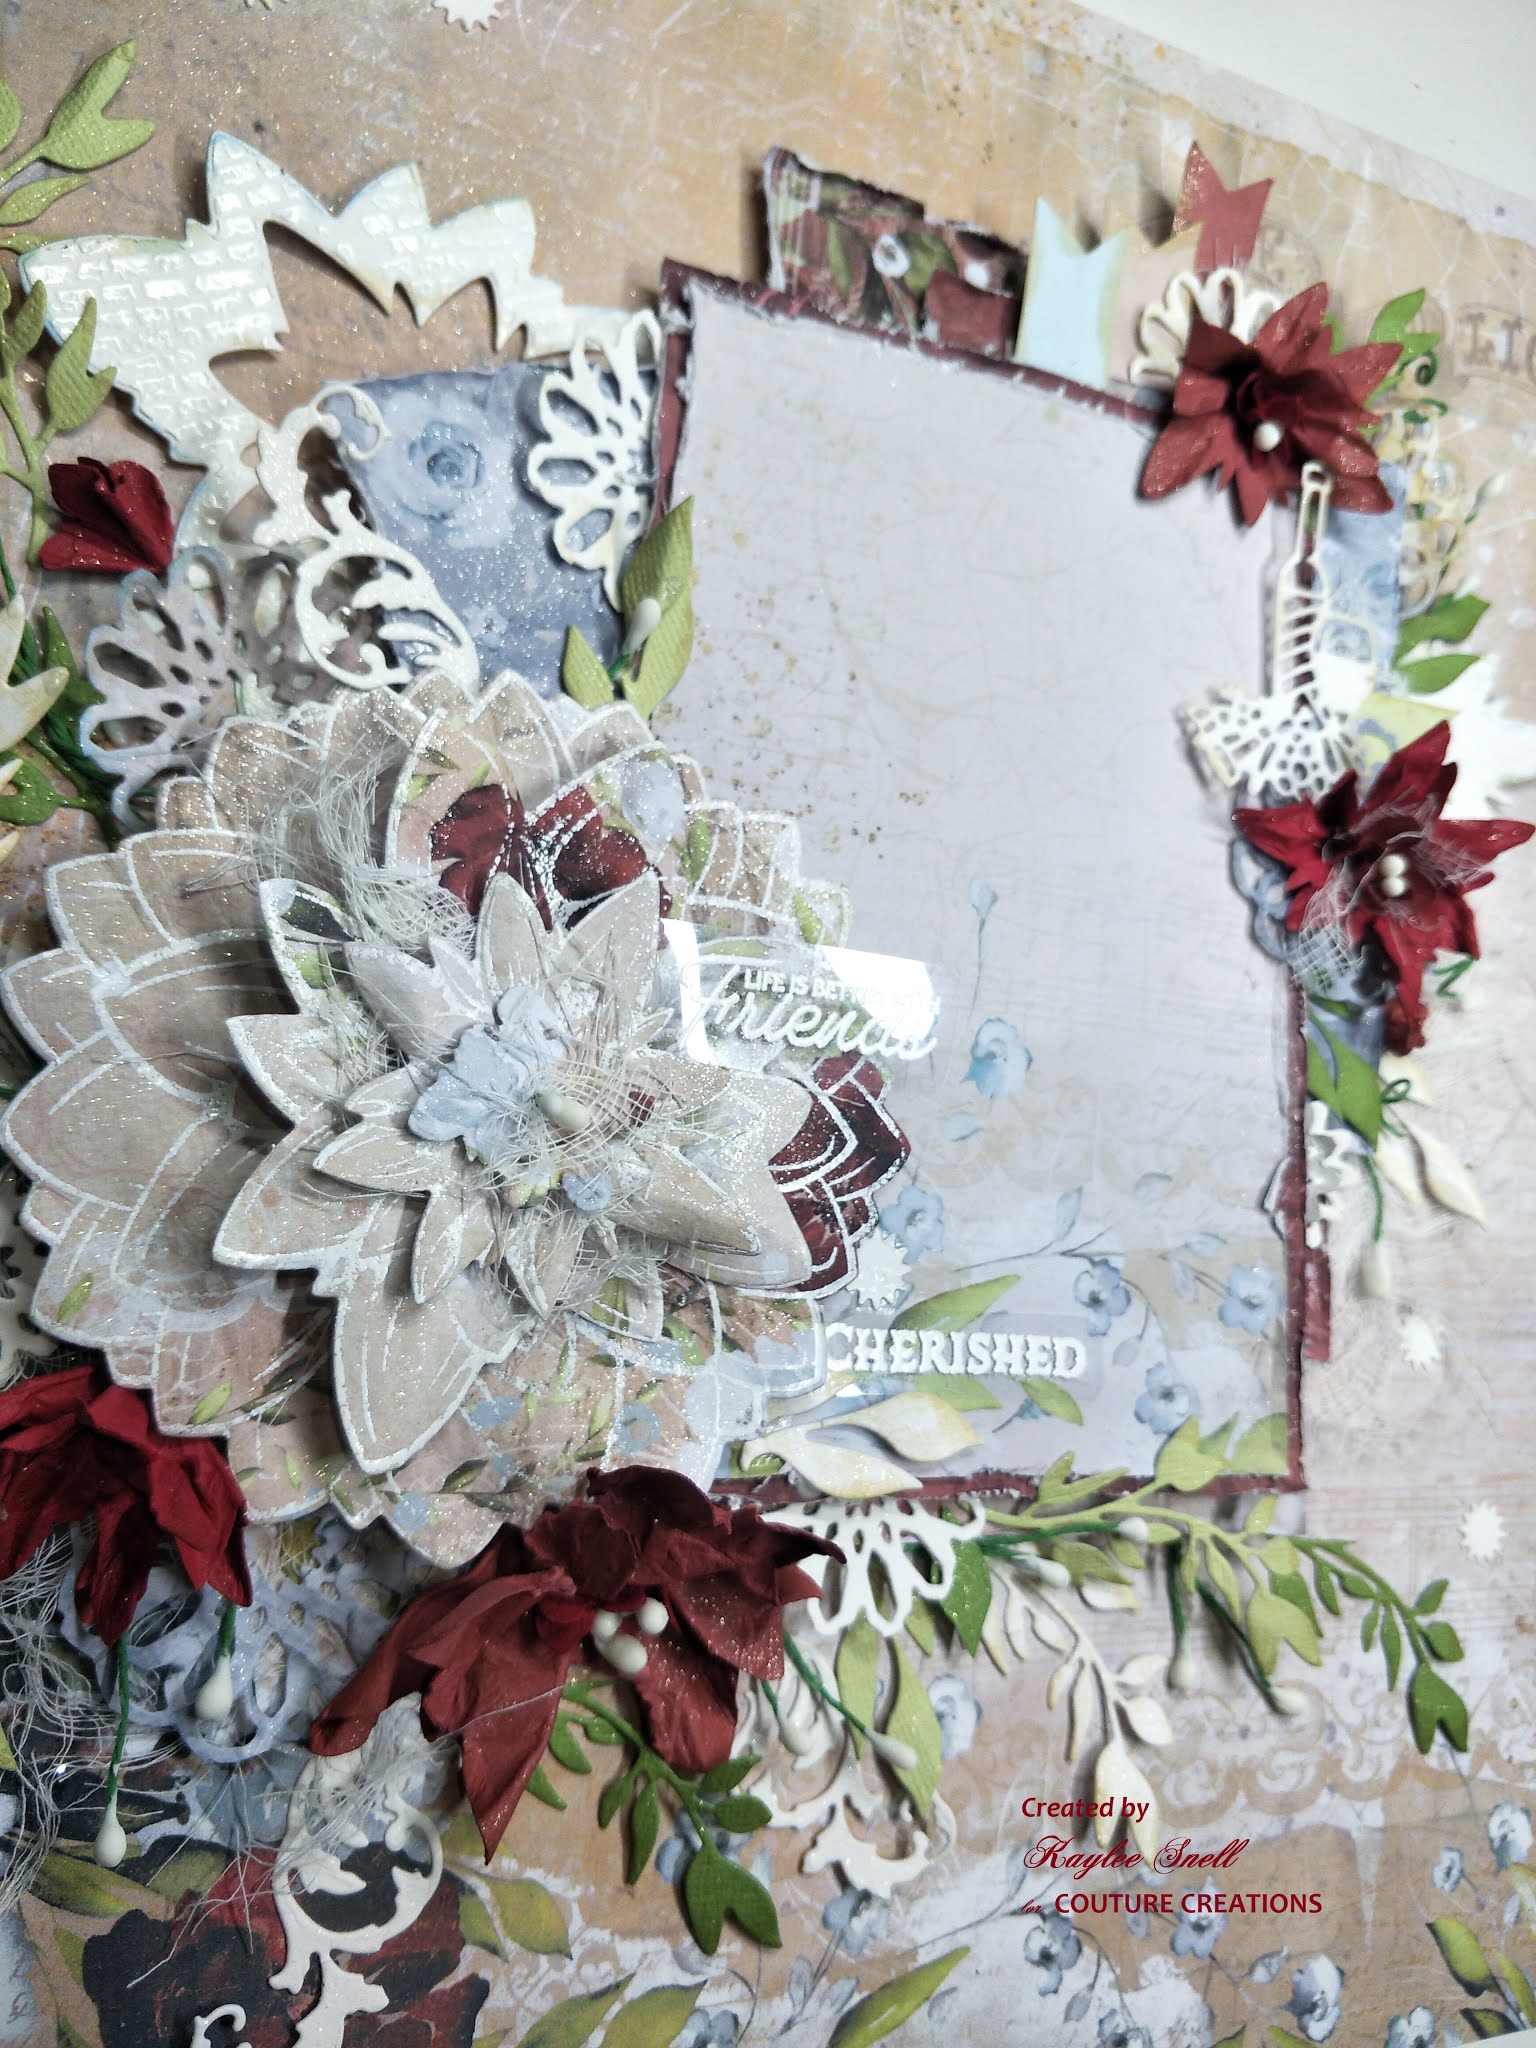
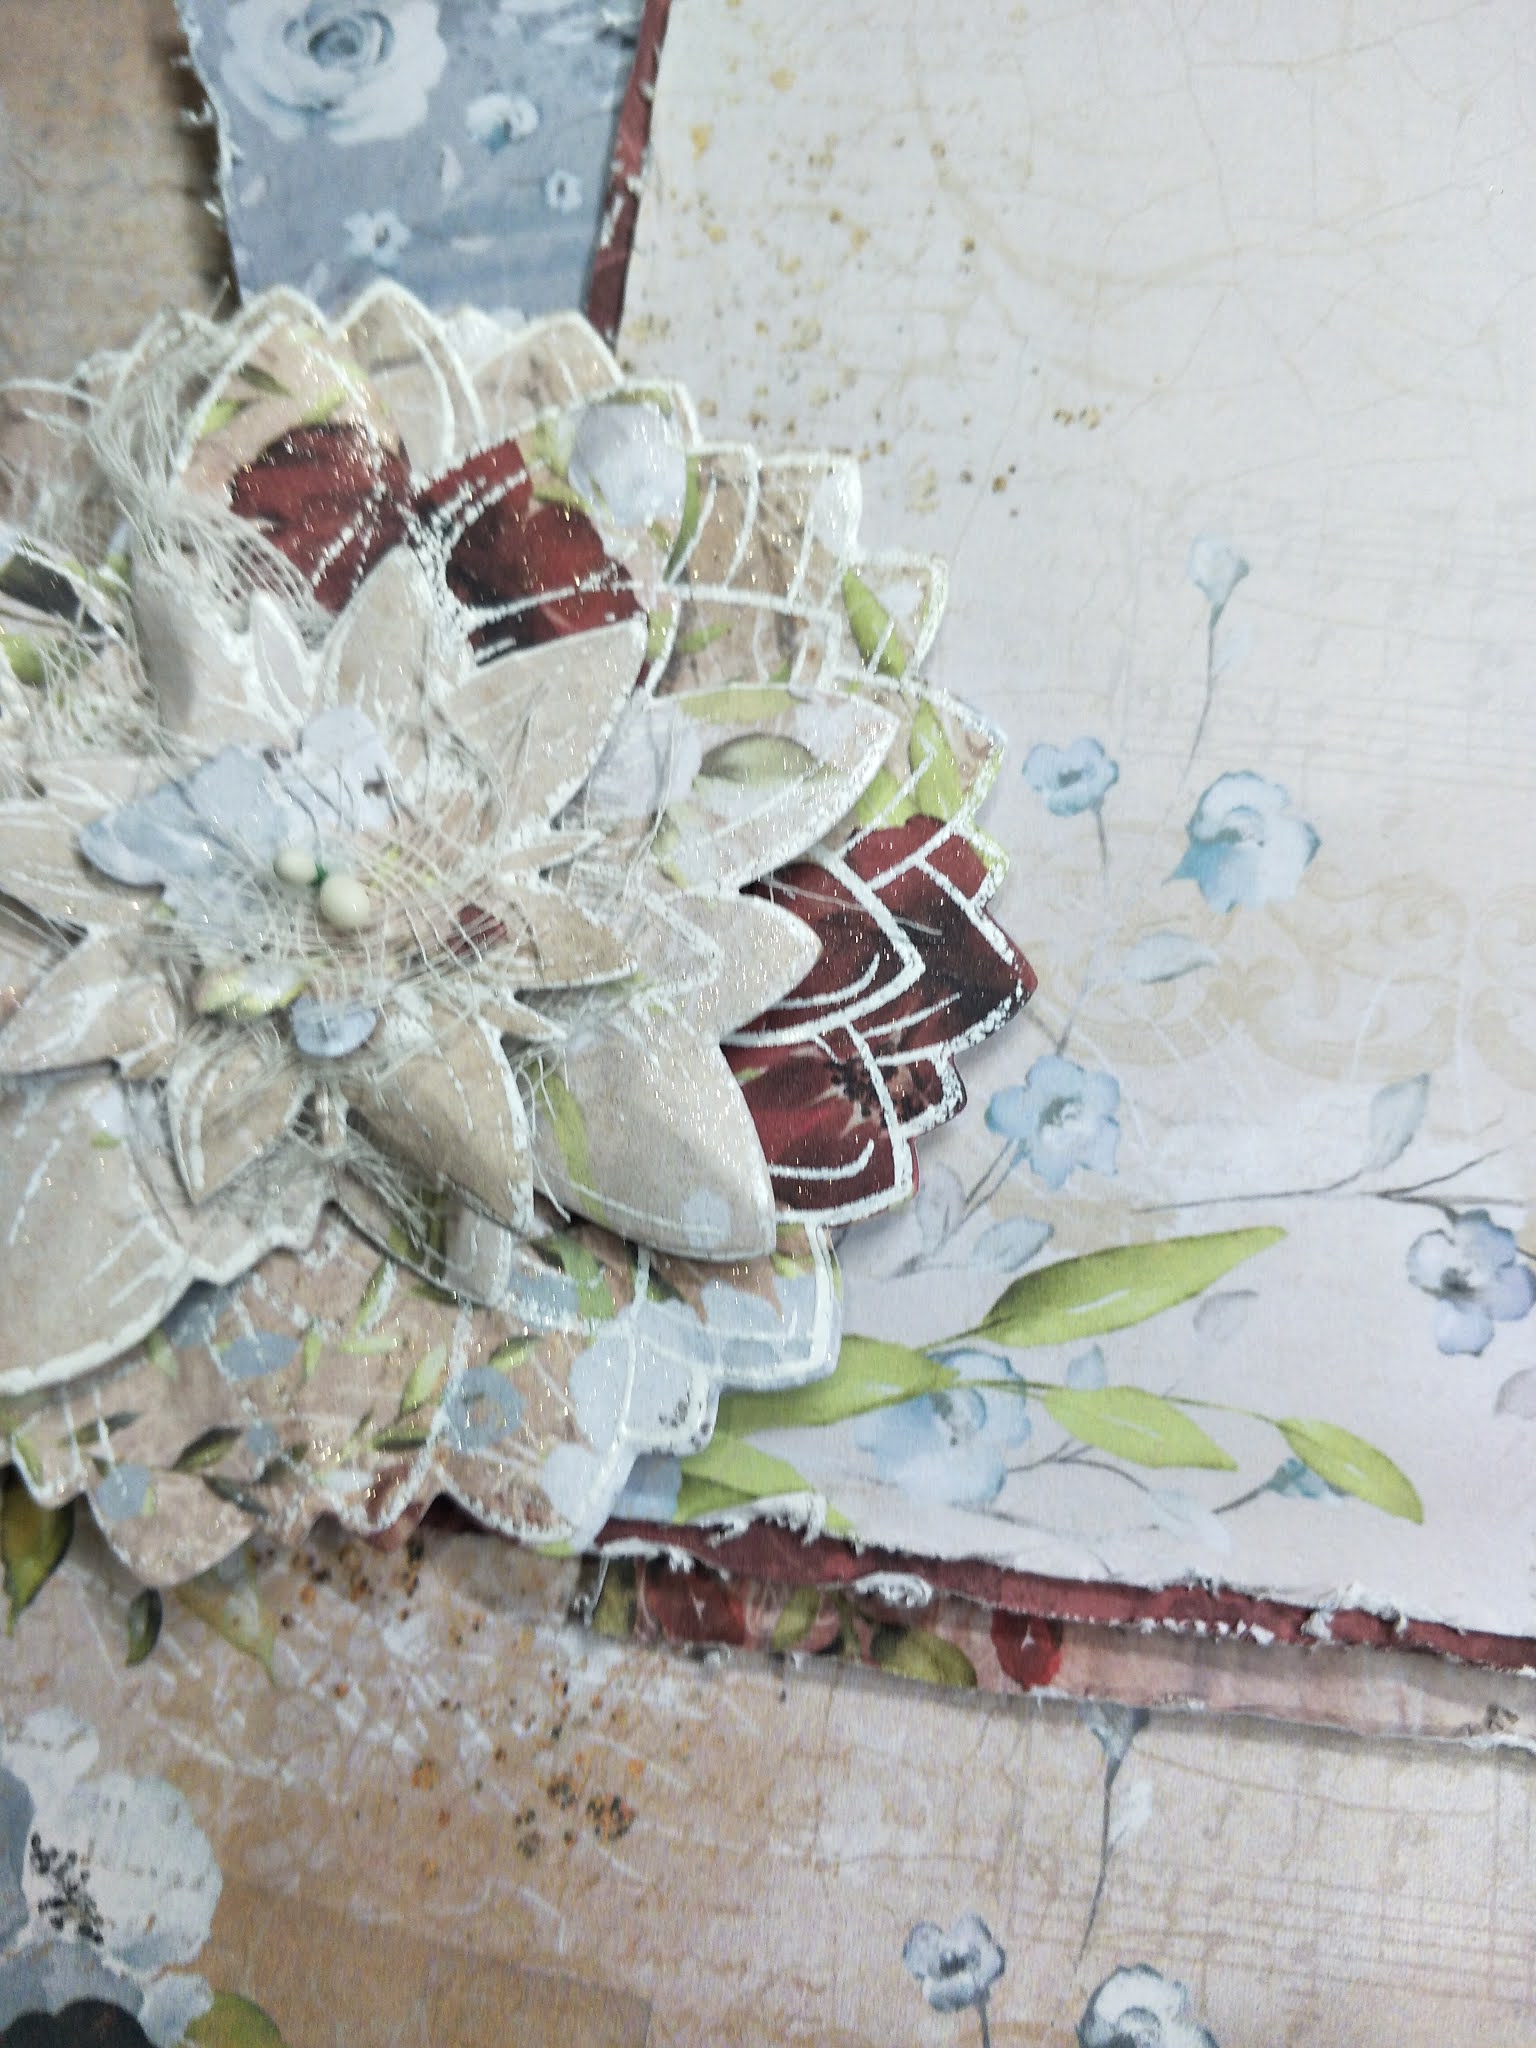
The front ‘photo’ page measured 4″ x 6″. The other were trimmed down off-cuts arranged to make an interesting cluster. I distressed the edges on all sides and added cardboard behind various areas to create a pile so I could have some ‘tuck spots’. Once I was happy with the arrangement, I glued it into place (slightly off centre to the right).
I was just a matter of playing around and see what looked good where and glue it down. The sentiments look like they are floating in mid air.
Once everything was in place, I covered the photo area with a piece of paper and lightly sprayed the entire page with some glitter spray. You can see the large flower sparkles in this photo.
Materials List
Other Products:- Distressing tool, stamp press, ball tool, heat gun, heat-resistant acetate, stamens, muslin/cheesecloth, spray glitter, cardboard and glue.
Thanks!