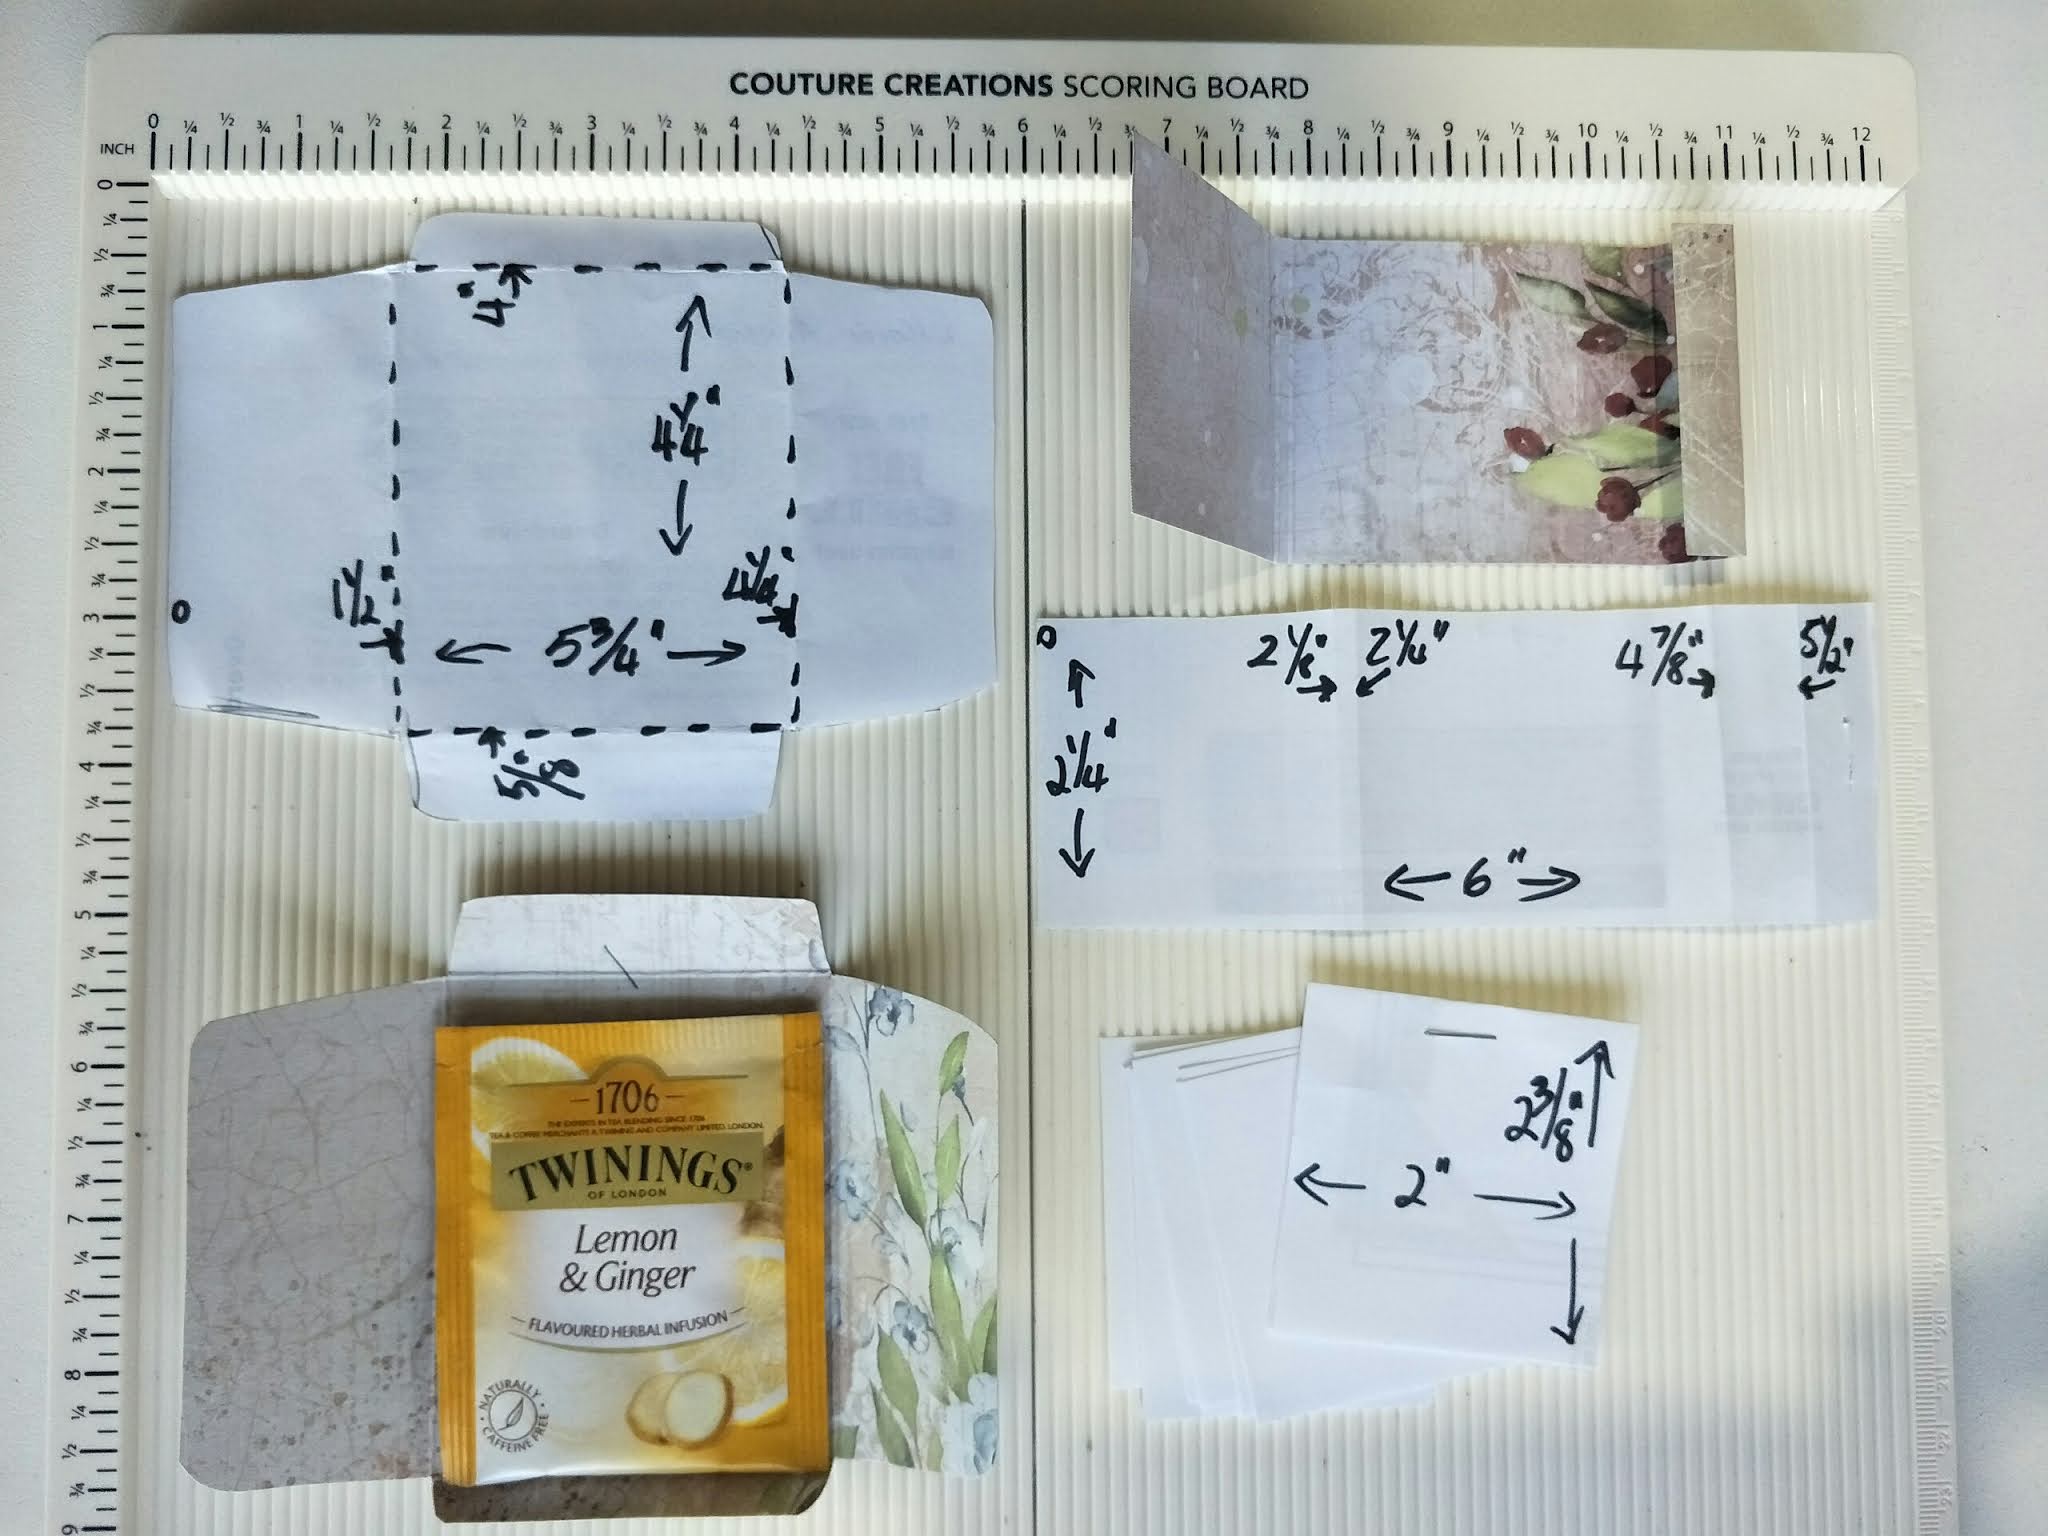
First I assembled all of my pieces like in the image below, Once that is done done, I followed my diagram to score, fold and cut to create the gift box. This diagram with the measurements are in a previous project that I did last year with the ‘Peaceful Peonies’ collection?

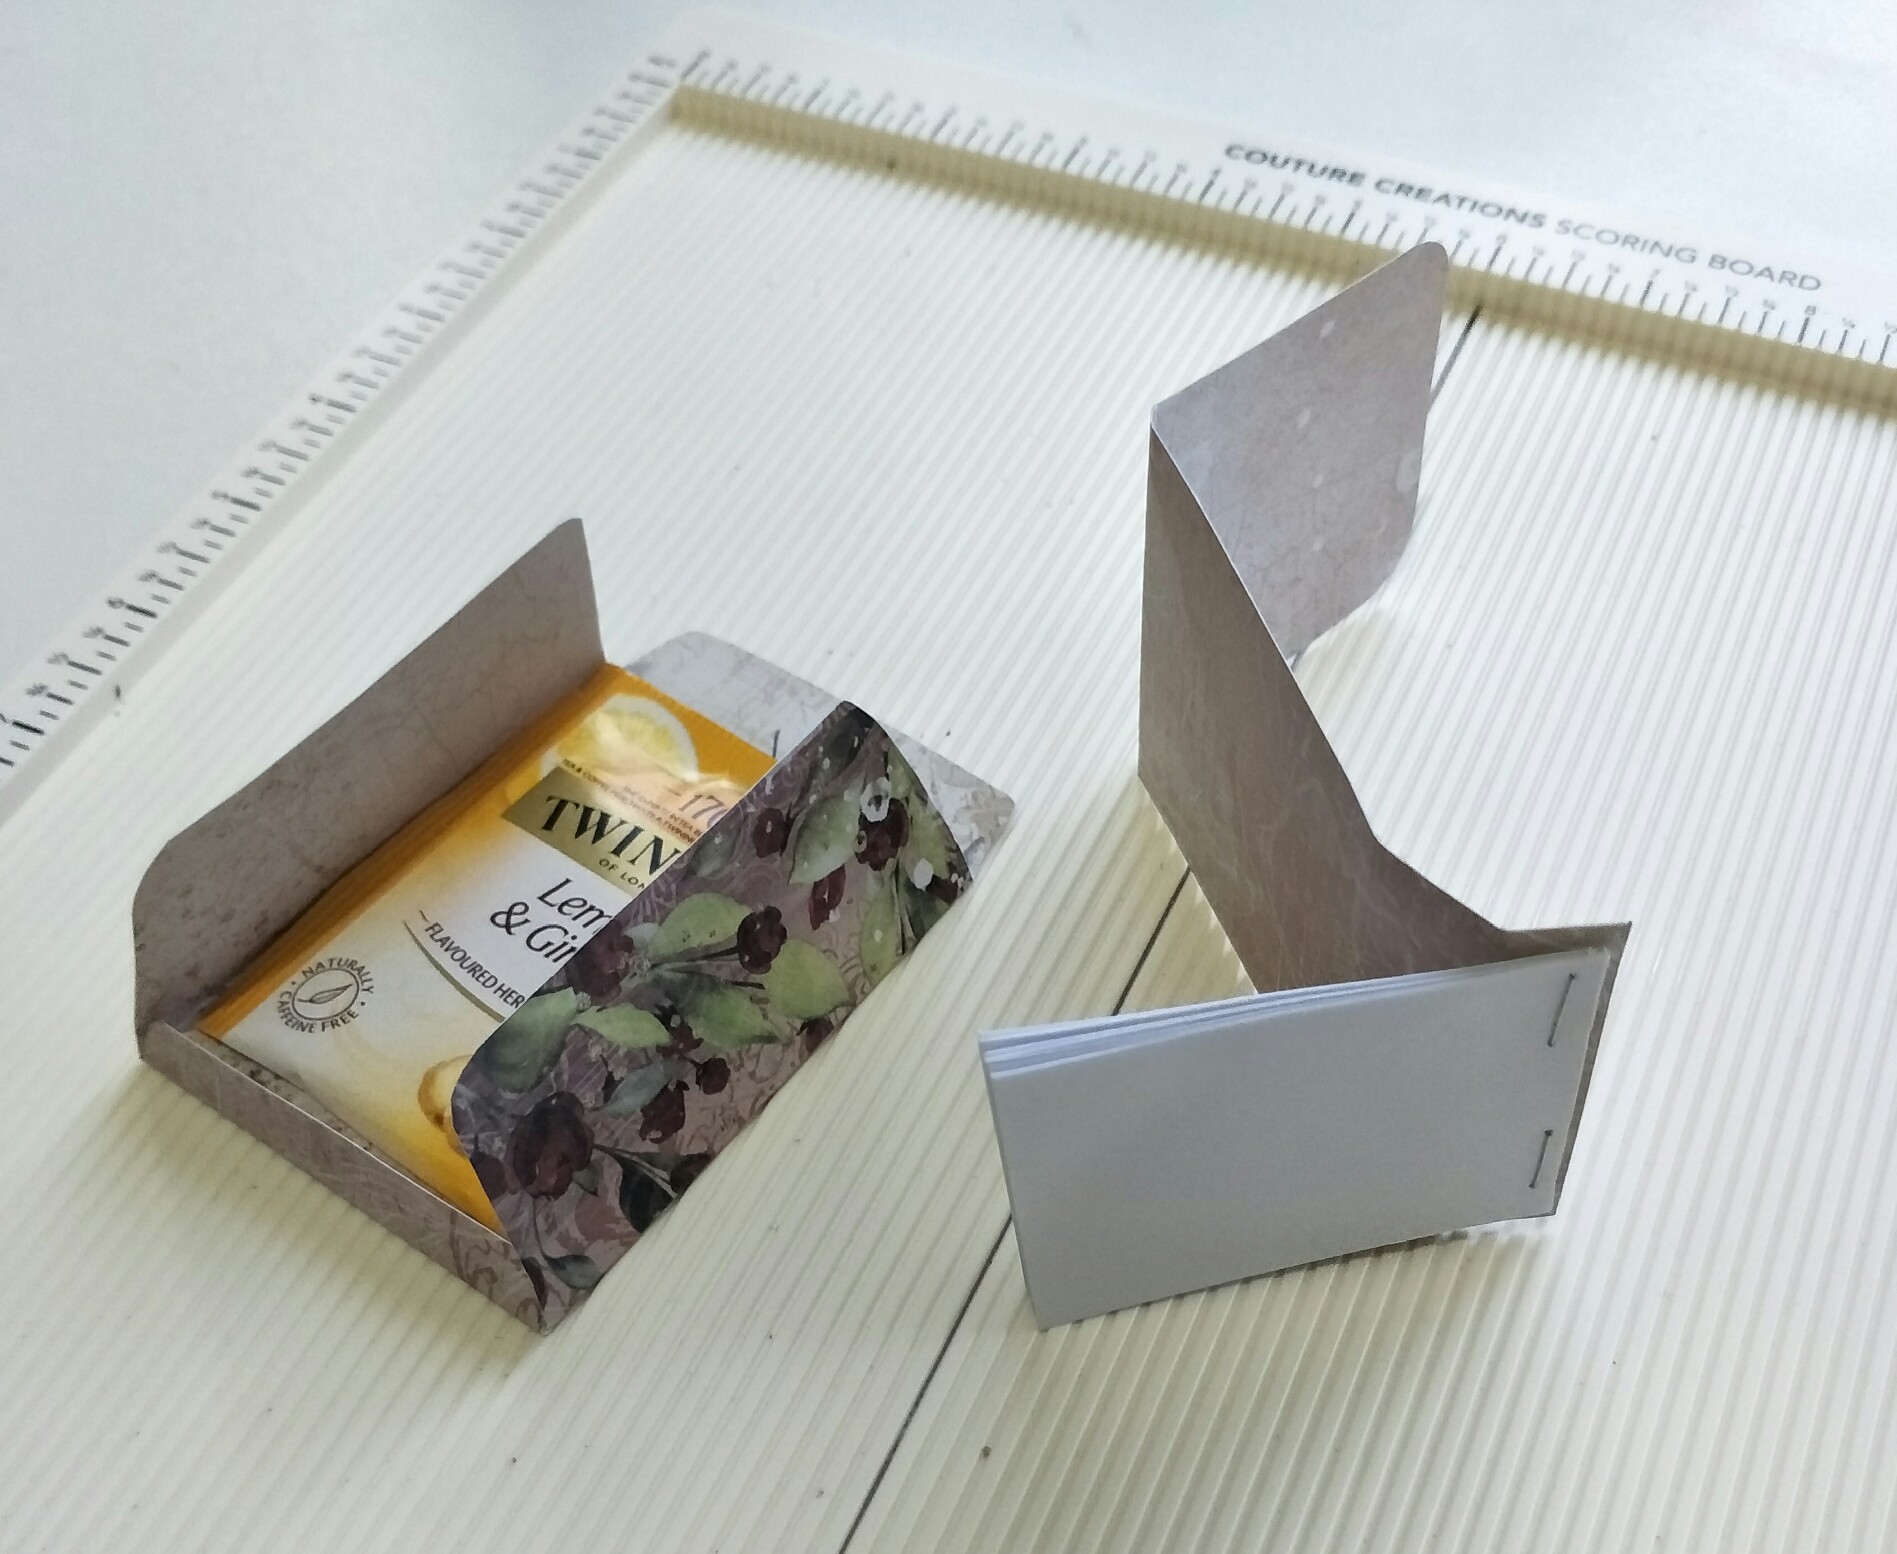


Staple the pages to the end that has the 2 fold lines, making sure you staple them to the correct side. Glue the bag and notepad to complete.
Once the gift box was created, I decorated it with the elements as shown. I mounted the flower with a double-sided foam square and glued the rest.
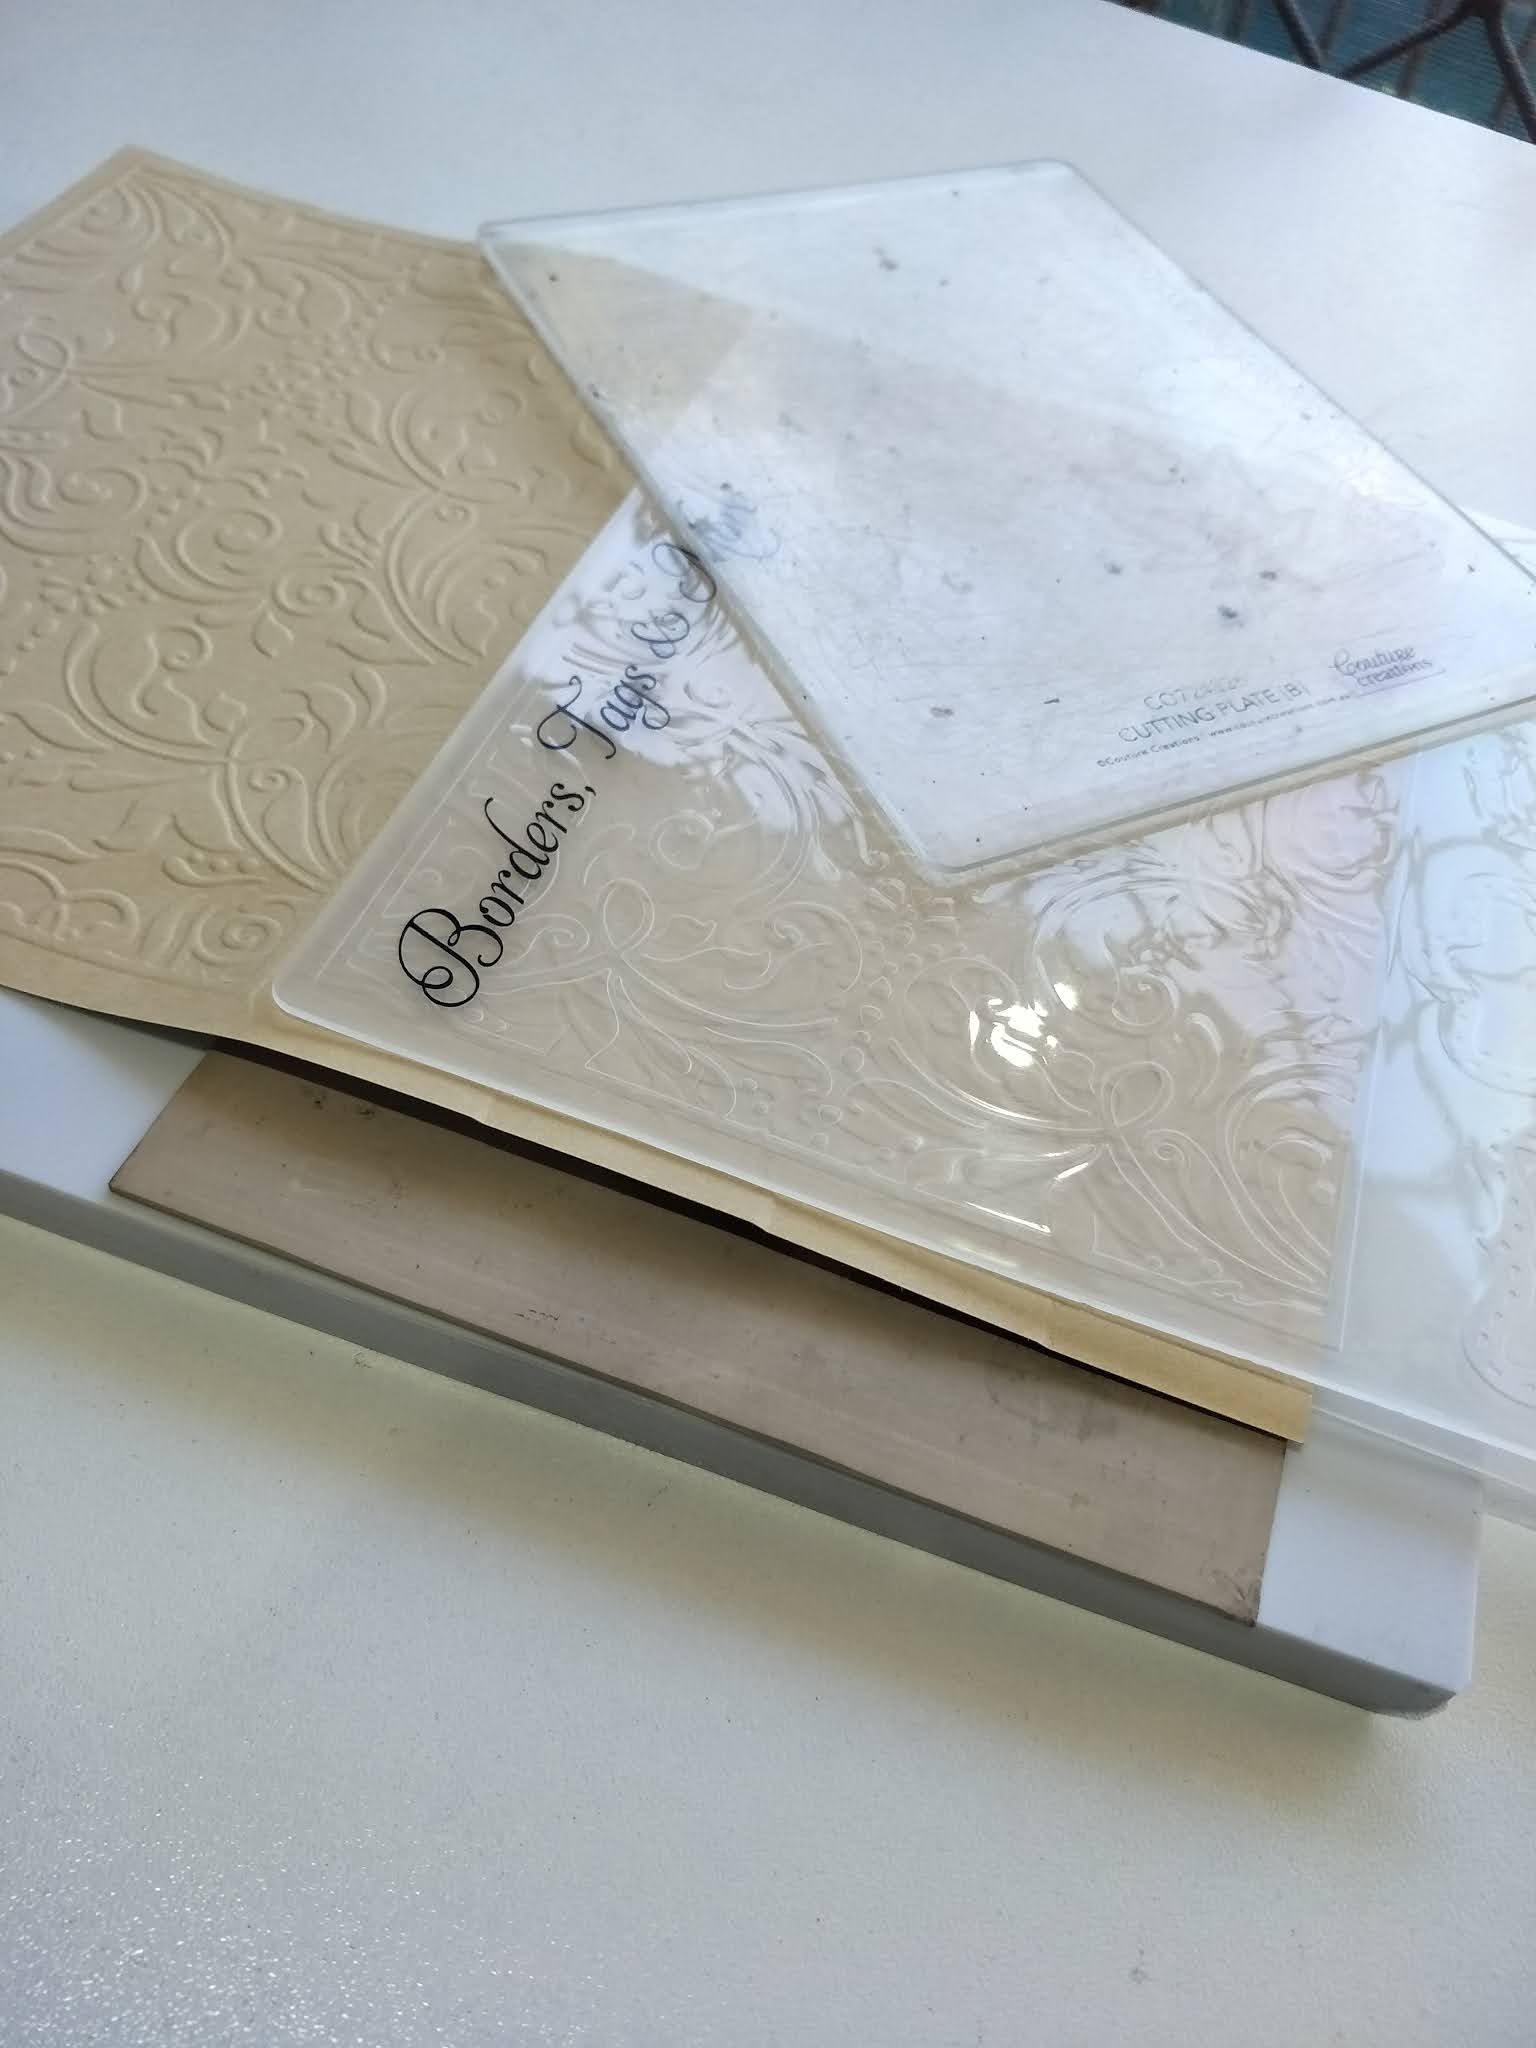
To create the card, I cut an A4 sheet of kraft cardstock down the middle lengthwise, then cut 5 1/2″ away, on the larger piece I scored and folded 5/8″ from one end. With the larger piece I aligned the largest flower die to the fold line and did a partial cut, this created a pop-up at the top of the card. I then used the same embossing folder and embossed it. I added a piece of lace to the back page before folding over and gluing the flap down.
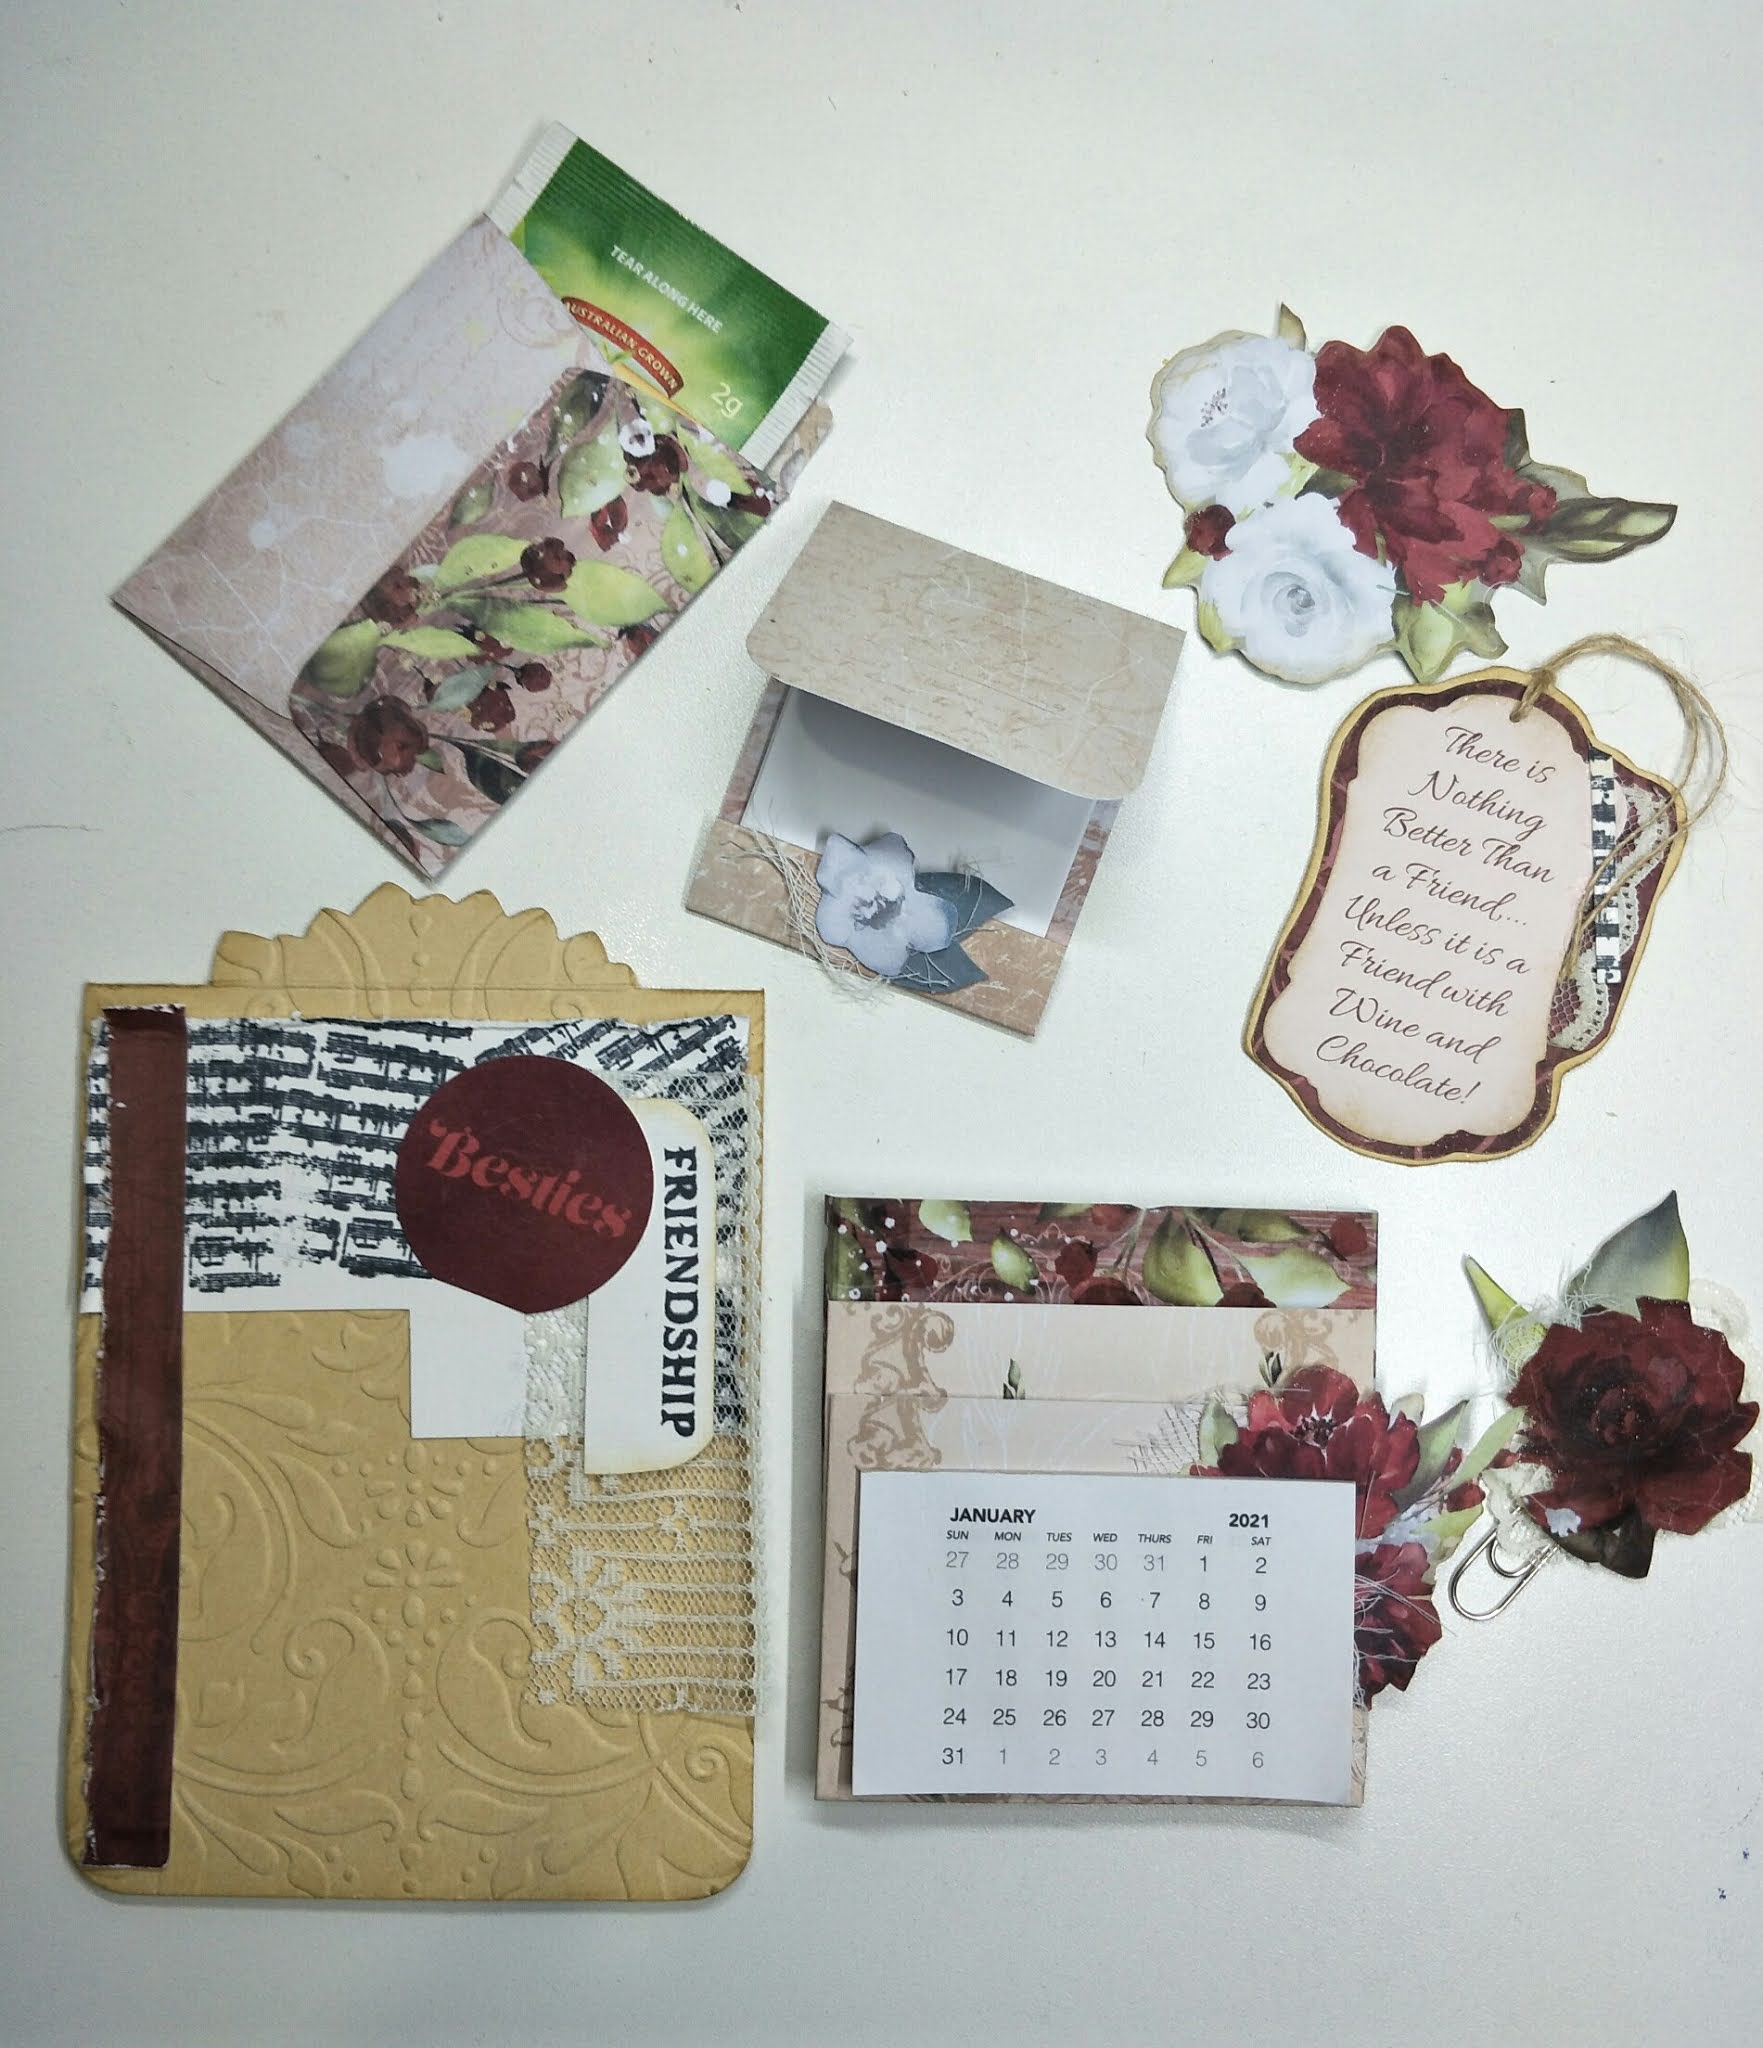
Next was the front pockets. I used the calendar as a guide for the pocket size. The top 2 pockets in the photo just had a folded edge while the bottom pocket had an allowance of 2/8″ then the folded edge. The corner areas had to be slit so they could fold nicely. The pocket heights were staggered. Glue them all together.
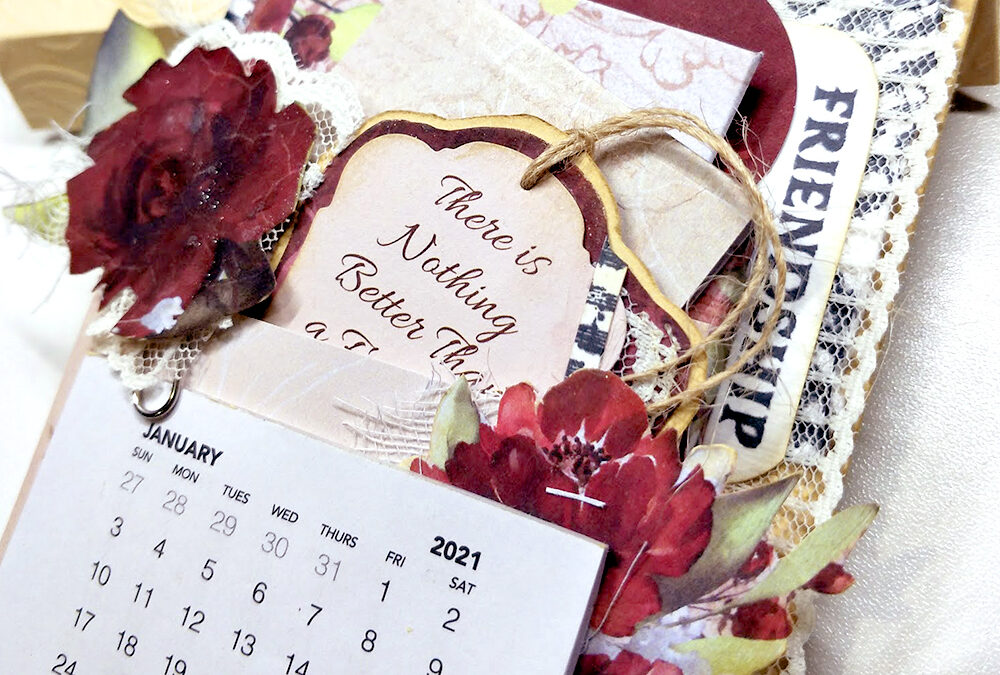
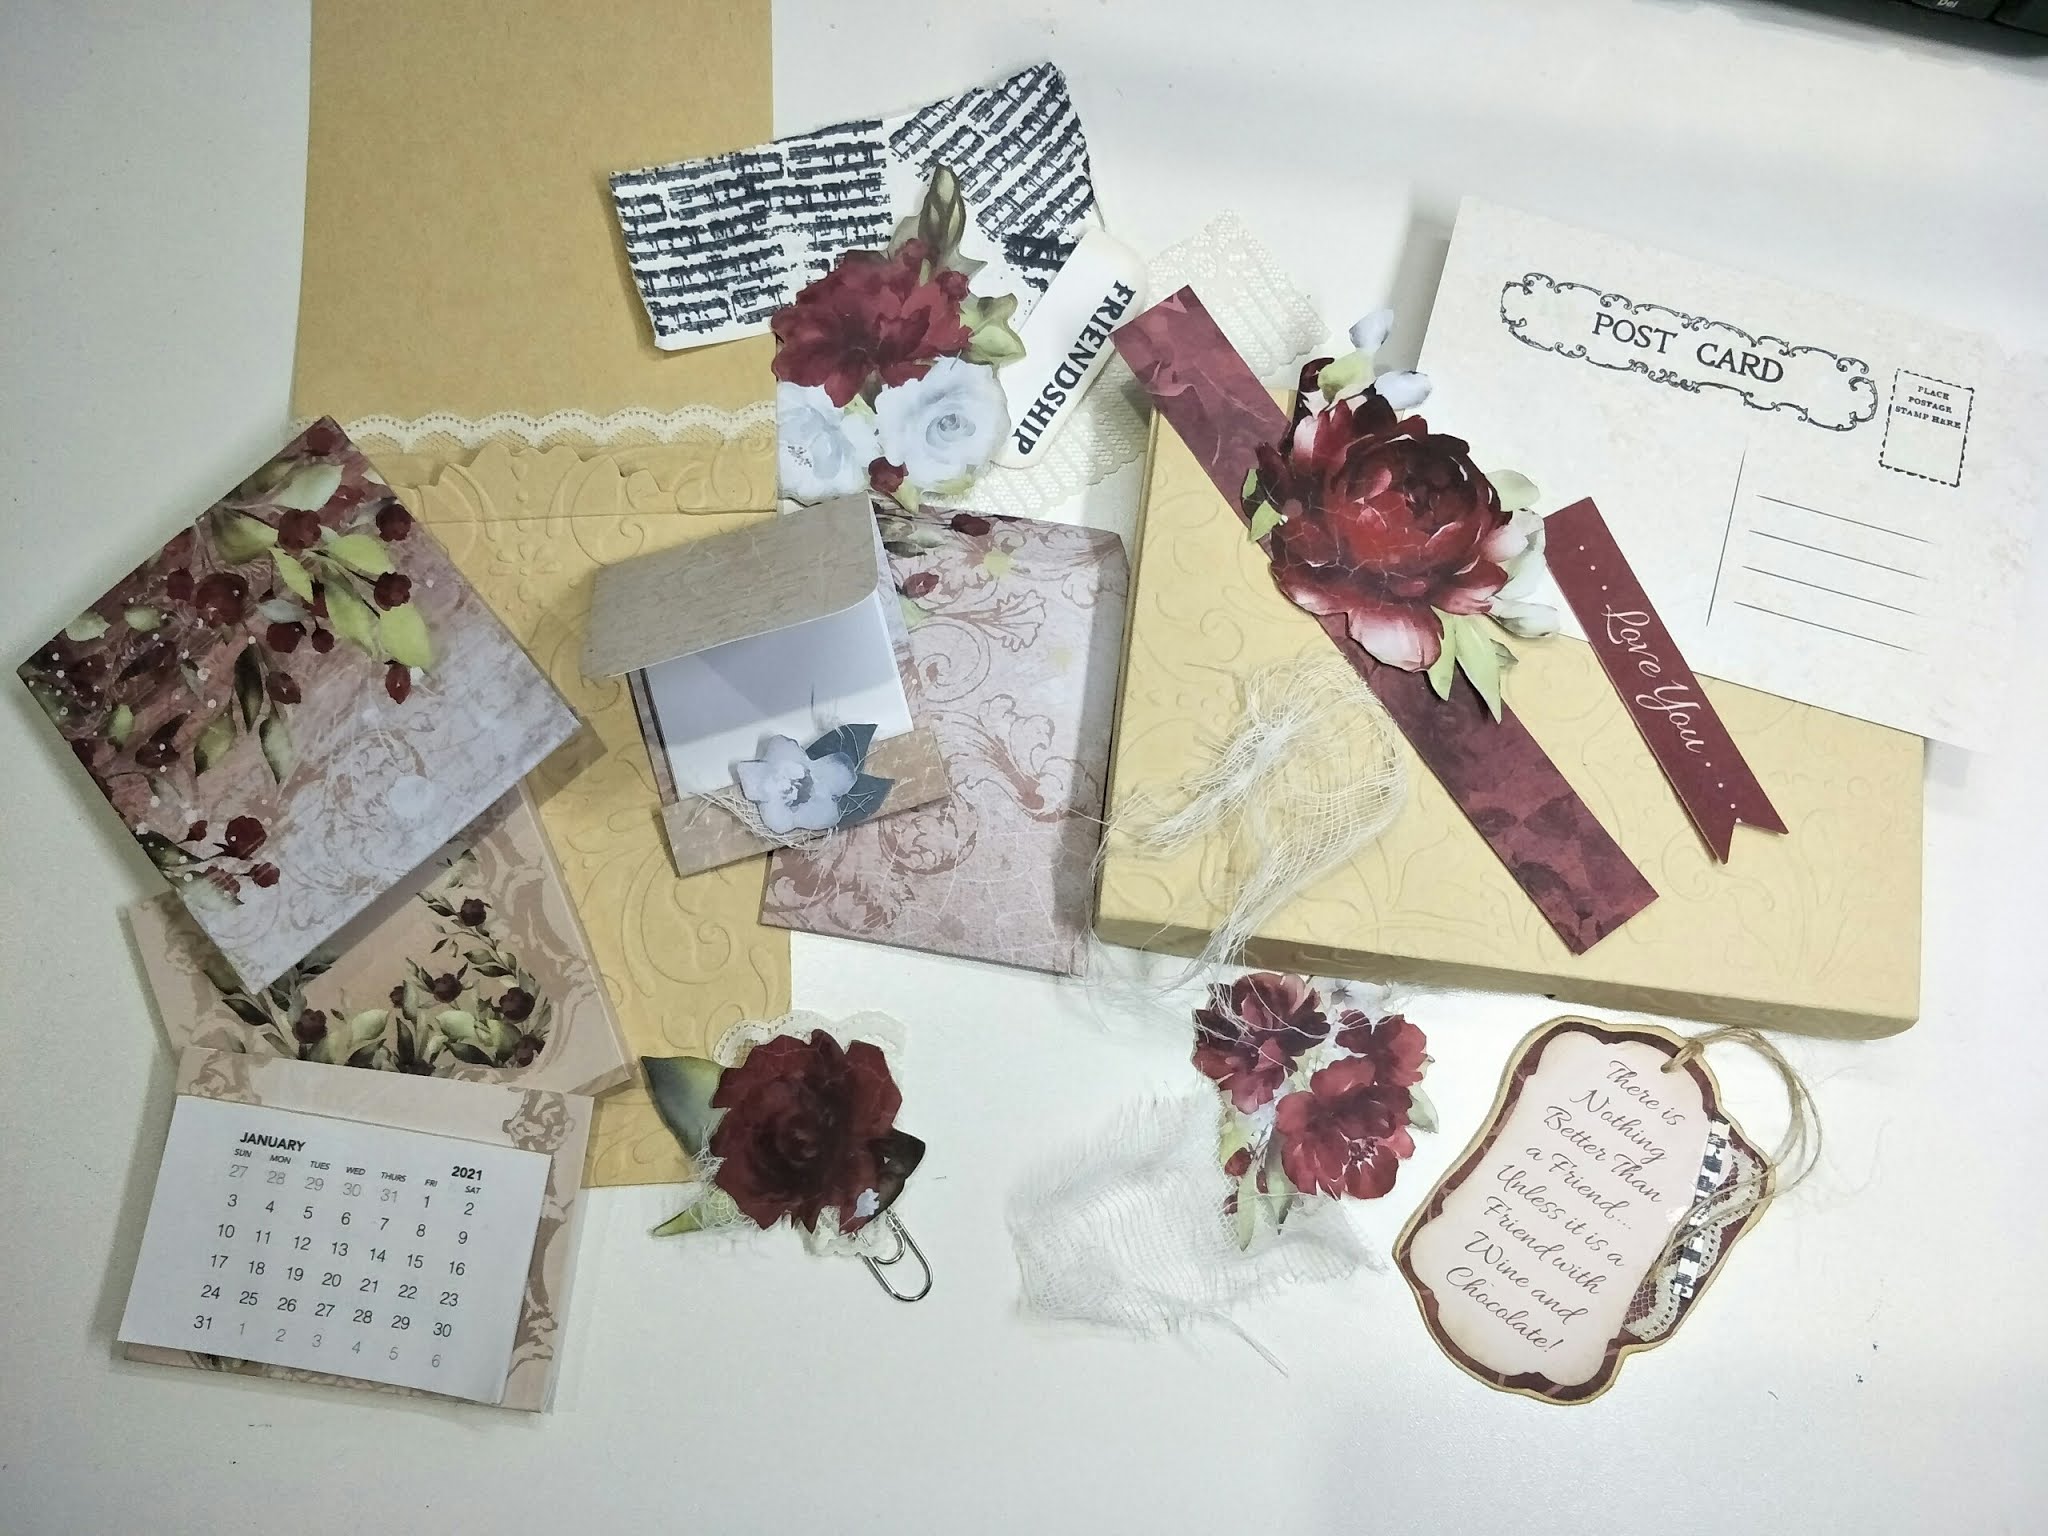
So now it was a matter of fussy cutting the flowers and tag sentiment, ink the edges, dress-up the paperclip, and back and glue the tag together. Stamp the music and friendship stamps onto white card, ink and distress the edges. Use a circle punch around the ‘Besties’ sentiment, and glue them all in place. Glue the pockets in place.’
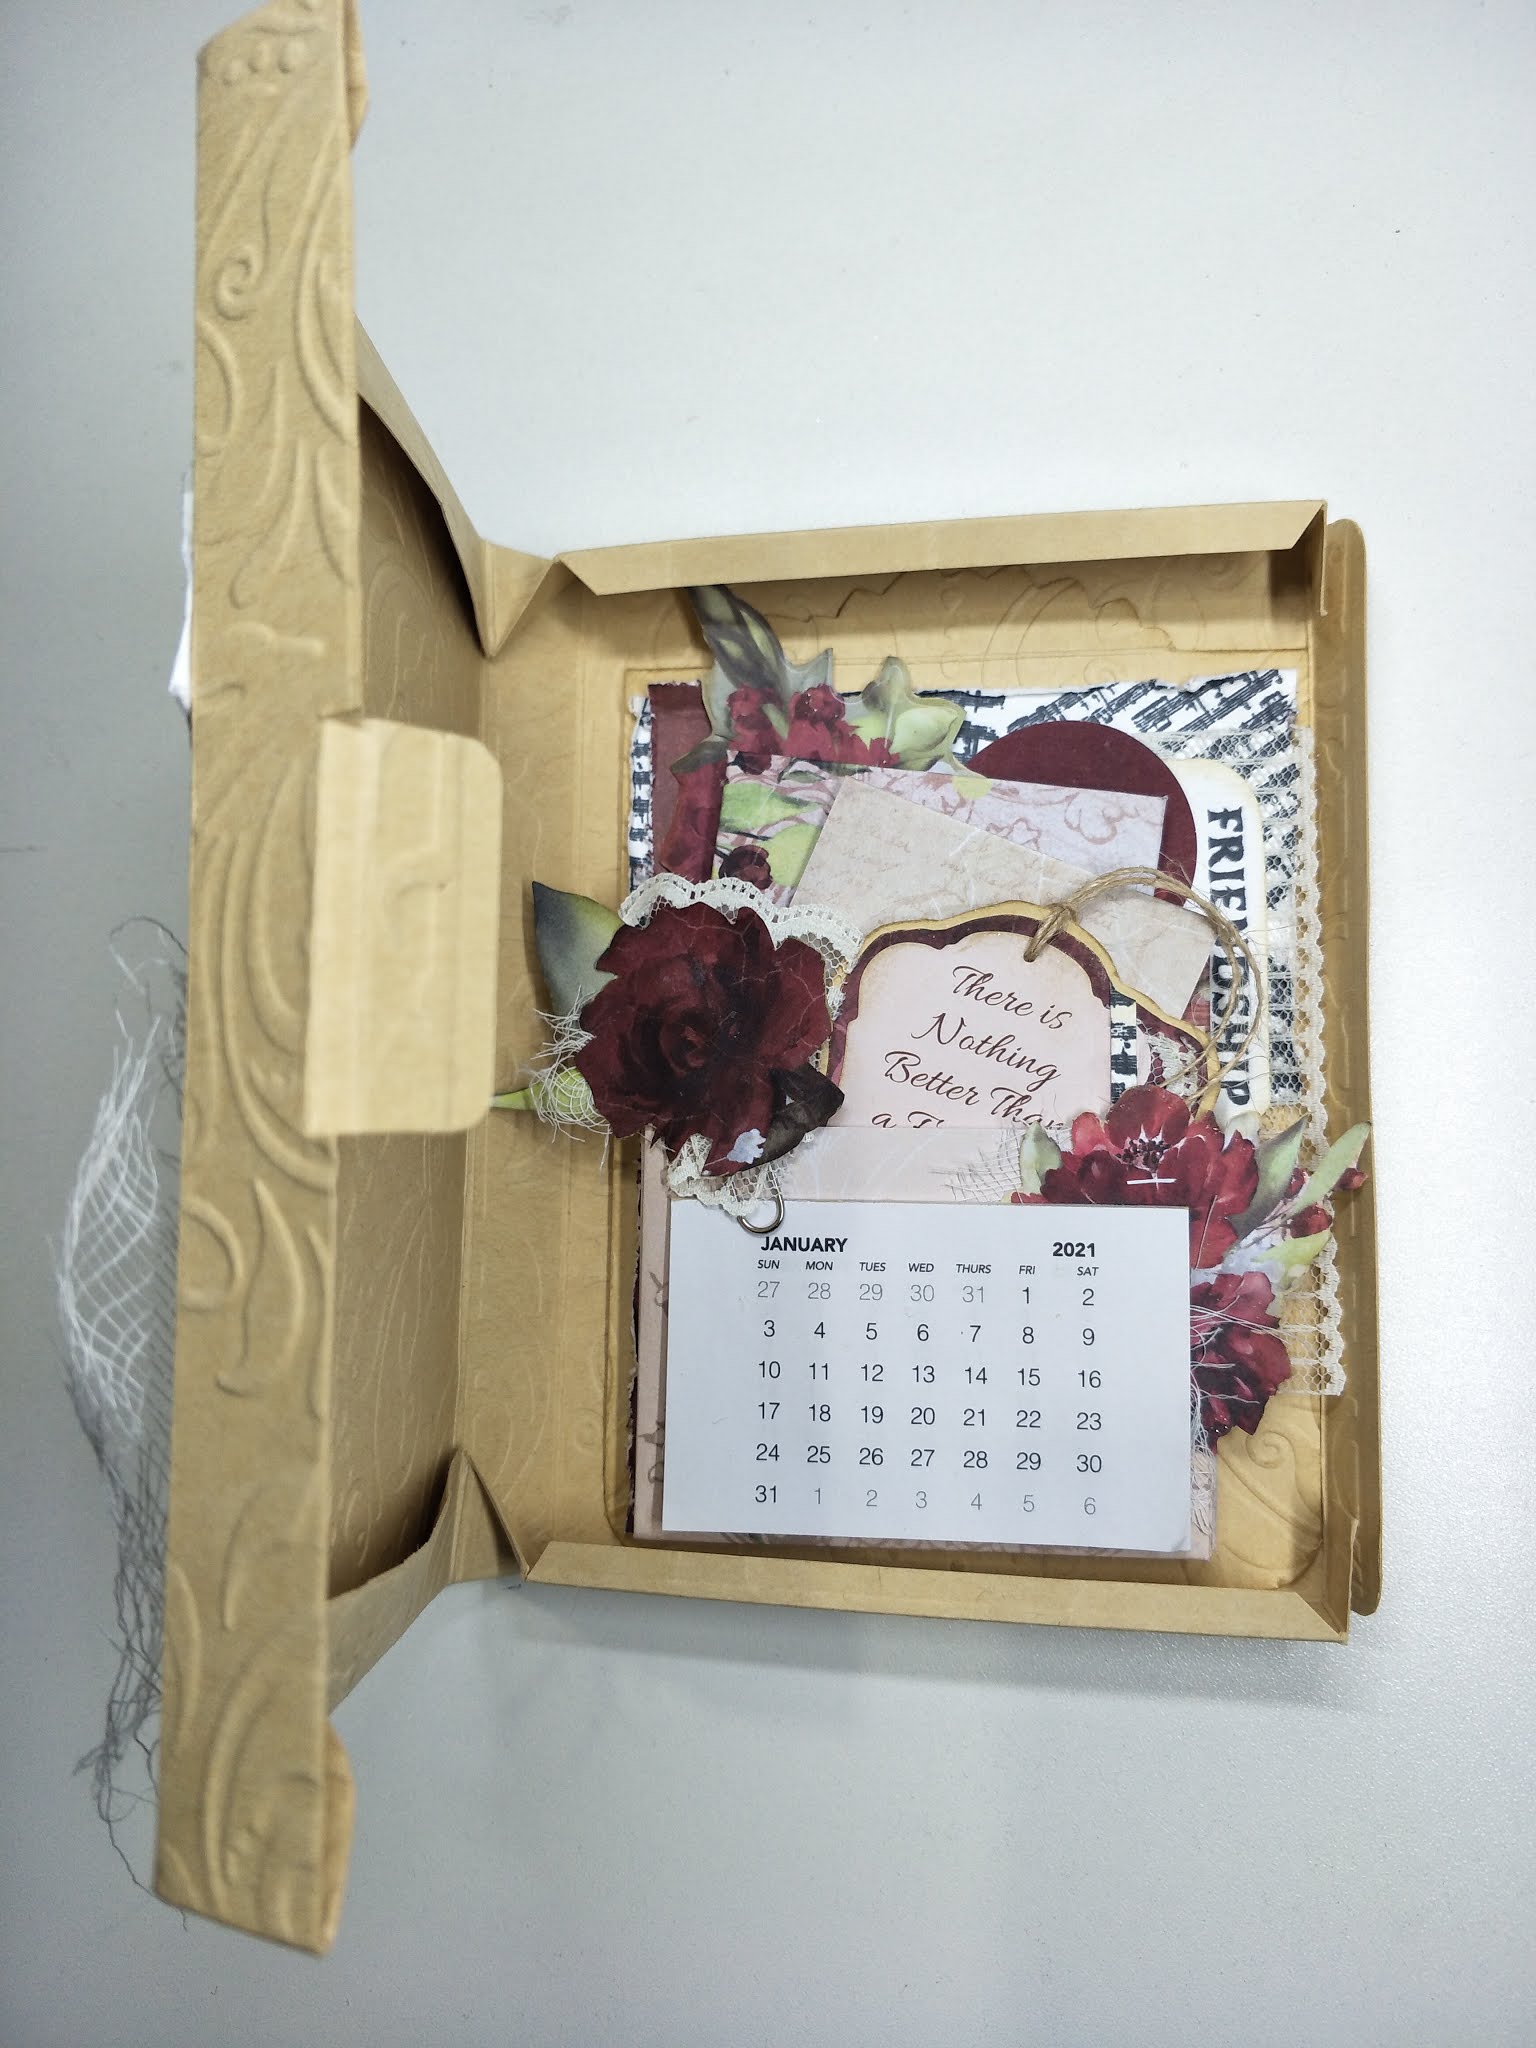
Add everything to the pockets and the card should fit nicely into the box.
Once everything was in place, I used a glitter pen and placed accents randomly over everything (sparkle just makes it come to life).