Hi Everyone, It’s time to create a beautiful and simple card using Blooming Friendship! video link: https://youtu.be/yMYfPg8lQNg
Take a look at my video above for a walkthrough.
For this card I’ve started with a square card base 14.8cm square (cut down from an A5 card blank). This is just a little smaller than a 6″ square card blank.
The front of the card base is folded in half to create the flap that the diamond is attached to. The diamond is really just a square mounted with its points on the fold line.
The decorative papers, stamp and die are from Couture Creations Blooming Friendship collection. I’ve also used some dark grey card and white card.
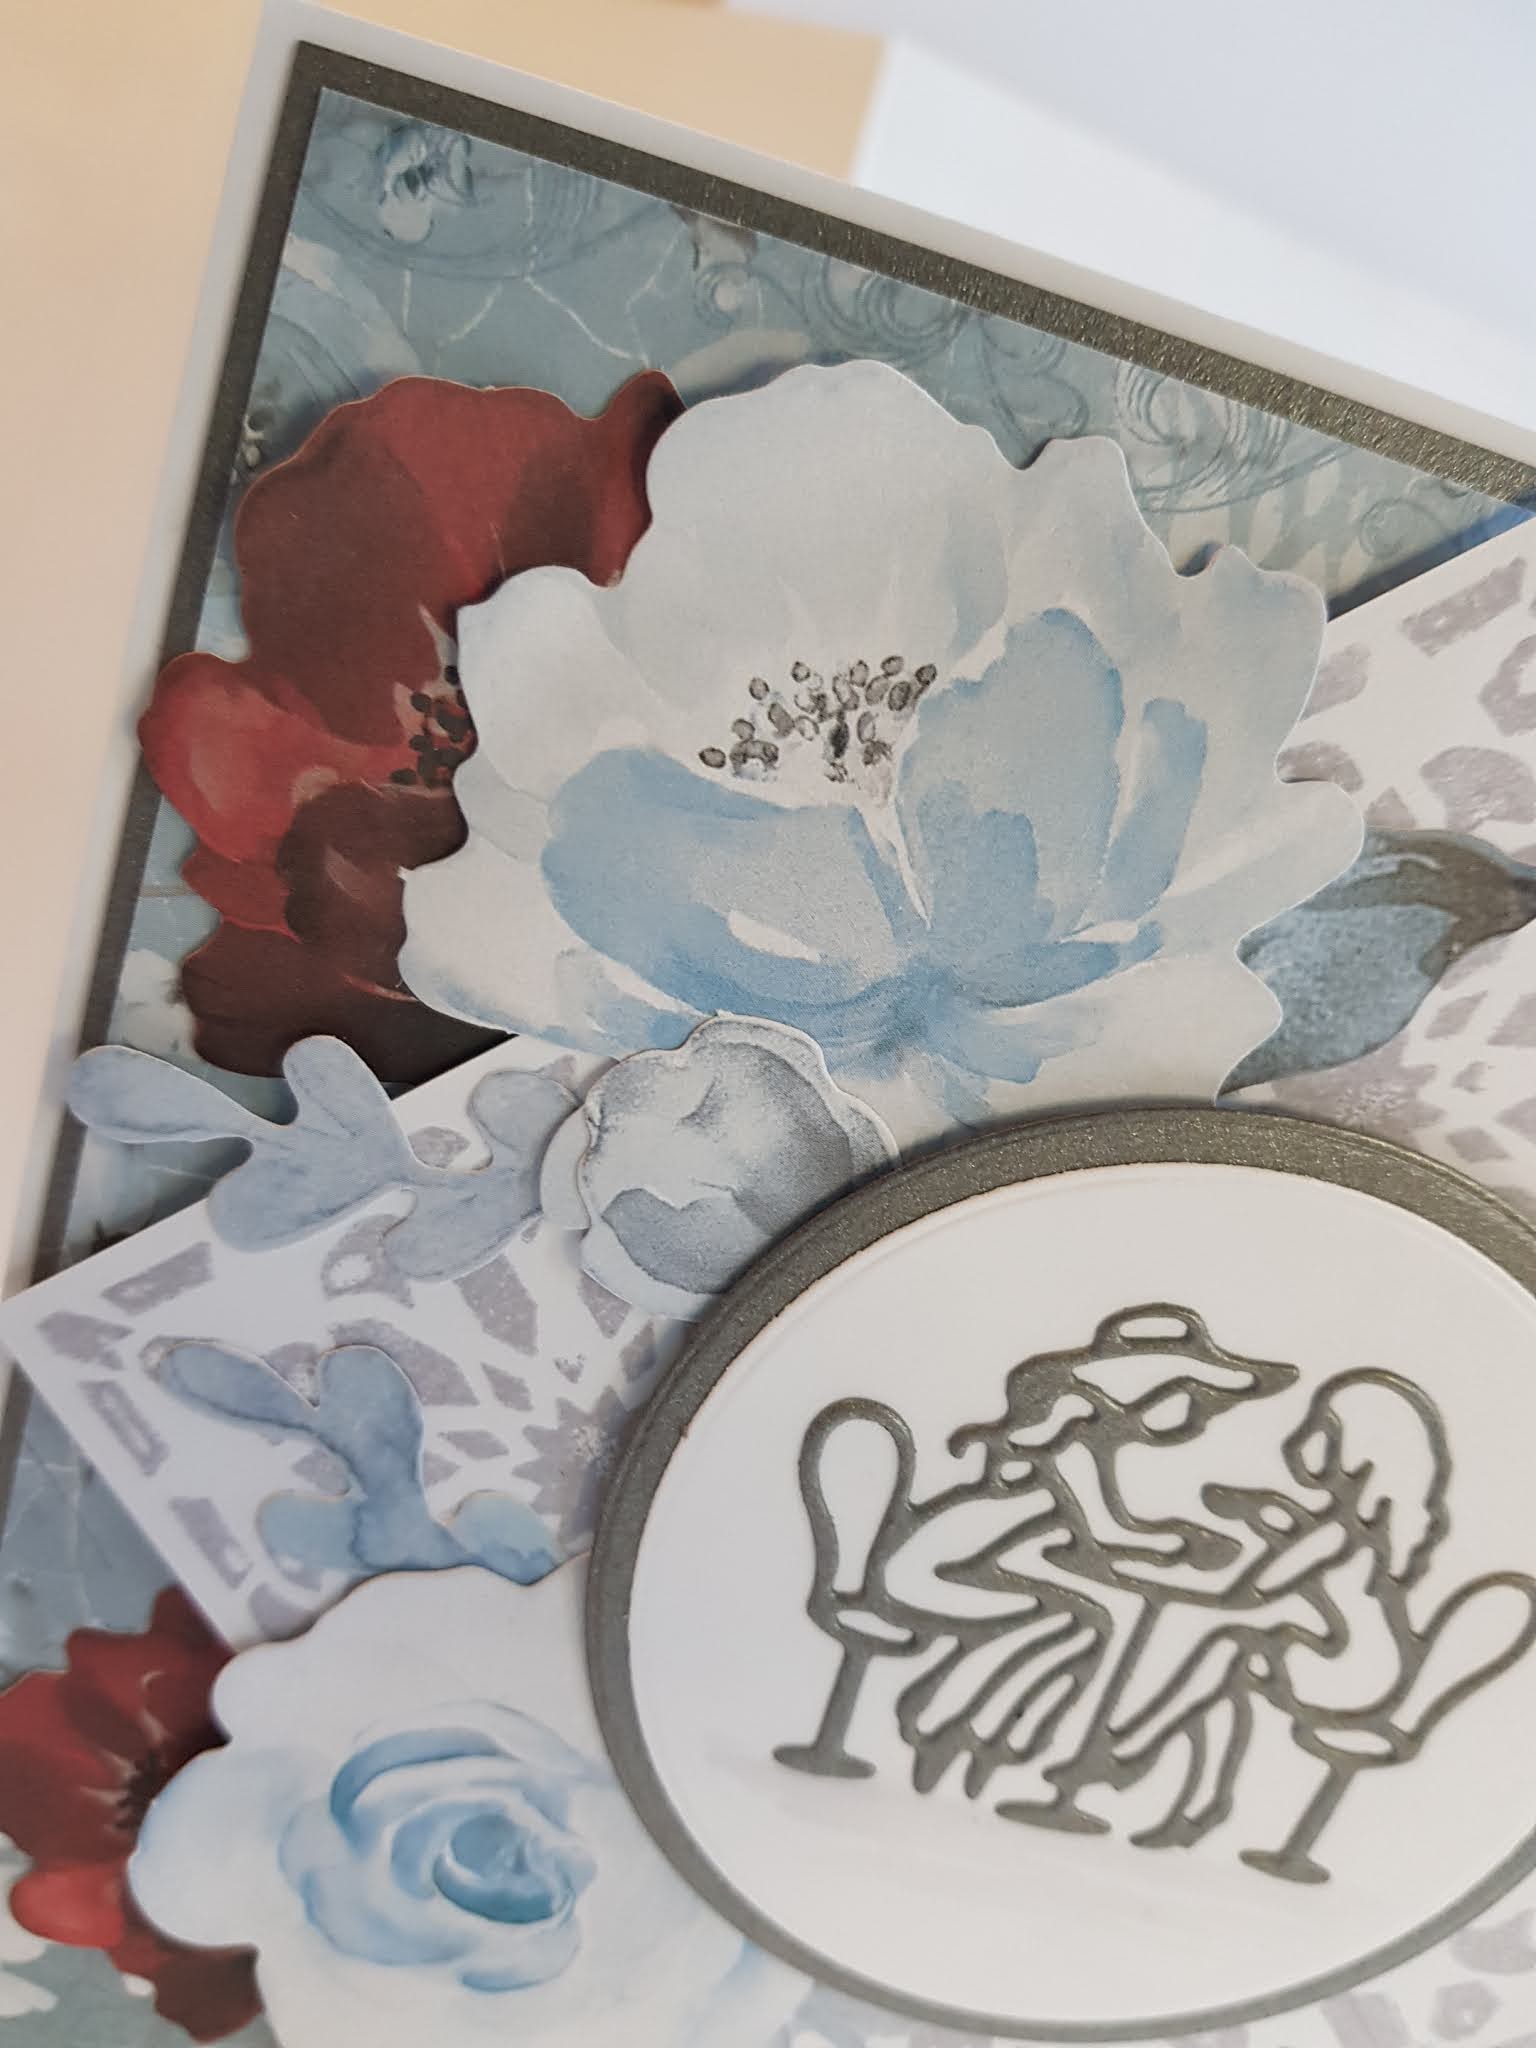
I’ve used the Floral Mosaic, stamped 4 times to create the impression of a mosaic tiled floor. It’s very important that the square panel does not measure more from corner to corner (across the middle) than the height of your card base. For my card base (14.8cm square) I used a square of card 10.1cm square.
The panel is mounted on the card front, on the left side only, using foam pads. I’ve tucked some of the red flowers from the ephemera pack under the edges of the diamond and then added some of the blue flowers overlapping the panel.
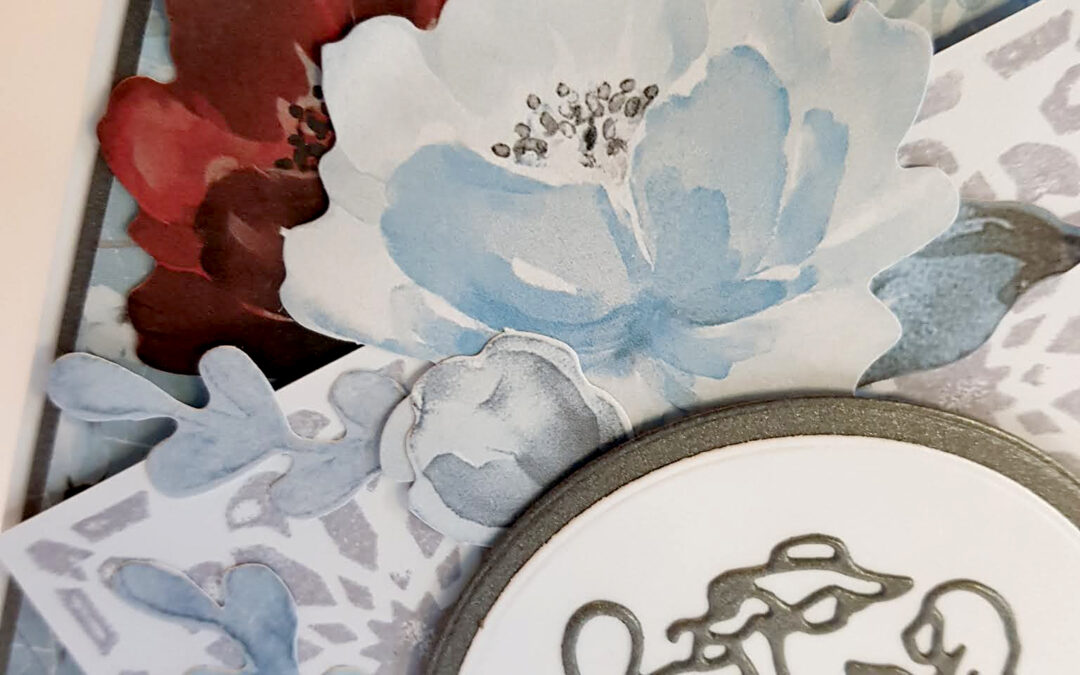
In the centre of the diamond I’ve used the Coffee Break mini die (cut from dark grey card), mounted on a die cut white circle, matted onto a a circle cut from some dark grey card.
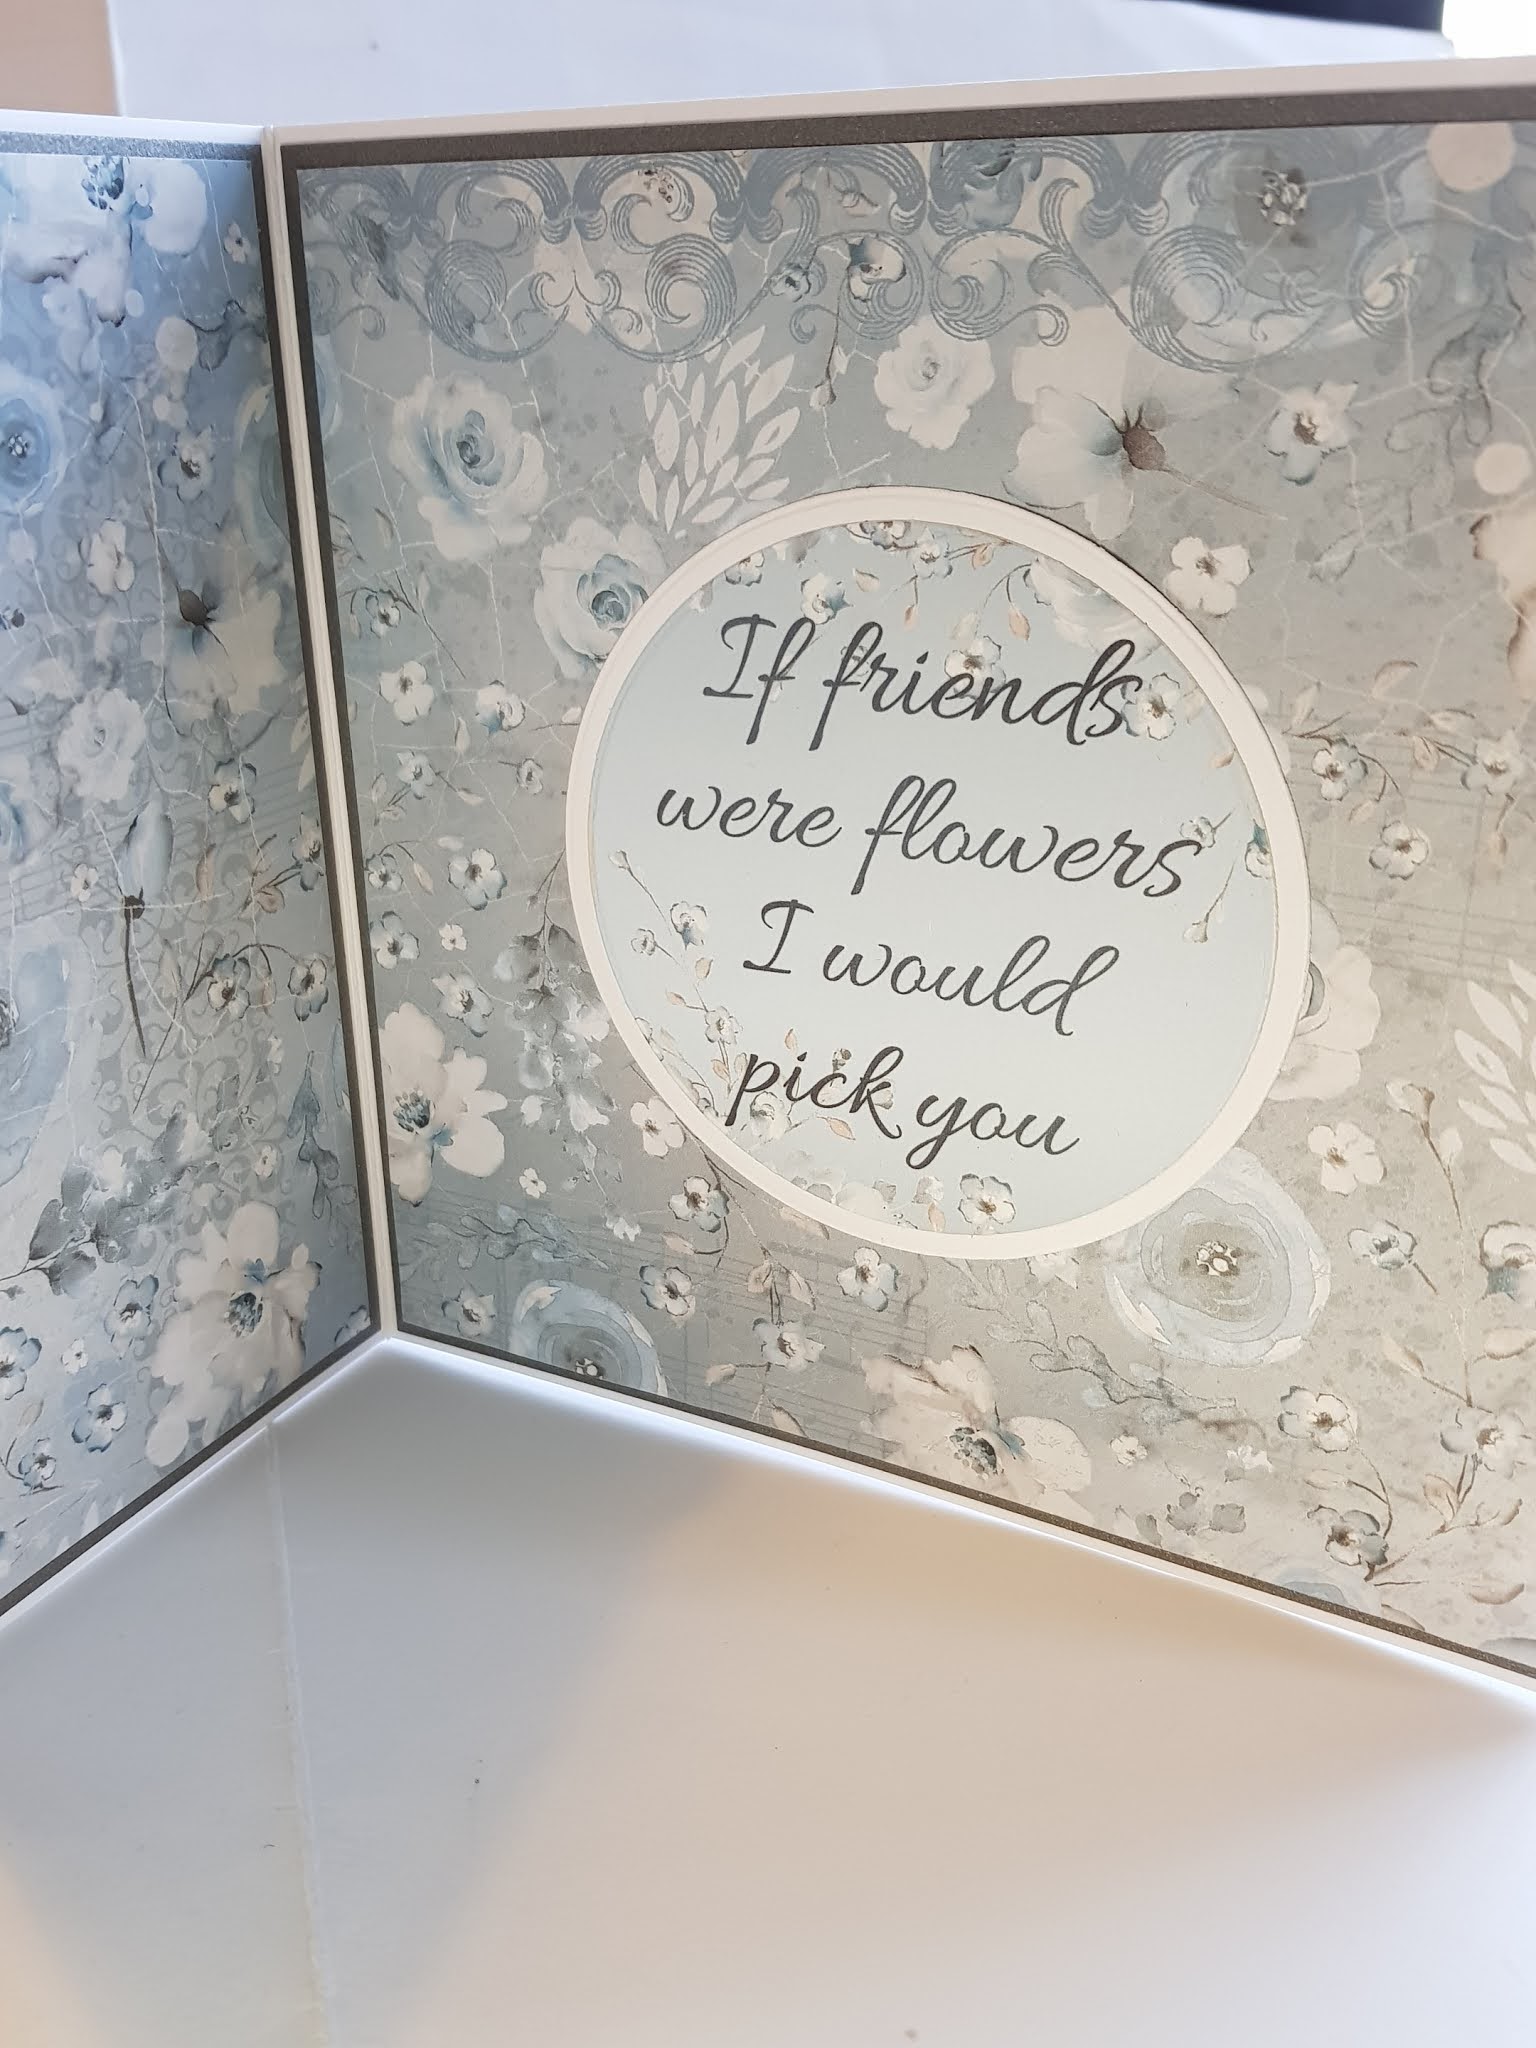
The inside of the card is also decorated with the patterned papers and has a sentiment cut from on of the papers using a circle die, matted onto a circle cut from white card.
The diamond panel hides the sentiment when the card is closed.
In my video I show you how to use repeat stamping on the diamond panel – you will need to use a stamping platform (Stamp Press) for this.


Couture Creations Products