
Hello again its Fiona here from Elliomoonarts today we are going to make a Envelope Box, now you can use these in any number of ways you could send happy mail in them or you could add a few cards in them or you can just use them to store some of the item you make. Video link here : https://www.youtube.com/watch?v=VndPohM9N0w
We are going to cut all of our papers first:
Patterned paper Vintage Tea collection CO728981
- 1 x 61/4 x 6 inches
- 2 x 101/2 in x 61/2 in
- 4 x 6 in x 4in
- 2 x 11/2in x 6in
Co-ordinating Card stock Charming (ULT200020)
- 1 x 63/4 in. x 61/4 in
- 1 x 61/4in x 41/4in
Or if you have enough paper, you could use a piece measuring 1 x1 0 in x 61/4in
Instructions
Box
- Using both the 10’1/2” 6’1/2” papers- score them at 2” on the 2 short side and 1 long side this will create the box.
- Using the 6’1/2” x 6” papers – score it at 1″ and 3″ make sure to have the 6″side at the top.
Inside of the box instructions
- 6’3/4”x 61/4” with the 6 3/4” at the top, score at 4’1/4 and 5”3/4
- cut a piece that was 10’ x 6’1/4 placing the 10’ side to the top and score the same as above
- Fold all of your fold lines to make them nice and crisp.
- with the 10’1/2 x 6’1/2 pieces – cut the square we created on 1.
- On the second one – turn it so that the short side is facing us and you’re looking along the length of it we are going to cut along the line till it meets with the next line we are going to do this on both ends
With glue and fold those 2 flaps up, so they make the first part of our box see video if you need help then with our other piece that we cut the squares out of we are going to glue the bottom flap to the bottom of the box and join the 2 sides together to make a box. Using our 6’1/2 x 6’ piece of patterned paper we will glue the small flap to the top inside of the box this will create our lid.
Our box is done now for the inside of the box.
Using our co-ordinated paper, we are going to glue our 4’1/4 x6’1/4 to our6’3/4 x 6’1/4 to make a book once we do that we can add our patterned papers to the inside and outside of our book please refer to video if you need help (if you were using a 10’ x 6’1/4 you can now add your papers. Options for your book you could add a couple of holes along the spine of your book and add some pretty ribbon to make it easier to take it in and out of the box you could choose to make some cards to pop inside of your box.
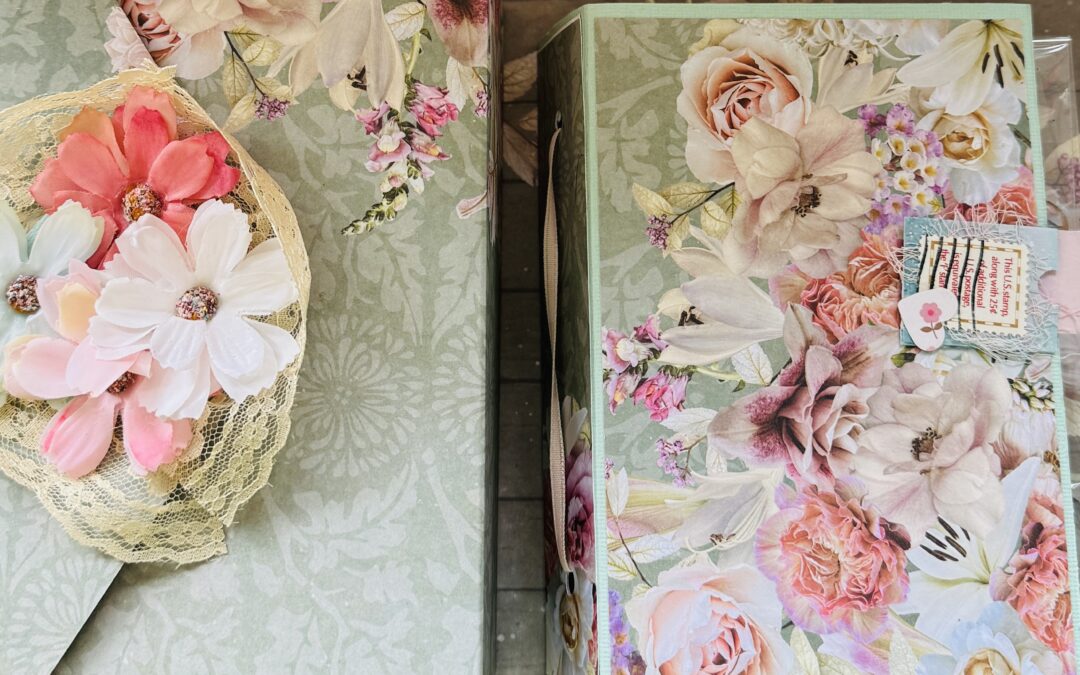
There are 2 options for the front of your box lid i will be adding some Velcro to mine for the closure and i am making a rosette type thing to put on the front.
You could also choose to make your lid have a triangle shape more like an envelope is you’d like as well. I will show both versions in the video to give you some more ideas.


COUTURE CREATIONS MATERIAL LIST
- CO728981 Vintage tea collection of papers
- CO726342 Score board and bone folder.
- CO723973 Paper trimmer
- Co728513 All-purpose art glue
- Co728524 Scissors
Other supplies Ribbon and embellishments

FIND OUT MORE ABOUT THIS PROJECT & JOIN US ONLINE
LOOKING FOR A PRODUCT?
Follow this link to find a retailer:
https://couturecreations.com.au/pages/store-locator
HAVE A QUESTION?
Email us here: [email protected]
WANT TO CHECK OUT WHAT'S NEW?
Follow this link to see the newest products coming to a stockist near you...
https://couturecreations.com.au/collections/newest-products
And follow us online to interact with other craft enthusiasts
and be inspired with regular content >>>
YOUTUBE | FACEBOOK | INSTAGRAM